background image

13

Chapter 5:
StitchScan

The StitchScan option is a marvelous feature that compensates
for the scanning width limitation of the handheld scanner. The
compactness and portability that make the handheld scanner
"handy" also limits the scan width of the scanner.

Yet with this StitchScan feature, the scanner is allowed to scan
big images of any size. You can scan the big image one portion
at a time and then stitch these portions back to an intact copy
of the original image.

TWAIN source allows you to stitch images in three different
ways: Manual Stitch, Semi-Auto Stitch and Auto Stitch.

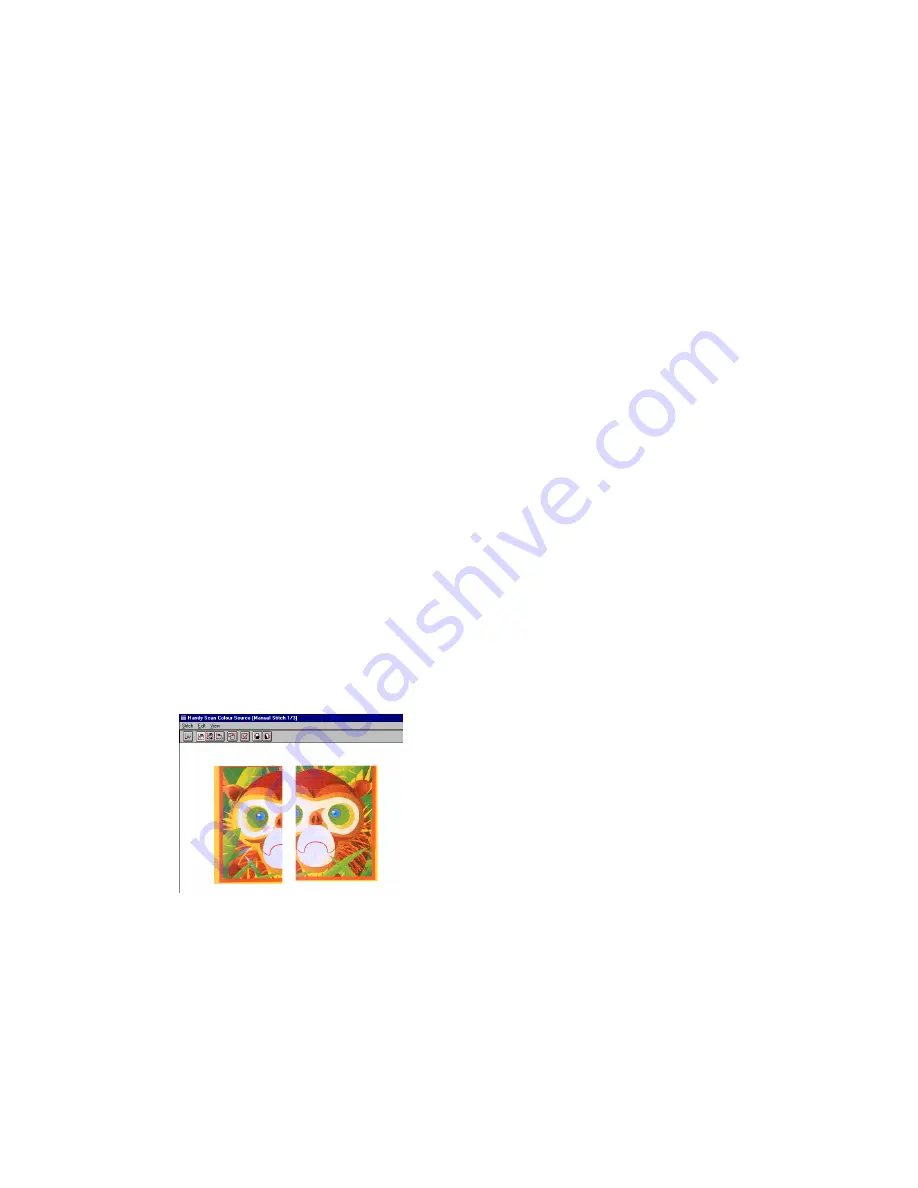
If you choose Manual or Semi-Auto stitch, after you have
finished scanning the second image, the following Stitch
window will appear with the first and second image displayed
inside the window:

The menu bar of this window contains three menus: Stitch, Edit
and View, each includes several commands to help you
accomplish the Stitch function.

The Toolbar contains several buttons which act as shortcuts to
some frequently used menu commands.

Содержание 08638

Страница 1: ...Trust Handy Scan Colour User s Manual...

Страница 2: ...nties of merchantability and fitness for a particular purpose with respect to the software the product manual s and written materials and any other accompanying hardware The manufacturer reserves the...

Страница 3: ...Installing the Scan Driver 3 2 2 Installing the Interface Card 3 2 3 Connecting the scanner 5 Chapter 3 Launching the Image Source TWAIN 7 Chapter 4 Scantools 9 4 1 Installing Scantools 9 4 2 Getting...

Страница 4: ...Before you install and operate the new scanner please take a few minutes to read through the manual It provides you the proper instructions on how to unpack install operate and maintain the scanner S...

Страница 5: ...1 Chapter 1 The Trust Handy Scan Colour Figure 1 The Scanner Body 1 Viewing Window 2 Start Button 3 Brightness Control Dial 4 Clear Plastic Window 5 Rollers 6 Cable Connector...

Страница 6: ...2...

Страница 7: ...t of drivers for you to choose Highlight the driver that corresponds to your scanner model and click the Install button 2 2 Installing the Interface Card Figure 2 The 16 bit Interface Card Note If you...

Страница 8: ...ff 350 351 off off off on 370 371 Only one switch can be set to ON at one time All other setting combinations are invalid To install the interface card proceed as follows 1 Turn off your computer and...

Страница 9: ...ace card from its protective package 6 Insert the card into the slot see Figure 4 above As you insert the card always keep the card at a 90 angle to the mainboard with its golden fingers aligned with...

Страница 10: ...6...

Страница 11: ...andard The Handy Scan Colour is TWAIN compliant Therefore you can use the scanner with any application software that supports TWAIN We will be using Scantools TM a TWAIN supporting image processing ap...

Страница 12: ...8...

Страница 13: ...pe in and execute A SETUP EXE or B SETUP EXE 3 The Scantools Installation dialog box appears as follows 4 Check both Install Application and Install Device Drivers and click OK to start the installati...

Страница 14: ...ct button 2 From the Scan menu choose Acquire Now you are ready to scan your images 4 3 Applying Gamma Correction to Images The Gamma Correction feature of Scantools allows you to adjust the brightnes...

Страница 15: ...Histogram Scale Factor to change the scale factor for the pixel value distribution curves in the histogram 5 Use Channel to correct the Red Green Blue or All the color components in the active image 6...

Страница 16: ...12...

Страница 17: ...these portions back to an intact copy of the original image TWAIN source allows you to stitch images in three different ways Manual Stitch Semi Auto Stitch and Auto Stitch If you choose Manual or Sem...

Страница 18: ...p 7 Auto Stitch 4 Gamma Correction 8 Preferences After you have manually or semi automatically matched the distinct features in the two images click on the Do Stitch button or select the Do Stitch com...

Страница 19: ...stitch window will appear Rather the stitching will be automatically carried out after the two image portions have been scanned and the resulting stitched image will be displayed inside the Scan Windo...

Отзывы: