EN
7
CO₂ air quality data logger BZ30
Adjusting the limit values for the feel-good indication
Note:
This setting can only be adjusted in the setting mode for the
alarm threshold! After having set an alarm threshold, do not
press the
ESC
button but rather the
ALARM
button again for a
brief moment. The lower limit value for the feel-good indication
will be displayed and the icons of the feel-good indication
start to flash.
1. Press
or
to increase or reduce the lower limit
value for the feel-good indication.
2. Press the
ALARM
button to switch over to setting the upper
limit value.
3. Press
or
to increase or reduce the upper limit
value for the feel-good indication.
4. Press the
ESC
button to exit the mode and to adopt the set
value.
Displaying the minimum / maximum value
The device saves the highest and lowest display values. To call
up these values, please proceed as follows:
1. Press the
MAX MIN
button.
ð
MAX appears on the display and the highest measured
values for carbon dioxide, temperature and relative
humidity will be displayed as well.
2. Press the button again to view the minimum values (
MIN
).
3. Press the
ESC
button to exit this mode.
Background illumination
The background illumination will be switched on in addition by
pressing either
ALARM
,
MAX MIN
,
or
. The background
illumination goes out after approx. 20 seconds of non-use.
Press the
ESC
button to exit this mode.
Setting the °C/°F indication
Press the
°C/°F
button at the rear of the device to switch
between an indication in degrees Celsius and degrees
Fahrenheit.
Starting a recording
Press and hold the
REC
button at the rear of the device for
approx. 5 seconds to record the measured values.
Note:
If you want to start a new recording, you first have to save or
delete measured values already saved on the device. For more
detailed information please refer to the “Using the software”
section.
Using the software
There is a multi-data logger software included in the scope of
delivery. You can use it to read and process measuring device
data when the device is connected to a computer or notebook.
Data can be graphically displayed directly in the software or
visualised in an Excel sheet or similar programme. The main
functions are all included in the main window.
Required operating system:
Windows 2000 / Windows XP / Vista / Windows 7 / Windows 8 /
Windows 10
Minimum hardware requirements:
PC or notebook with Pentium 90 MHz or higher, 32 MB RAM; at
least 7 MB of free hard disk space for the installation of the
multi-data logger software. Recommended screen resolution:
1280 x 1024 with high colour resolution (32 bit).
Establishing communication
1. Use the supplied cable to connect the logger to the
USB interface of your PC. Several loggers can be
connected to one PC at the same time.
2. Run the multi-data logger software.
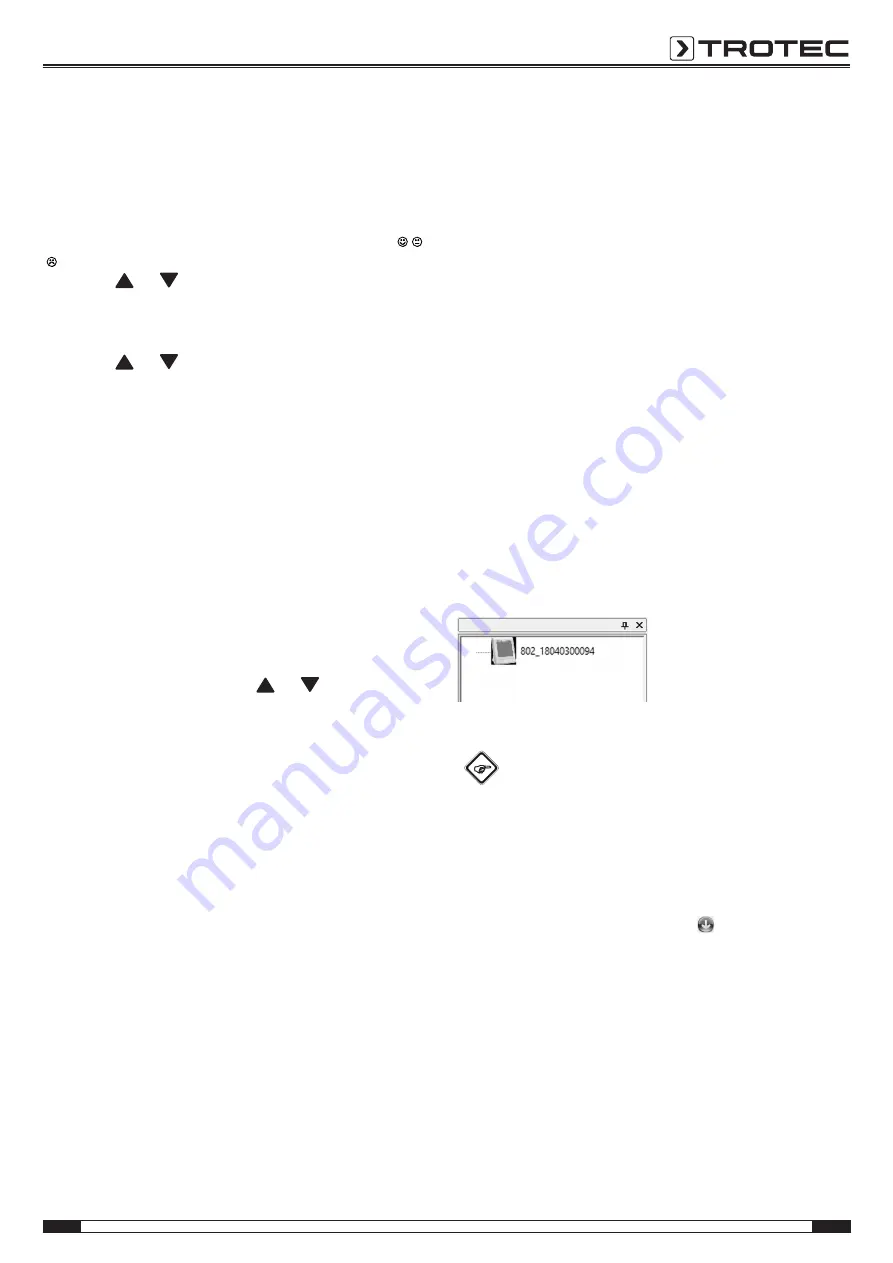
3. When the connection has been established successfully,
the respective icon for the logger is displayed in the
Instrument
field.
Importing recorded data
Info
Prior to readout, the recording mode must be
terminated (
REC
button on the device)! To do so, follow
the instructions in the software.
There are two options to import recorded data from the logger:
1. Select the logger icon in the
Instrument
field. Right-click
your mouse to open a dialog box. There, select the
Read
data logger data
menu item to import the data.
2. Alternatively, you can click on the icon in the toolbar to
read data recorded by the logger.
ð
After the measured values have been successfully
transferred, the data graph window opens. The graph
shows three channels:
CO2
(red),
temperature
(green)
and
relative humidity
(blue).


