


© Trivinci Systems, LLC
TRU4orce System User Guide v1.2, January 2013
Page 8 of 42
Zero-ing the Accelerometer
After system installation, zero the accelerometer on the TRU4orce system:
Copy zero accel file ("trivinci.id") to a blank SD card.
File is available at
http://www.tru4orce.com/calibrate_accel
Park vehicle on level ground.
Power on your TRU4orce system and wait until the system is ready.
Insert SD with the zero accel file into the TRU4orce system.
Transfer LED will start to flash.
Remove the SD after 10 seconds.
Delete trivinci.id file from SD before attempting to record a video data session to that media.
After system installation, in addition to zero-ing the accelerometer on the TRU4orce system, we recommend
calibrating the accelerometer orientation for correct display of inline and lateral Gs on the accelerometer gauge in
TRU4orce Analyzer software.
TRU4orce LEDs
Before using the TRU4orce system, please review the status and memory LED indicators below.
There are three different LED states: On, Flashing, Off
The Status, Power and top Memory LEDs are dual color; different colors indicate different modes.
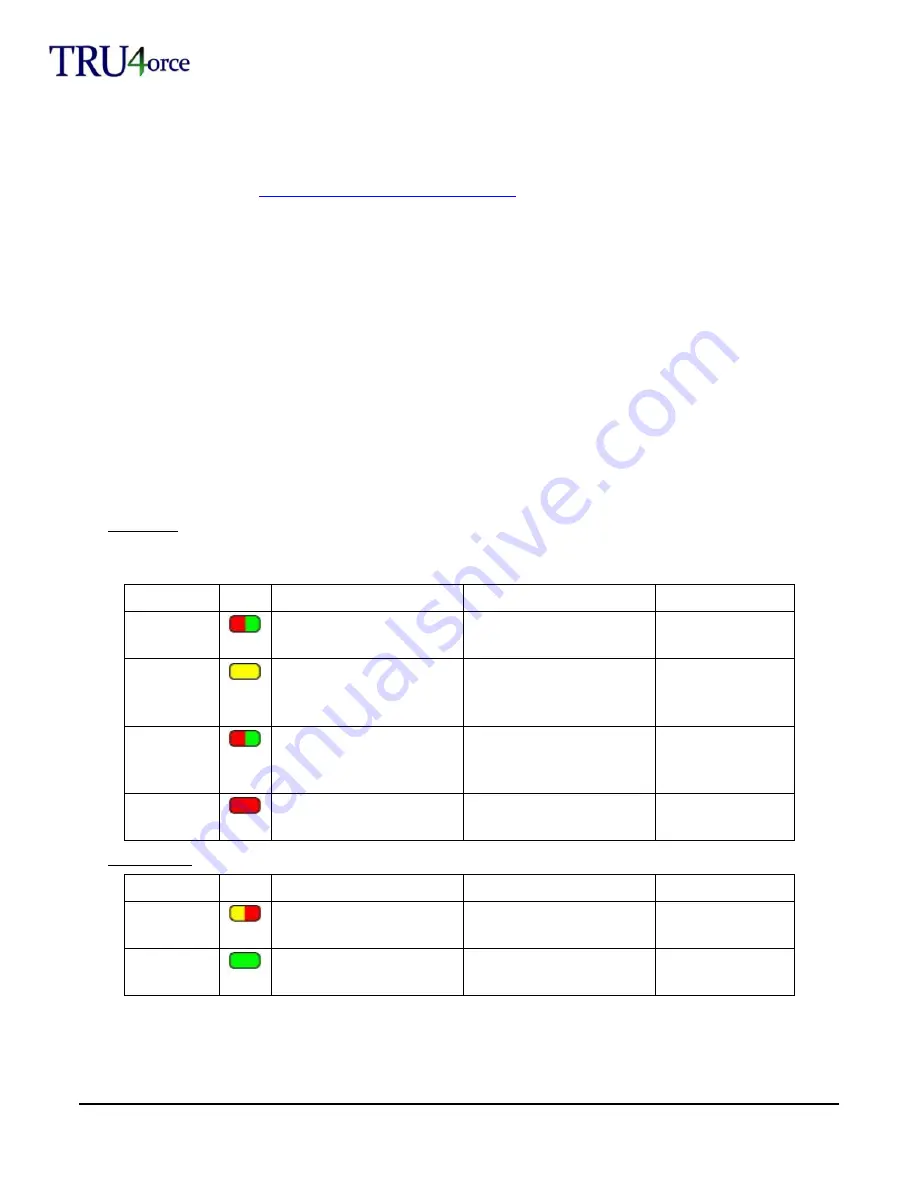
Status LEDs
Note: On startup, Memory LEDs flash in rapid sequence; during last 15 seconds of startup, Record LED also flashes
rapidly (system self-check).
LED
Color
On
Flashing
Off
Status
Green=Ready to record
Green with Red every 2
seconds =No GPS
Not ready to record
Transfer
Updating system software
(Do Not Remove Power!)
or configuration updating
Accelerometer calibration
stick/SD inserted
Update complete
Power
Red=Power connected,
system OFF
Green=Power on
Red=Powering off
Green=Low power
Power
disconnected
Recording
Recording
Stopping recording or
finishing boot up process
Not recording
Memory LEDs
LED
Color
On
Flashing
Off
Memory
(Top)
Yellow=Memory used >80%
Red=At 100% or no SD
<80% memory used
Memory
(Bottom 3)
Memory used=>25%,
>50% and >75%
NA
No SD or
memory used <25%
Configuring Your TRU4orce System
You can configure your TRU4orce system to automatically power on and off, and to automatically start and stop
recording on speed and time triggers. You can also change your video quality settings and camera layout.


