11
Cable Length Test
Performing a Cable Length Test
1.
Connect a cable to the appropriate port on the Main Tester unit, using
the RJ45 port marked
Main
for Cat5 / Cat6 cables. You can choose to
connect the other end to the Remote Tester unit or not.
2.
Navigate to the
Type
option in the LCD Interface Menu and select the
type of cable you have connected by pressing the
Enter
button to toggle
through the options.
3.
Once you’ve selected the appropriate cable, navigate to the
Unit
option
and select the unit of measurement you want to display results in by
pressing the
Enter
button to toggle through the options.
4.
Once you’ve selected the unit of measurement, navigate to the
Cable
Length
option and press the
Enter
button to initiate the test.
5.
A screen will appear indicating the tester is identifying the length of the
connected cable, followed by the results of the test. The possible test
results are listed below.
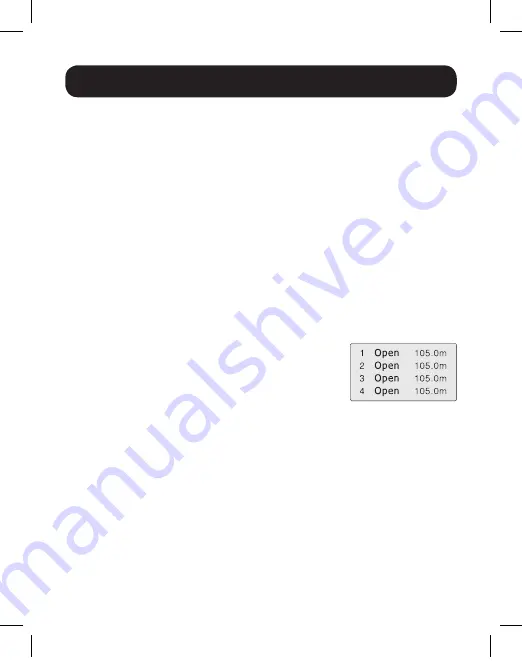
a. Normal Pairing and Length
– When there
are no faults in the cable pairing, results like
those to the right will be shown. If you have
the other end of the cable connected to the
Remote Tester unit, the middle column of
text will show M-R. If you do not have the remote end of the cable
connected, the middle column of text will show OPEN. The Pins will
be displayed in the left column of text, and the calculated length in
the right column. Press the
Up
and
Down
buttons to toggle to pins
that are not displayed on the screen.
b. Abnormal Pairing and Length
– When there are faults found in the
cable pairing, test results similar to the
Normal Pairing and Length
results will be shown, except for any pins with faults, the length
shown in the right column will be shorter than that of the rest of the
cables. This will indicate the location of the fault along the wire.
19-04-414-9334DF-EN.indd 11
6/21/2019 8:26:41 AM


