


10 TESTING
10.1 TEST GAG
The gag for hydrostatic testing may be used for both: flange and butt-weld inlet connections.
To assemble the test gag, the cap needs to be removed from the valve. Please refer to section 9.1 for cap
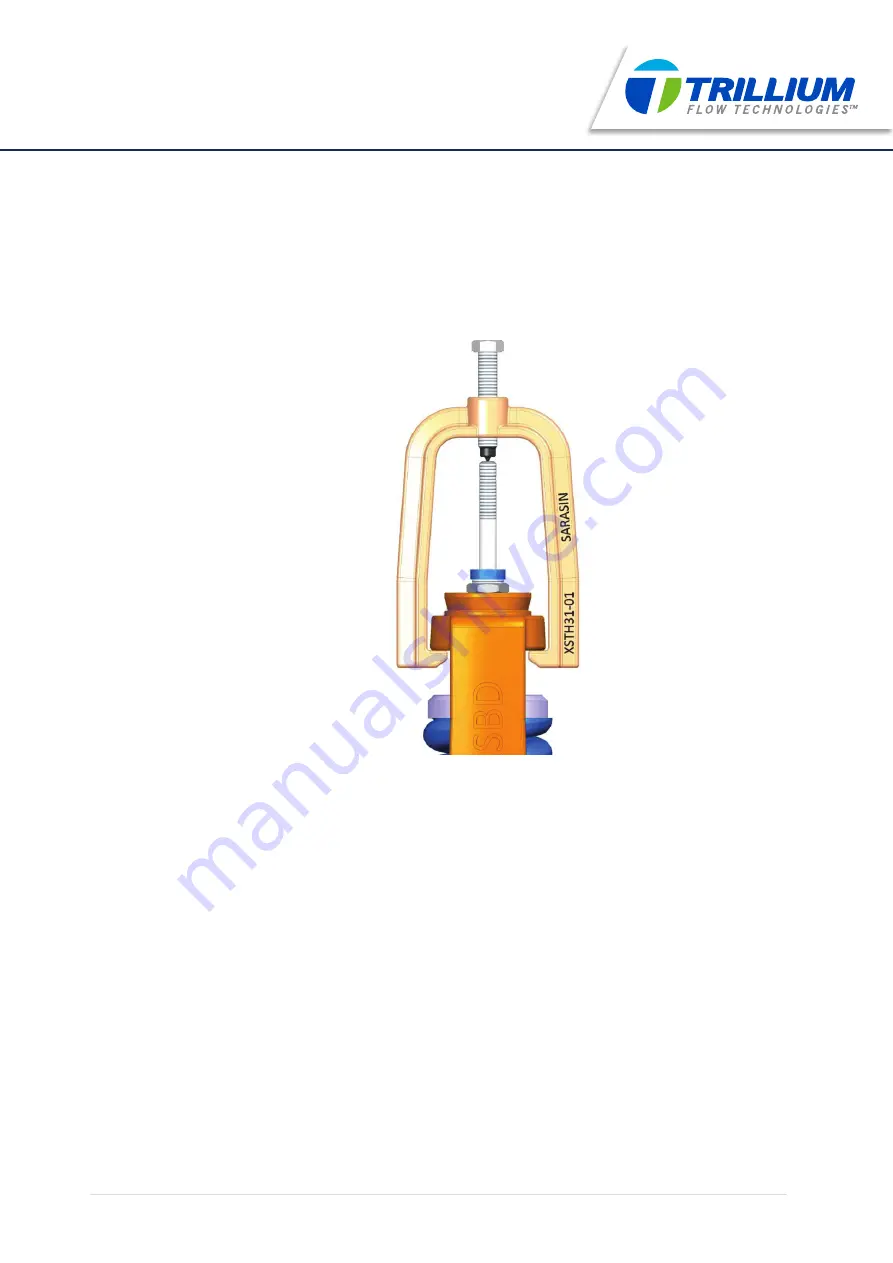
removal instructions. Position the test gag caliper and the gag screw as per the following drawing:
•
Make sure that both legs of the caliper are vertical and in line with the spindle axis.
• When the caliper is correctly positioned, screw the gag so that it is in contact with the spindle.
Before tightening the test gag, the system pressure should be increased to 80% of the set pressure (use
the lower set pressure of all safety valves which might be installed on the system). Then, apply a light
torque to lock the gag into place (a high torque could result in damage to the disc and nozzle seats).
If any leakage occurs, the system pressure needs to be lowered so that the gag may be lightly retightened.
The gag should not be retightened without the system pressure being lowered, as damage to the seating
surfaces could occur.
After completing the hydrostatic tests (max 1,5 time the set pressure), the pressure shall be decreased to
90% of the lowest set pressure before the test gag is removed from the valve. At 90%, the disc lip will not
be subject to damage during test gag removal. The cap may then be mounted back on the valve. At this
point, the test pressure may be turned off.
FIGURE 22
36
|
www.trilliumflow.com
STARFLOW V
™
PRESSURE RELIEF VALVE
SARASIN-RSBD
™


