

Ope
rat
io
n
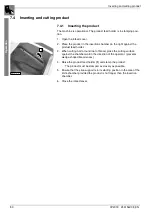
Inserting and cutting product
07/2019 244156V03_EN
51
7.4.2
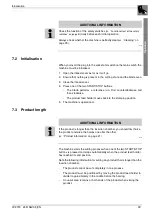
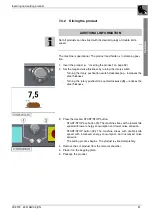
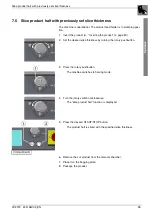
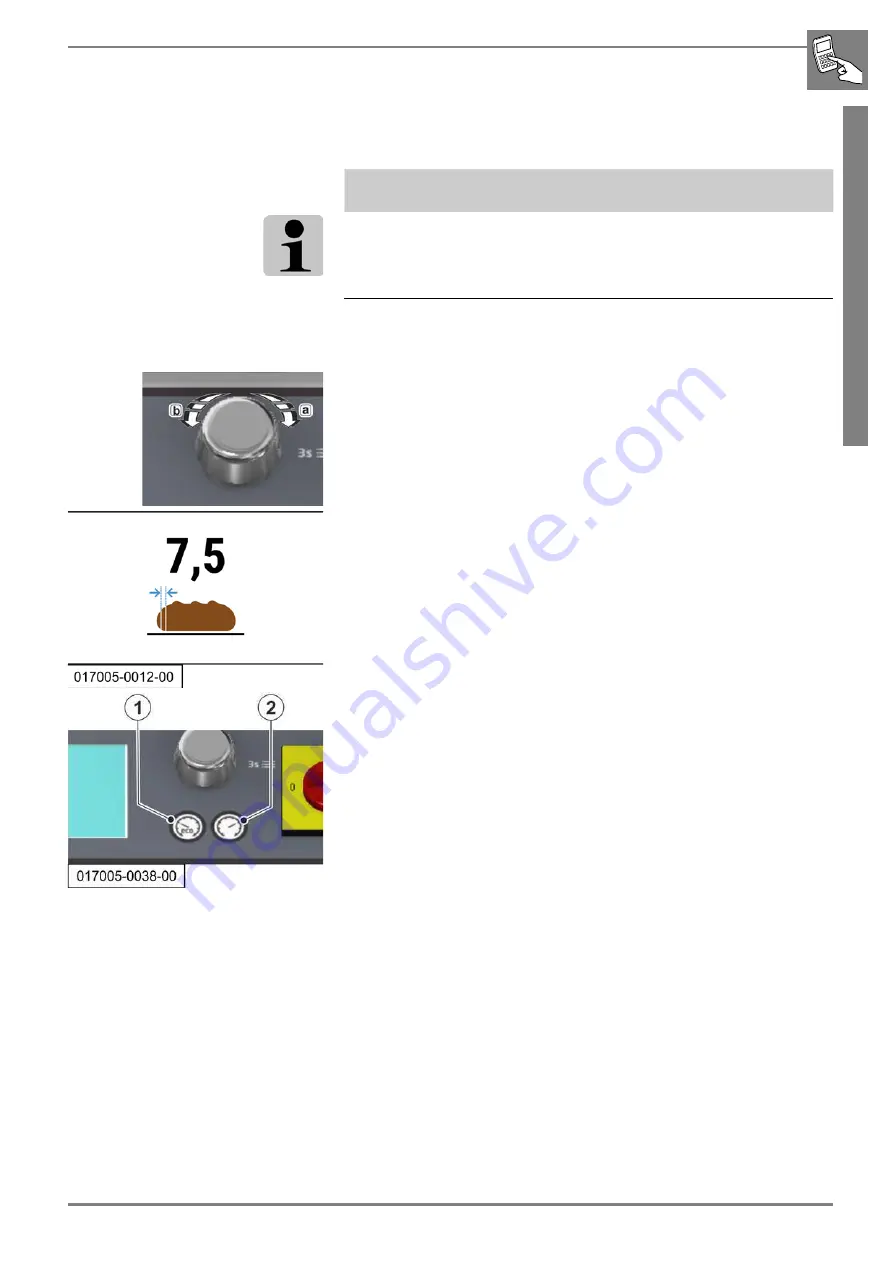
Slicing the product
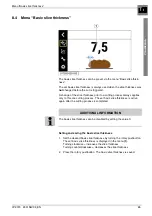
ADDITIONAL INFORMATION
Not all products can be sliced with the desired quality at double knife
speed.
The machine is operational. The product feed holder is in clamping posi-
tion.
1. Insert the product (
“Inserting the product” on page 50).
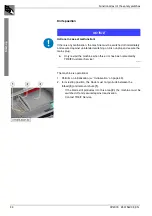
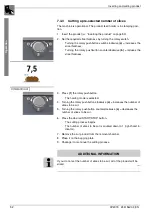
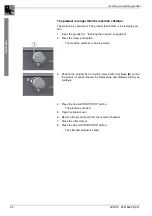
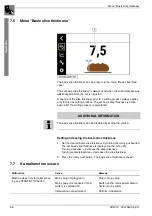
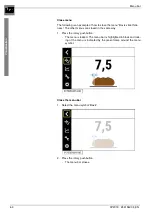
2. Set the required slice thickness by turning the rotary switch.
- Turning the rotary pushbutton switch clockwise
(a)
= increases the
slice thickness.
- Turning the rotary pushbutton counterclockwise
(b)
= reduces the
slice thickness.
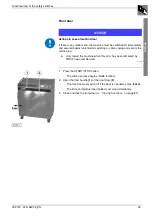
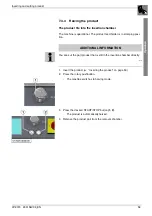
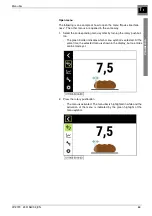
3. Press the desired START/STOP button.
- START/STOP eco button
(1)
: The machine slices with a lower knife
speed with lower energy consumption and lower noise emission.
- START/STOP
button
(2)
: The machine slices with double knife
speed with increased energy consumption and increased noise
emission.
- The cutting process begins. The product is sliced completely.
4. Remove the cut product from the removal chamber.
5. Place it on the bagging plate.
6. Package the product.
I_024-00
Содержание PRIMUS 400
Страница 2: ......
Страница 3: ......
Страница 4: ......
Страница 7: ......
Страница 11: ...Table of contents Table of contents 07 2019 244156V03_EN...
Страница 31: ...Safety Safety layout 20 07 2019 244156V03_EN...
Страница 43: ...Transport and installation Installation and connection 32 07 2019 244156V03_EN...
Страница 57: ...Start up Switch off 46 07 2019 244156V03_EN...
Страница 69: ...Operation If a malfunction occurs 58 07 2019 244156V03_EN...
Страница 85: ...Visualisation Additional information on the display 74 07 2019 244156V03_EN...
Страница 104: ...Maintenance Sharpening the blade 07 2019 244156V03_EN 93...
Страница 105: ...Maintenance Sharpening the blade 94 07 2019 244156V03_EN...
Страница 109: ...Help and Service If any fault occurs 98 07 2019 244156V03_EN...
Страница 116: ...Index 07 2019 244156V03_EN 105 W Workplace lighting 10...
Страница 117: ...Index 106 07 2019 244156V03_EN...


