background image

                                                                                   48

PLAYBACK MODE                                          

6

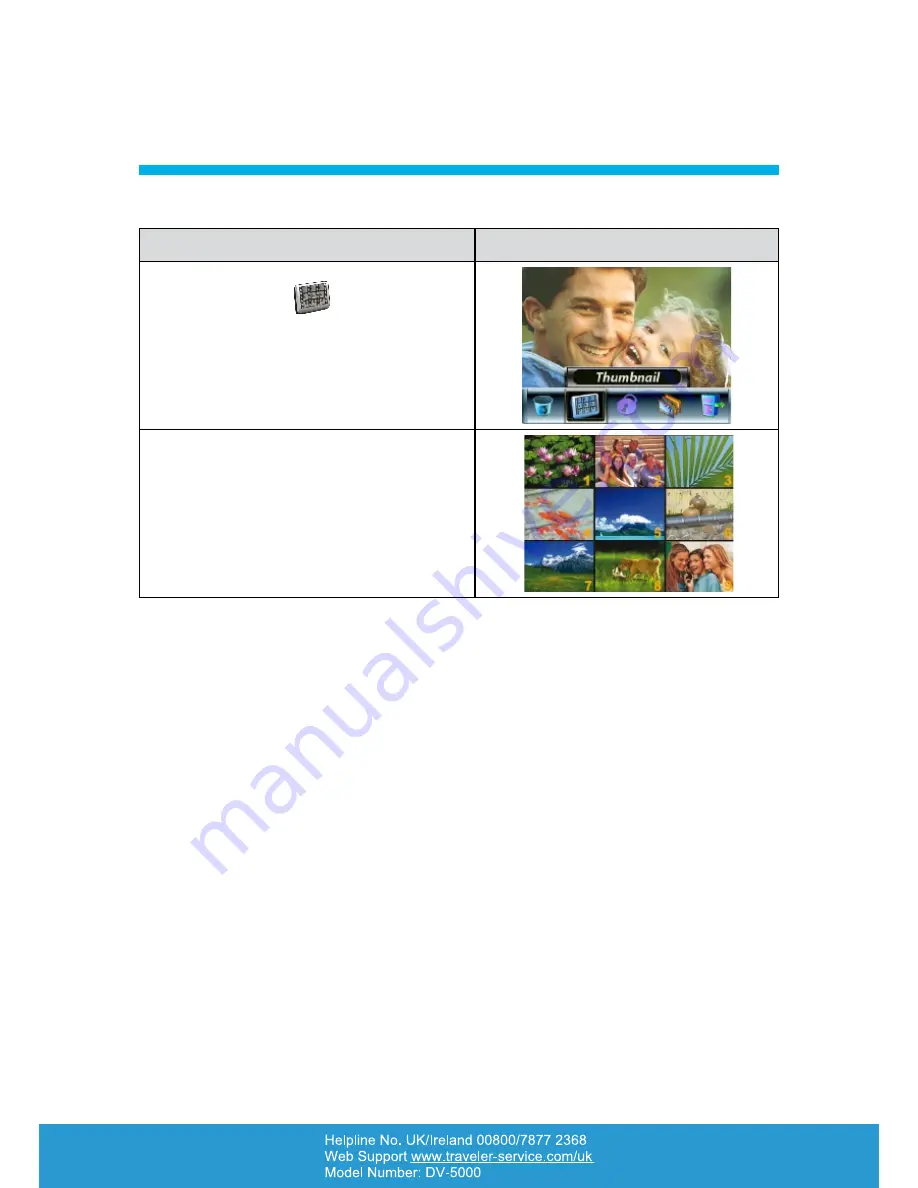
Thumbnail Function


Operation

Display Screen

Use  the  Direction  Buttons  to  select  the 

1. 

Thumbnail option ( 

 ). 

While  selecting  the  Thumbnail  option, 

2. 

press the OK Button to view nine thumbnail 
pictures.
To view a picture, use the Direction Buttons to 

3. 

select the picture.
Press  the  OK  Button  to  view  the  selected 

4. 

picture.


Содержание DV-5000

Страница 1: ...D 12 RECORD MODE 40 PLAYBACK MODE 52 LISTENING TO MP3 MUSIC 54 VIEWING MOVIES ON A PC 55 VIEWING PICTURES AND MOVIES ON A TV 57 VIDEO FILE CONVERTER 60 BURNING A RECORDED CLIP ONTO A DVD 63 UPLOADING...

Страница 2: ...rranty Please fill in and return the Warranty Card to the address provided We hope you will enjoy using your purchase for many years to come Parts List Carefully unpack your camera box and ensure that...

Страница 3: ...be trademarks or registered trademarks of their respective 6 owners Product Information Product design and specifications are subject to change without notice This product includes 1 primary product...

Страница 4: ...amaged turn the power OFF and 2 remove the batteries as continued use in this state may result in fire or electric shock Do not disassemble change or repair the camera as this may cause fire or electr...

Страница 5: ...ith your clothes skin or eyes rinse with cold water For eye contact immediately contact a physician for treatment Acamera is a precision instrument Avoid dropping impact or excessive force when handli...

Страница 6: ...riods of continuous use of the camera or flash which 3 is normal and not a malfunction The camera may feel warm after long periods of continuous use which is normal and not a 4 malfunction Avoid stori...

Страница 7: ...justed automatic settings This video camera can be used as a mass storage media device for easy storage and data transfer or as a PC web camera PC Webcam This camera is easy to use and almost all of i...

Страница 8: ...LCD Panel Microphone Power Button Lens LED Rear View Movie Shutter Button Tele Button Up Button Wide Button Down Button Left Button TV Earphone Port OK Button Picture Shutter Button Right Button Reco...

Страница 9: ...9 GETTING TO KNOW YOUR CAMERA 3 Side View Macro Switch Battery Cover...

Страница 10: ...Optional The camera comes with limited internal memory which allows you to store pictures movies voice recordings and music You can expand the memory capacity by using an optional SD or MMC memory ca...

Страница 11: ...old it for one second To record a movie press the Movie Shutter Button 1 To take a picture press the Picture Shutter Button 2 To record voice press the OK Button 3 to enter Record Menu Use the Directi...

Страница 12: ...ton down for one second to turn the camera on or off Record Play Button functions Use button to switch between the Record Playback 1 mode Returns you to the previous page 2 Movie Shutter Button Use th...

Страница 13: ...ecord Mode Motion Stabilization Two in One Mode Photo Frame Multi Snap Mode Night Mode Backlight Mode 1 Resolution Movie HD D1 VGA QVGA Picture High Standard Low 2 Indicates the number of images or re...

Страница 14: ...cording a time indicator will be displayed on the LCD Monitor To stop recording press the Movie Shutter Button again Press the Record Play Button to view the recorded movie 4 resolution quality settin...

Страница 15: ...ures The Macro Mode should be used when taking pictures of objects 8 inches or closer to the camera To activate slide the switch to Macro and the macro icon will appear on the LCD monitor allowing you...

Страница 16: ...Normal B W Classic Negative Exit Sound Time Setting Format Memory TV System Language Default Setting Exit Operations for Record Mode Operation Screen Press the OK Button when in Movie Picture Record 1...

Страница 17: ...ion Infinite High for Movie Standard for Picture Exposure One Time 0EV Light One Time OFF Sharpness One Time Level 5 White Balance One Time Auto Motion Stabilization Infinite Off Motion Detect One Tim...

Страница 18: ...ord Mode press the OK Button to switch to the record menu 1 screen Use the Right Left Buttons to select Movie Mode A submenu of the Movie Mode will pop up 2 on the screen for further options Use the U...

Страница 19: ...Mode press OK Button to switch to the record menu screen 1 Use the Right Left Buttons to select Movie Mode A submenu of the Movie menu will appear 2 on the screen Use the Up Down Buttons to move to E...

Страница 20: ...K Button to switch to the record menu 1 screen Use the Right Left Buttons to select Movie Mode A submenu of the Movie Mode will appear 2 on the LCD screen Use the Up Down Buttons to move to Light Opti...

Страница 21: ...select Movie Mode A submenu of the Movie Mode will appear 2 on the LCD screen Use the Up Down Buttons Tele Wide Buttons 3 to select the sharpness level then press the OK Button to switch to the sharp...

Страница 22: ...n to switch to the record menu 1 screen Use the Right Left Buttons to select Movie Mode A submenu of Movie Mode will appear on 2 the screen Use the Right Left Buttons to select White Balance then pres...

Страница 23: ...creen Use the Up Down Buttons Tele Wide Buttons 3 to select Motion Stabilization and then press the OK Button to switch to the Motion Stabilization submenu Use the Up Down Buttons to choose ON or OFF...

Страница 24: ...K Button to switch to the Motion Detect submenu Use the Up Down Buttons to choose ON or OFF 4 Press the OK Button to validate the setting and exit 5 The camera will start video recording if there is n...

Страница 25: ...Buttons to select the Camera Mode A submenu of the Camera Mode will 2 appear on the screen Use the Up Down Buttons Tele Wide Buttons 3 to select Resolution and then press the OK Button to switch to t...

Страница 26: ...nu 1 screen Use the Right Left Buttons to select Camera Mode A submenu of the Camera Mode will 2 appear on the screen Use the Up Down Buttons Tele Wide Buttons 3 to move to the Exposure Option Press t...

Страница 27: ...u of the Camera Mode will 2 appear on the screen Use the Up Down Buttons Tele Wide Buttons 3 to select Two in One and then press the OK Button to switch to the Two in One submenu Use the Up Down Butto...

Страница 28: ...d menu 1 screen Use the Right Left Buttons to select Camera Mode A submenu of the Camera Mode will 2 appear on the screen Use the Up Down Buttons Tele Wide Buttons 3 to select Photo Frame option and t...

Страница 29: ...o be effective Red Eye Reduction 4 Use this mode to reduce the red eye phenomenon when you want to capture natural looking images of people and animals in low light conditions To change the Flash sett...

Страница 30: ...To enable the Self timer In the Movie Picture Record Mode press the OK Button to switch to the record menu 1 screen Use the Right Left Buttons to select Camera Mode A submenu of the Camera Mode will...

Страница 31: ...will 2 appear on the screen Use the Up Down Buttons Tele Wide Buttons 3 to select Sharpness Option and then press the OK Button to switch to the Sharpness submenu Use the Up Down Buttons to select Sh...

Страница 32: ...Button to switch to the record menu 1 screen Use the Up Down Buttons Tele Wide Buttons 2 to select Camera Mode A submenu of the Camera Mode will appear on the screen Use the Up Down Buttons to select...

Страница 33: ...ch to the record menu 1 screen Use the Right Left Buttons to select Camera Mode A submenu of the Camera Mode will 2 appear on the screen Use the Up Down Buttons Tele Wide Buttons 3 to select Multi Sna...

Страница 34: ...tton to switch to the record menu 1 screen Use the Right Left Buttons to select Camera Mode A submenu of the Camera Mode will 2 appear on the screen Use the Up Down Buttons Tele Wide Buttons 3 to sele...

Страница 35: ...ess the OK Button to switch to the Date Printing submenu Use the Up Down Buttons to choose On or Off 4 Press the OK Button to validate the setting and exit 5 Display Screen Date Printing Option OK But...

Страница 36: ...to record voice and press it again to stop Display Screen Voice Mode Option OK Button Effect Setting There are four Effect modes which are Normal Black White Classic and Negative To change Effect set...

Страница 37: ...ing option and then a setting Submenu will appear 2 on the screen Use the Up Down Buttons Tele Wide Buttons 3 to move between the settings Display Screen Setting Option Sound operation sound Time Sett...

Страница 38: ...Exit to leave the Time Setting without any change 3 Submenu Display Screen Time Setting Time Setting Format Memory Card Submenu Display Screen Format Card Options Format Memory Card Yes 1 Format the...

Страница 39: ...C standard 1 USA Canada Japan South Korea and Taiwan etc PAL standard 2 UK Europe China Australia Singapore and Hong Kong etc Submenu Display Screen TV System Option TV System Selecting Interface Lang...

Страница 40: ...ttons can be used to select 2 the specific option Press the OK Button to view movies pictures 3 and listen to voice recordings or music Button Functions The Direction Buttons have the following functi...

Страница 41: ...QVGA Picture Resolution Indicators High Resolution Standard Resolution Low Resolution 2 Indicates the selected movie picture is locked Indicates the single movie voice MP3 is being repeated Indicates...

Страница 42: ...in this mode Press the Movie Shutter Button to select play 4 and press it again to pause the movie While playing a movie press the Right Left 5 Buttons to fast forward rewind then release the button t...

Страница 43: ...ovies and 4 the Down Button to delete a single movie Before a movie is deleted a confirmation 5 screen will appear choosing Yes will execute the operation and No will cancel the operation Press the OK...

Страница 44: ...movie using this function This function can prevent the movies from being deleted accidentally Operation Display Screen Use the Right Left Buttons to select the Lock 1 option Press the OK Button to en...

Страница 45: ...es This function automatically repeats the playing of a single movie or all movies Operation Display Screen Use the Right Left Buttons to select the 1 Repeat One option or Repeat All option Press the...

Страница 46: ...e is selected use the Up 4 Down Buttons Tele Wide Buttons to magnify a selected portion of the picture To navigate the magnified picture press the 5 OK Button to enter the navigation mode Use the Dire...

Страница 47: ...Down Button to delete a single picture Before a picture is deleted a confirmation 5 screen will appear choosing Yes will execute the operation No will cancel the operation Press the OK Button to exit...

Страница 48: ...the Direction Buttons to select the 1 Thumbnail option While selecting the Thumbnail option 2 press the OK Button to view nine thumbnail pictures To view a picture use the Direction Buttons to 3 sele...

Страница 49: ...on to lock unlock all pictures 4 and Down Button to lock unlock a single picture Before a picture is locked unlocked a 5 confirmation screen will appear choosing Yes will execute the operation No will...

Страница 50: ...ice option menu Operation Display Screen Use the Right Left Buttons to select the Voice 1 option Press the OK Button to enter Voice Playback 2 Mode Use the Right Left Buttons to go to the first or 3 l...

Страница 51: ...l option 11 To delete a voice use the Right Left Buttons to select the recording 12 Press the OK Button to go to the voice play back option menu 13 Press the Up Button to select Delete option 14 Use t...

Страница 52: ...torage Mode Copy MP3 music to My Computer Removable Disk MP3 3 When the MP3 files are transferred disconnect the USB cable from the PC 4 Listening to MP3 Music with earphones MP3 files stored on the c...

Страница 53: ...s the Right Left Buttons to jump to the next previous page Press the Movie Shutter or OK Button to play 3 an MP3 Press the Movie Shutter Button again to stop 4 playing the MP3 Press the Up Down Button...

Страница 54: ...on your Computer please install the Video Codec from the provided disc Insert the CD ROM into the computer s CD ROM drive Click Install Device Driver and 1 follow the on screen instructions to complet...

Страница 55: ...your camera and a HD TV 1 Set video input source of the TV to HDMI option 2 When the camera is connected to a television the functions are exactly the same as when 3 you preview pictures and movies o...

Страница 56: ...television 2 The option menu of Earphone TV appearson the LCD Screen 3 Choose the TV option and press the OK Button to validate the setting 4 When the camera is connected to a television the function...

Страница 57: ...rmat with your camera In this way you can convert various video files formats and playback your favourite movies on your camera Media Converter 2 5 To convert a video file Install Arcsoft Media Conver...

Страница 58: ...you want to convert 5 You can preview your media files before converting To preview media files use the following 6 control functions Click to start previewing Click to stop previewing Make sure your...

Страница 59: ...e to Clip0001 9 avi Please note if Clip0001 avi exists in the camera then the converted file has to be renamed to clip0002 avi 10 Connect your camera to PC and transfer the converted video to My Compu...

Страница 60: ...s on how to burn a movie clip on to a DVD You can preserve your precious movies on a DVD to share with family and friends To create a DVD Install Arcsoft MediaImpression Refer to Section 13 1 Click St...

Страница 61: ...61 BURNING A RECORDED CLIP ON TO A DVD 11 1 2 3 4 1 2 3 4...

Страница 62: ...62 BURNING A RECORDED CLIP ON TO A DVD 11 Click Start to start DVD burning 5...

Страница 63: ...ion which features uploading the recorded videos to YouTube To upload video files to YouTube Install Arcsoft MediaImpression Refer to Section 13 1 Click Start 2 g Select Programs g Arcsoft MediaImpres...

Страница 64: ...YOUTUBE 12 Select the video file you want to upload and click the Upload to YouTube option at the 5 bottom of the menu If this is your first time using this function please follow the instructions on...

Страница 65: ...ES TO YOUTUBE 12 Go to http www youtube com login then Log on to your YouTube account 7 If you do not have a YouTube account sign up here first After you log onto your YouTube account Click Get Author...

Страница 66: ...66 UPLOADING VIDEO FILES TO YOUTUBE 12 Then Click Allow Button shown on YouTube website Click Save Button to upload the video 9...

Страница 67: ...movies or voice recordings stored on your camcorder to a computer and send them in emails to friends or post them on websites To do this you should Install the camcorder driver on your computer 1 Con...

Страница 68: ...t multiple video formats into compatible formats for use on your camcorder Adobe Reader 3 is a popular program that you need to have installed on your computer to read the User s Manual Many computer...

Страница 69: ...t up to 4GB Image Resolution Still image 3744x2808 11M Pixels interpolated 2592x1944 5M Pixels 1600x1200 2M Pixels Movie Resolution HD 1280 x 720 pixels 30 fps D1 720 x 480 pixels 30 fps VGA 640 x 480...

Страница 70: ...le USB port 16 bit Color Display Note The LCD screen is manufactured using extremely high precision technology so over 99 99 of the pixels are operational for effective use However some tiny black and...

Страница 71: ...moothly Delete these files and the others can then be played normally It is recommended that you first format the memory card before using it and avoid placing files with different formats in the same...

Страница 72: ...alth if waste of electrical and electronic equipment WEEE is not disposed of correctly Equipment which is marked with the WEEE logo as shown on the left should not be thrown away with your household w...

Страница 73: ...73 WARRANTY CARD 16...

Отзывы: