


-9-
PICTURE
BRIGHT 50
CONTRAST 50
COLOR 50
SHARP 50
NOISE REDU. OFF
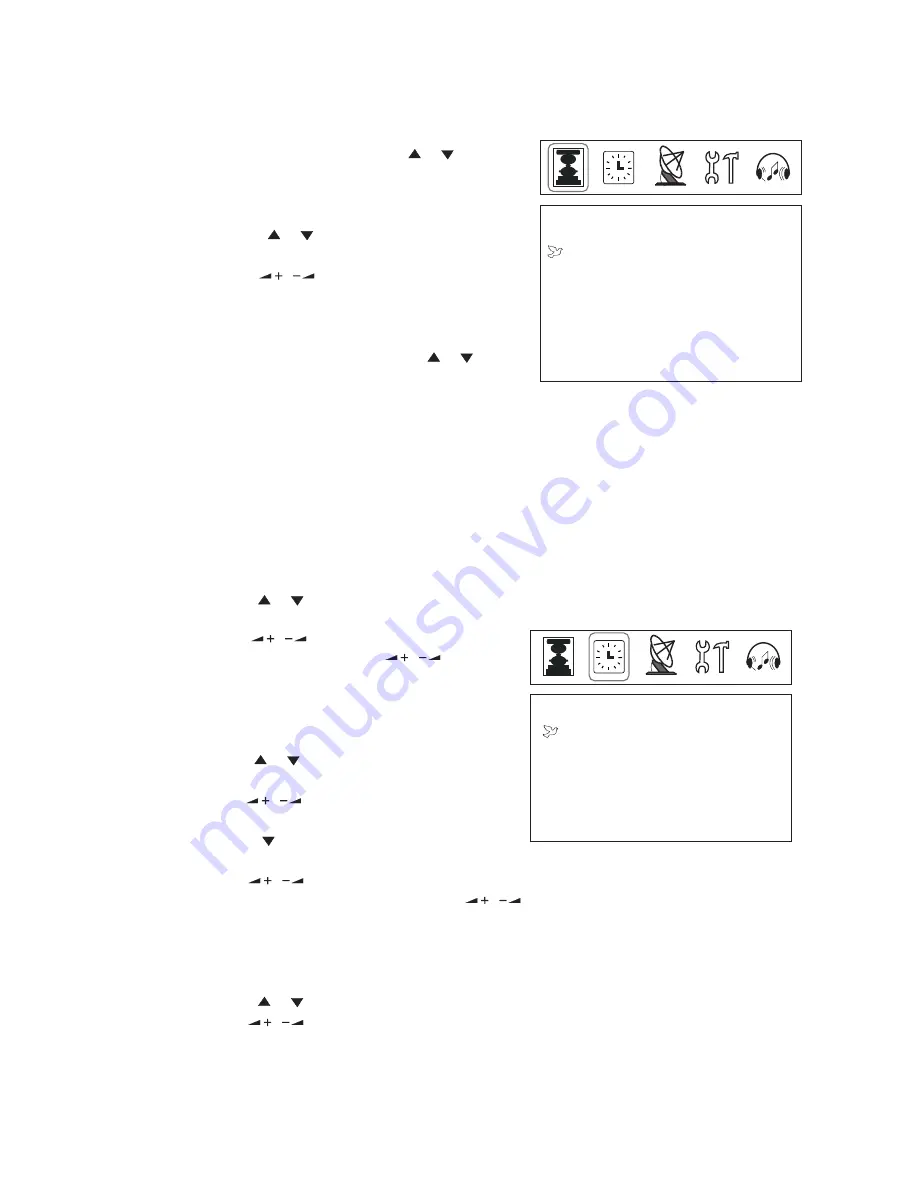
TIME
CLOCK 0:07
OFF TIMER
OFF 0:00
ON TIMER
OFF 0:00
POSITION 0
4.1 Clock Adjustment
1) Press " / "button to choose the
time you wish to set .
2) Press " / "button to set the
current time. (Holding " / "button
will increase/decrease the clock by
ten minutes.)
4.2 ON Timer/OFF Timer
1)Press " / "button to choose the
option of "OFF TIMER";
Press " / "button to set the OFF
TIMER mode (same day or every day);
2) Press " " button choose the option
of OFF TIMER mode (same day or every day).
3) Press " / "button to set the time
for turning off the unit. (Holding " / "button will increase/decrease
the clock by ten minutes.)
4) Set the time for turning on the unit in the similar way.
4.3 Position
1) Press " / "button to choose the option of position.
2) Press " / "button to adjust the position. The position setting is the
default channel number for timing on.
4. Time Setting
Press "MENU" button to choose the
"PICTURE" menu. Press " / "
button to enter the option of image
setting.
3.1 Press " / "button to choose
the option to be adjusted.
3.2 Press " / "button to adjust the
content of the option. In this menu,
the brightness, contrast, color,
sharpness and noise reduction may
be adjusted by pressing " / "
button directly.
3. Image Setting
Press"MENU"button to choose time option. Set the appropriate time based
on 24 hours system.
P
P
P
P
P
P
P
P
P
P
P
P
P


