


5
Connecting to a Computer
1.
Plug the JetFlash 220
directly into an available USB port on your desktop or notebook computer.
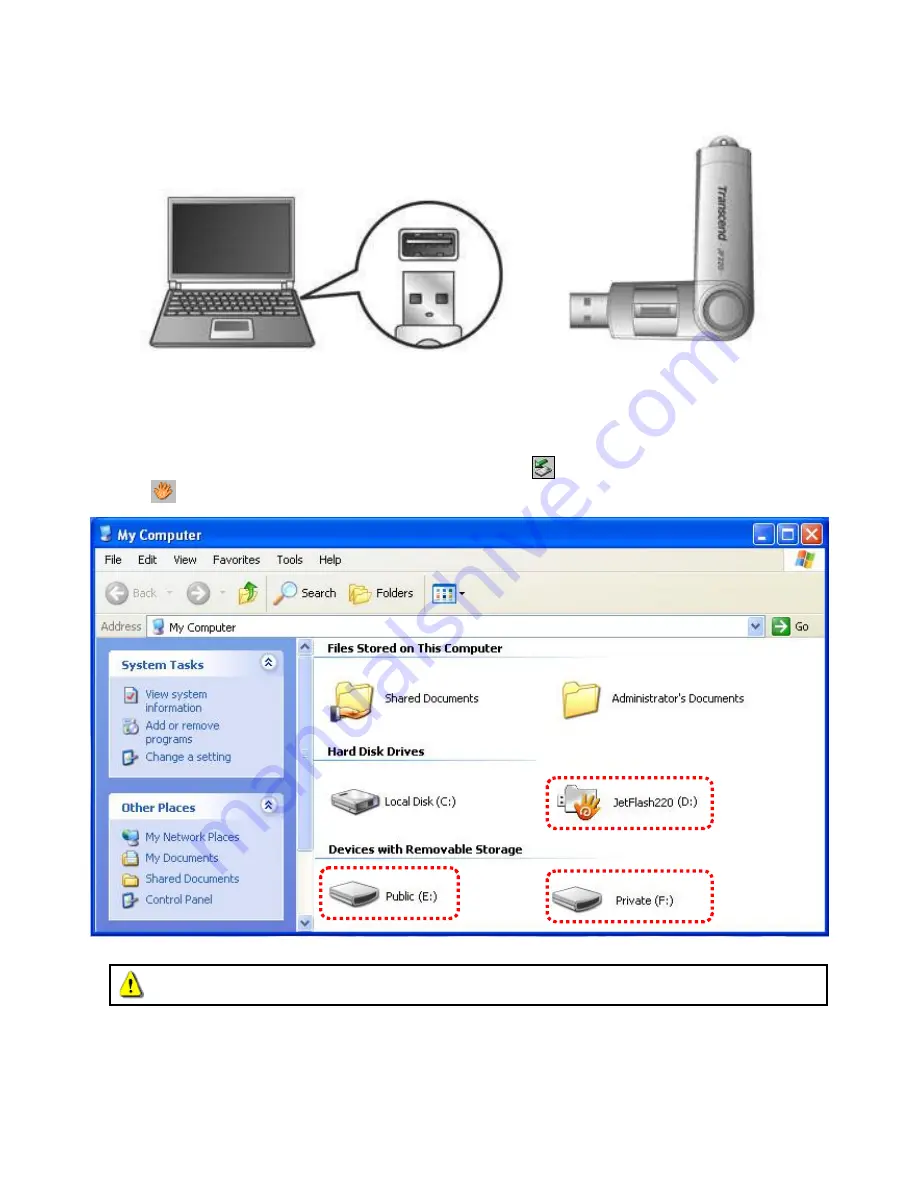
Figure 2. Connecting to a computer
2.
When the JetFlash 220
is successfully connected to a computer the drive’s LED will light up. A
Removable Disk
drive with a newly assigned drive letter representing the JetFlash 220 and a
“JetFlash220” virtual CD-ROM drive
containing the fingerprint software program will appear in the My
Computer window. In addition, a Removable Hardware icon
and
Fingerprint Application Suite
icon
will appear on the Windows System Tray.
Figure 3. *D, E & F: are example drive letters, the letters in your "My Computer" window may differ
3.
In your computer browser (My Computer), open the
JetFlash 220 virtual CD-ROM drive
and
double-click the
JetFlash220.exe
application. If this is your first time using the JetFlash 220, please see
Setting Up the Software
below.
Do NOT attempt to edit, delete, or modify any data on the JetFlash220 virtual CD-ROM drive


