TD-W8962ND
300Mbps Wireless N ADSL2+ Modem Router User Guide
33
¾
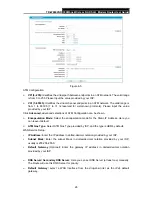
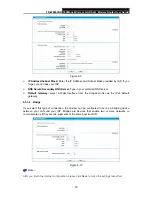
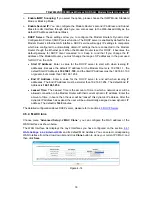
Enable IGMP Snooping:
If you select the option, please choose the IGMP Mode
:
Standard
Mode or Blocking Mode.
¾
Enable Second IP:
You can configure the Modem Router’s second IP Address and Subnet
Mask for LAN Interface through which you can also access to the Web-based Utility as the
default IP Address and Subnet Mask.
¾
DHCP Server:
These settings allow you to configure the Modem Router‘s Dynamic Host
Configuration Protocol (DHCP) server function. The DHCP server is enabled by default for the
Modem Router’s Ethernet LAN interface. DHCP service will supply IP settings to computers
which are configured to automatically obtain IP settings that are connected to the Modem
Router though the Ethernet port. When the Modem Router is set for DHCP, it becomes the
default gateway for DHCP client connected to it. Keep in mind that if you change the IP
address of the Modem Router, you must change the range of IP addresses in the pool used
for DHCP on the LAN.
•
Start IP Address:
Enter a value for the DHCP server to start with when issuing IP
addresses. Because the default IP address for the Modem Router is 192.168.1.1, the
default Start IP Address is
192.168.1.100
, and the Start IP Address must be 192.168.1.100
or greater, but smaller than 192.168.1.254.
•
End IP Address:
Enter a value for the DHCP server to end with when issuing IP
addresses. The End IP Address must be smaller than 192.168.1.254. The default End IP
Address is
192.168.1.254
.
•
Leased Time:
The Leased Time is the amount of time in which a network user will be
allowed connection to the Modem Router with their current dynamic IP address. Enter the
amount of time, in hours, then the user will be “leased” this dynamic IP address. After the
dynamic IP address has expired, the user will be automatically assigned a new dynamic IP
address. The default is
1440
minutes.
The detailed configuration about DHCP server, please refer to section
4.5 DHCP Server
.
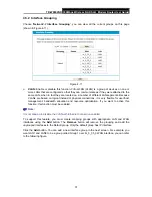
4.5.4 MAC Clone
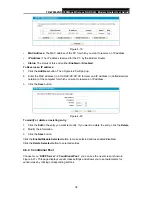
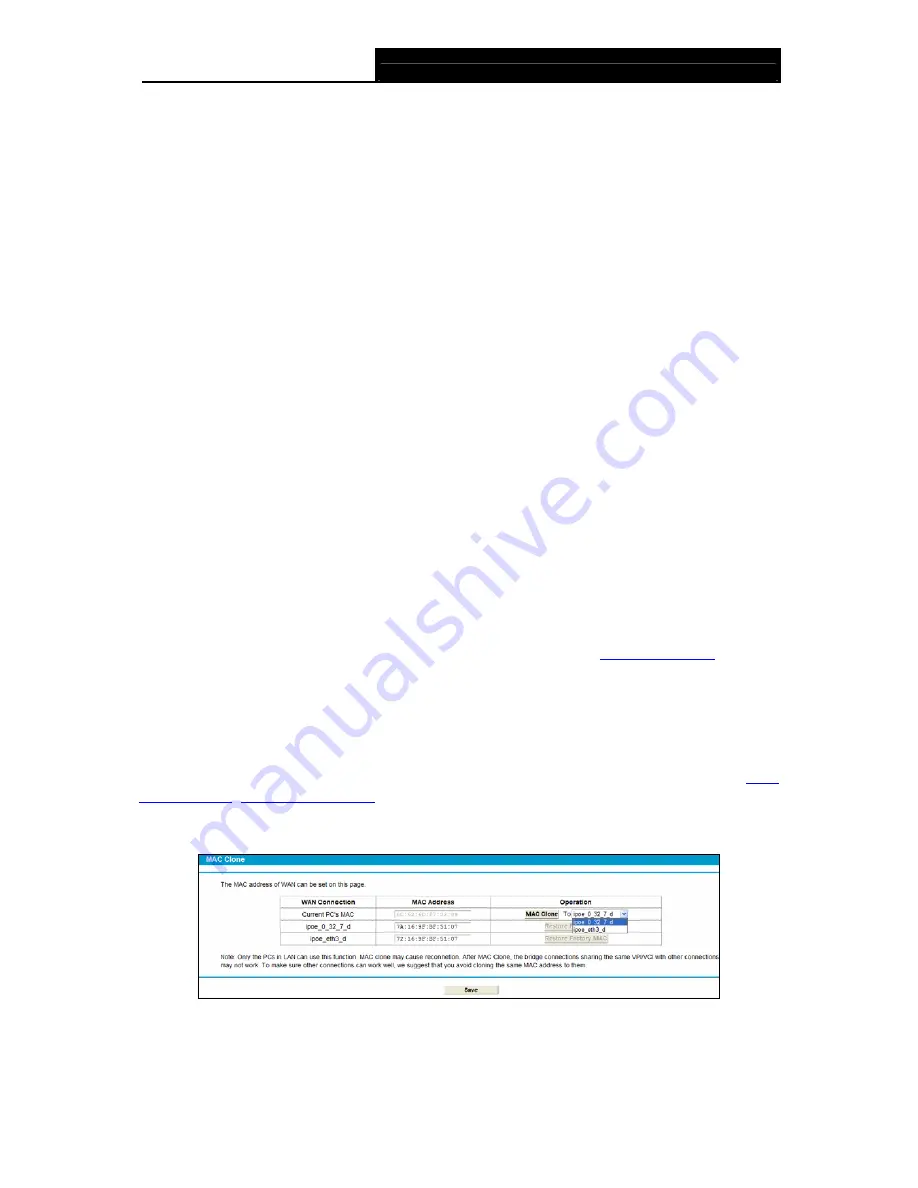
Choose menu “
Advanced Setup
”
Æ
“
MAC Clone
”, you can configure the MAC address of the
WAN Interface as shown below.
The WAN Interface List displays the Lay2 Interfaces you have configured on the section
4.4.1
WAN Settings
,
4.4.2 Ethernet WAN
and its default MAC Address. You can select corresponding
WAN Interface from the drop-down list and click
Clone
button to clone your current PC MAC, and
then click
Save
.
Figure 4-14


