3
PhotoBooth Camera Bracket Installation and Alignment
Installing the PhotoBooth Camera Bracket
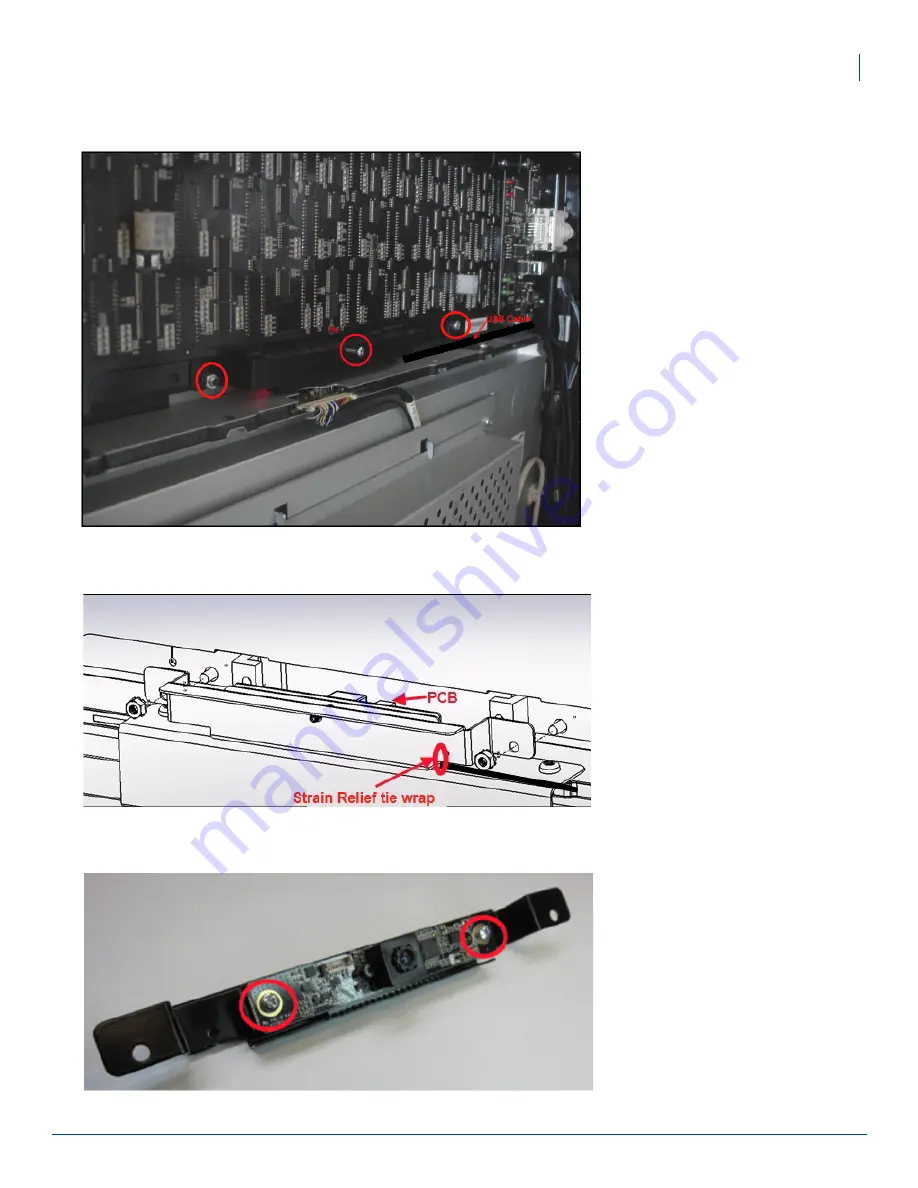
3. Unscrew the two small bolts used to keep the existing bracket threaded onto the back of the Virtuo door. You will reuse
these nuts momentarily.
5. Cut the tie wrap running through the strain relief hole and unplug the small PCB wire connected to the camera.
You will be replacing this tie wrap shortly, so note how it is connected.
6. Carefully remove the entire bracket assembly (with the camera board still attached) and place it on a table.
7. Remove the two screws attaching the camera board to the bracket, and discard the screws and bracket.
The previous bracket, connected to the camera board by two small screws
4. Remove the small 20mm central
screw and discard it. Your kit
includes a new 16mm screw to
replace it.


