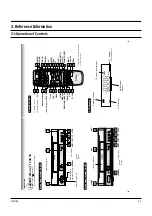
Reference Information
2-2
Toshiba
11
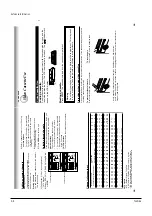
PREPARATION
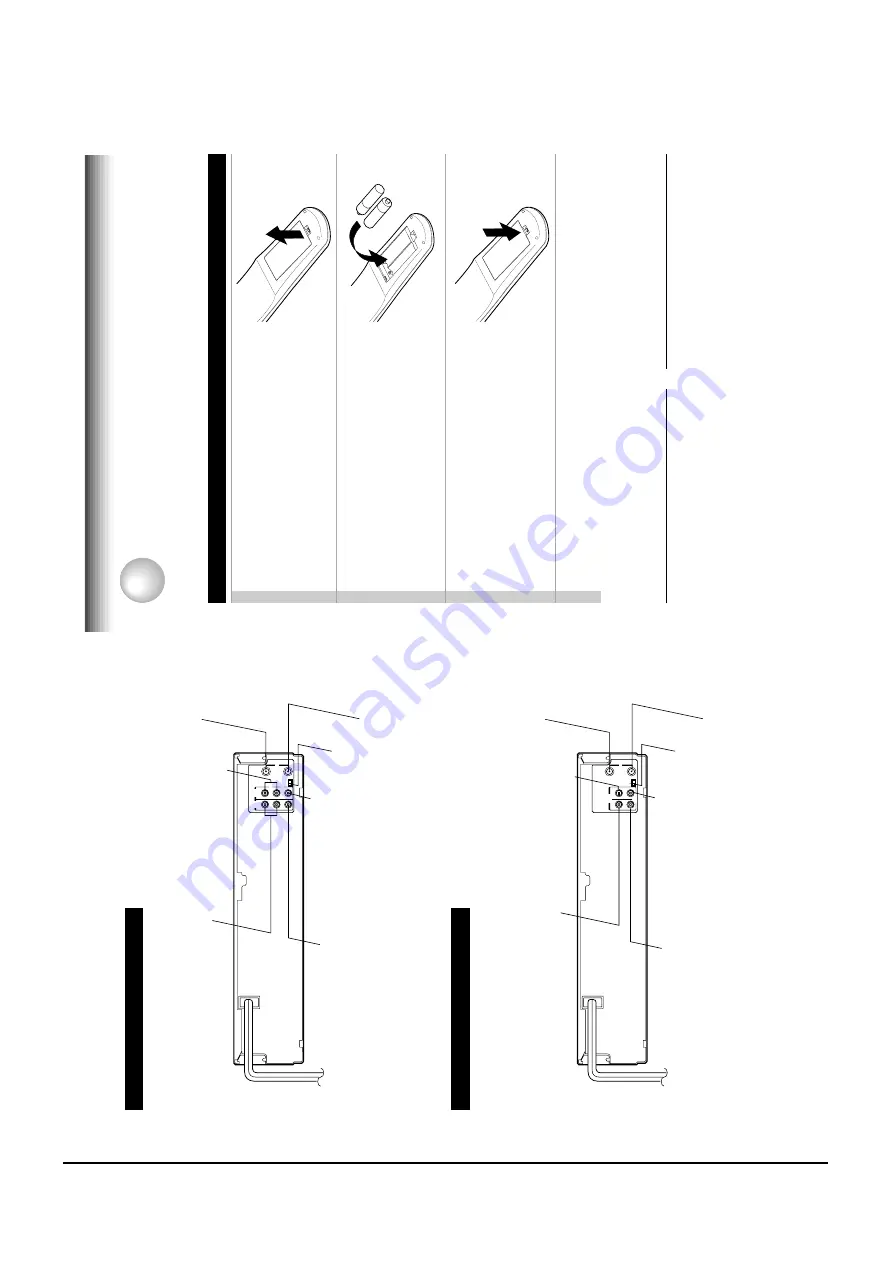
Setting up the Remote Contr
ol
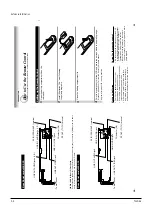
1
Open the battery compartment lid on the
rear panel.
2
Install 2 batteries (“AA” size) following
the polarity diagrams.
3
Close the battery compartment lid.
4
Point the remote control at the VCR and press the buttons within the operating range.
Distance: within about 7 m from the front of the remote sensor
Angles: within about 30˚ in every direction
Notes on batteries
•
The life of the batteries is about 1 year
depending on the conditions of use.
•
If the remote control does not operate correctly
,
replace all batteries with new ones.
•
If the remote control is not to be used for a
long period of time, remove the batteries to
avoid possible damage from battery corrosion.
Caring for the r
emote contr
ol
•
Do not expose the remote sensor of the VCR
to a strong light source such as direct sunlight
or illumination (especially high-frequency
lighting) when using the remote control.
•
Be careful not to spill water on the remote
control or to place it on anything wet, and avoid
sharp impacts.
How to Use the Remote Control
This section explains how to get ready for remote control operation.
PREP
ARA
TION
+
+
10
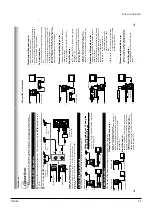
Rear Panel model W
-522
INTRODUCTION
L
R
CH selector (3/4)
LINE OUT AUDIO jacks (L, R)
LINE OUT VIDEO jack
RF IN (FROM ANT.) terminal
LINE IN 1 AUDIO jacks (L, R)
RF OUT (TO TV) terminal
LINE IN 1 VIDEO jack
CH
OUT (
TO TV)
IN
(
FROM ANT.)
LINE
OUT
LINE
IN 1
VIDEO
AUDIO
34
RF
To wall outlet
Rear Panel model W
-422
CH selector (3/4)
LINE OUT AUDIO jack
LINE OUT VIDEO jack
RF IN (FROM ANT.) terminal
LINE IN AUDIO jack
RF OUT (TO TV) terminal
LINE IN VIDEO jack
CH
OUT (
TO TV)
IN
(
FROM ANT.)
OUT
IN
VIDEO
AUDIO
34
RF
To wall outlet
LINE IN 1
AUDIO (Rear), 2 (Front)jacks
If the connected equipment is monaural (has one audio output jack), connect the L (MONO) side, the same
sound is recorded on both L and R on the Hi-Fi track.


