42
RECORDING
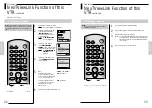
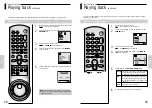
Checking a Preset Recording
66
Checking a Preset Recording
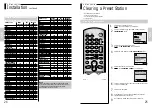
You can check your preset recordings:
•
When you have finished presetting the VTR
•
If you have forgotten which programmes will be recorded
•
Before the VTR enters the timer standby mode
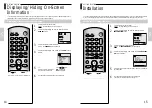
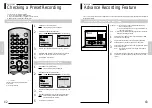
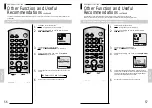
1
Press MENU on the remote control.
Result : The programming menu is displayed.
Press the OK button to select this option .
Result : The TIMER PROGRAMMING menu is displayed.
Press the
$
or
❷!
button to select the required programme.
Press the
➛!
or
❿
button to select and change any values as
required. For more details, refer to the previous page.
On completion, press. MENU.
2
INSTALL
BONUS LANG
END:
MENU
$❷!!➛❿
TIMER PROGRAMMING
OK
CLOCK
OPTIONS
PROG
MENU
$❷!!!
DELETE:
CLR/RST
-- ---- --:--
→
--:---- -
1 WE 1 12:00
→
12:50
PROG
1/JAN WED 21:28
SP
PR DAY START
→
STOP
-- ---- --:--
→
--:---- -
-- ---- --:--
→
--:---- -
-- ---- --:--
→
--:---- -
-- ---- --:--
→
--:---- -
V/P
ON
SET :
❿
3
4
5
1
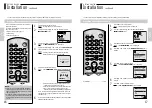
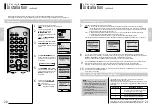
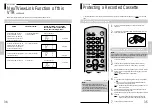
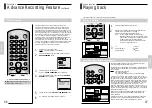
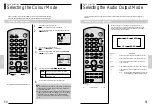
Press MENU on the remote control.
Result : The programming menu is displayed.
Press the OK button to select this option .
Result : The TIMER PROGRAMMING menu is displayed.
Select the programme to be cancelled by pressing the
$
or
❷
button.
Press the CLR/RST button to cancel the selected programme.
Result : All the recording information is deleted and the
broadcast will not be recorded.
On completion, press. MENU.
INSTALL
BONUS LANG
END:
MENU
$❷!!➛❿
TIMER PROGRAMMING
OK
CLOCK
OPTIONS
PROG
MENU
$❷!!!
DELETE:
CLR/RST
-- ---- --:--
→
--:---- -
1 WE 1 12:00
→
12:50
PROG
1/JAN WED 21:28
SP
PR DAY START
→
STOP
-- ---- --:--
→
--:---- -
-- ---- --:--
→
--:---- -
-- ---- --:--
→
--:---- -
-- ---- --:--
→
--:---- -
V/P
ON
SET :
❿
2
3
4
5
You can cancel any programmes that are :
♦
Incorrect
♦
No longer required
SLOW
PAUSE/STILL
STOP
F F
EJECT
REC
TIMER
TV
VTR
CH/TRK
I.SELECT
CLR/ RST
F. ADV
TV VOL
2
4
5
7
8
9
0
6
REW
PLAY
CURSOR
ON/
STANDBY
INDEX
MENU /
SP/ LP
SAT.MONI.
A.DUB
SAT.CONT.
DISPLAY
TV/VIDEO
AUDIO
PROG.
ENTER
TXT/ TV
COUNT/ TR
OK
1
3
PROG.
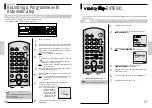
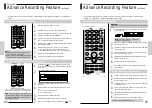
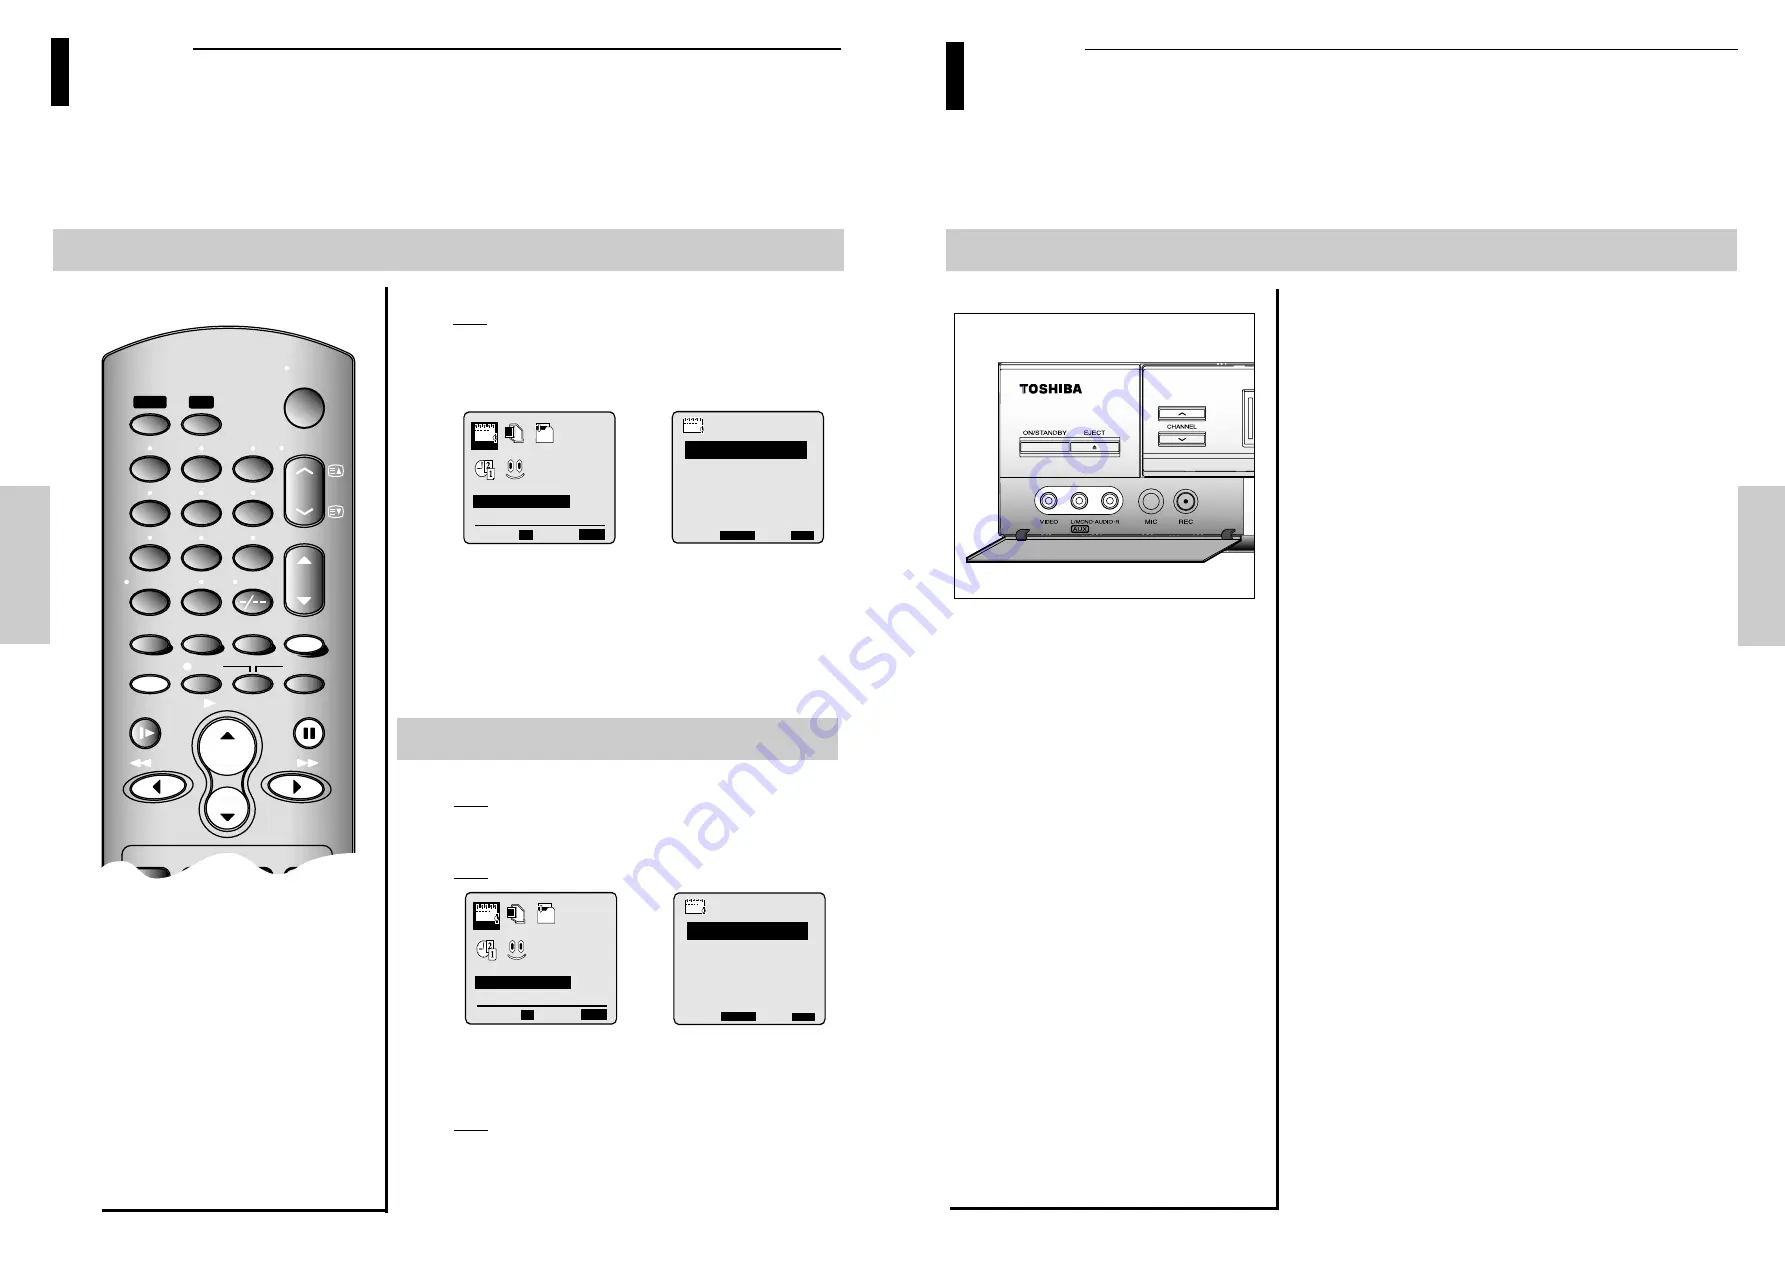
Connecting an RCA Audio/Video Input Cable
66
RECORDING
Advance Recording Feature
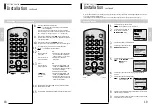
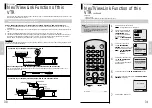
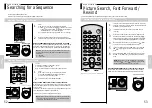
You can connect other audio/video equipment to your VTR using audio/video cables if the appropriate outputs are available on
the equipment chosen.
43
1
Connect one end of the RCA audio/video cable into the VIDEO
socket on the front of the VTR.
Plug the other end of audio/video cable into the appropriate
output connector on the other system (VTR or camcorder).
Connect one end of the RCA audio cable into the AUDIO sockets
on the front of the VTR.
Note : Take care to respect the colour coding of the left and
right channel.
Plug the other end of the audio cable into the appropriate output
connectors on the other system (VTR, camcorder or Hi-Fi sound
system).
4
2
3
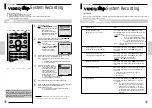
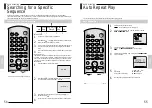
Examples :
◆
You wish to copy a video cassette with the help of a
second VTR (see page 44).
◆
You wish to play back and/or copy pictures taken with
camcorder (see page 44).
Note :
◆
Make sure that both the television and the VTR are switched
off before connecting the cables.
RECORDING
RECORDING
Cancelling a Preset Recording

