GETTING STARTED
Installation
continued
Satellite Setting
66
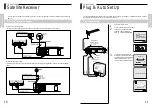
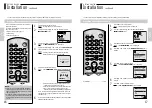
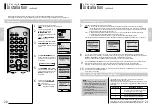
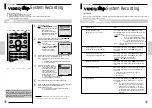
Proceed with the setting instructions described below in order to activate the satellite receiver control functions.
These settings are supported only by the satellite receivers found on the list of compatible satellite receivers ( see page 23).
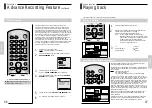
1
Press MENU on the remote control.
Result : The programming menu is displayed.
Press the corresponding
$
,
❷!
or
➛
,
❿
button to select the
INSTALLATION
option.
Then press the OK button to select
this option.
Result : The INSTALLATION
menu is displayed.
Press the
$
or
❷
button to select the
SATELLITE SETTING
option and
then press the
❿
button to select this
option.
Select SATELLITE INPUT, press
the
➛
or
❿
button to select input
position where the satellite receiver
is connected.
Select POSITION CH when RF
has been selected. Press the
➛
or
❿
button to select position where the
RF OUT
of satellite receiver is
memorized.
Press the corresponding
$
or
❷
button to select SAT. BRAND
NO
.(see page 23)
Result : The first digit of receiver
type number is flashed.
BONUS LANG
END:
MENU
$❷!!➛❿
INSTALLATION
OK
CLOCK
OPTIONS
PROG
INSTALL
SLOW
PAUSE/STILL
STOP
F F
REC
TIMER
TV
VTR
CH/TRK
I.SELECT
CLR/ RST
F. ADV
TV VOL
2
4
5
7
8
9
0
6
REW
PLAY
CURSOR
ON/
STANDBY
INDEX
MENU /
SP/ LP
SAT.MONI.
A.DUB
SAT.CONT.
DISPLAY
TV/VIDEO
AUDIO
PROG.
ENTER
TXT/ TV
COUNT/ TR
OK
1
3
PROG.
GETTING ST
AR
TED
20
2
END:
MENU
$❷!!!!!!❿
INSTALL
AUTO SET UP
MANUAL SET UP
NEXTVIELINK SETTING
SATELLITE SETTING
VCR OUTPUT CH
:CH36
3
END:
MENU
$❷!!!!!!➛❿
POSITION CH : 01
SAT. BRAND NO : 017
** SATELLITE SETTING **
SATELLITE INPUT : RF
MEMORY:
OK
4
→
RF
→
AV1
→
AV2
→
AUX
END:
MENU
$❷!!!!!!➛❿
SAT. BRAND NO : 017
** SATELLITE SETTING **
SATELLITE INPUT : RF
MEMORY:
OK
POSITION CH : 01
5
6
END:
MENU
$❷!!!!
** SATELLITE SETTING **
SATELLITE INPUT : RF
MEMORY:
OK
POSITION CH : 01
SAT. BRAND NO : 017
0-9
GETTING STARTED
Installation
continued
Satellite Setting
(continue)
66
7
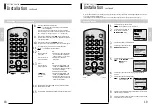
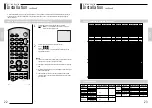
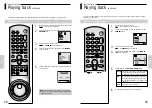
Press the numeric buttons to set receiver type number.
Result : When you enter the receiver type, the VTR sends a test signal to the satellite receiver to make sure that the
receiver type has been entered correctly. The signal will set the satellite channel to 12. If channel 12 is displayed
on your satellite receiver, it means the receiver type is set correctly. Several types may be allocated to one brand.
Enter one after the other until the channel shows 12.
Note :
•
Before pressing the numeric buttons to set receiver type, you must set the remote controller switch to VTR.
•
First check the list of compatible satellite receivers (see page 23).
•
It is not possible to control a receiver which is not on the list of compatible satellite receivers.
If no codes work, Press MENU button then select NO SATELLITE CONTROL on SATELLITE CH ORDER menu. Go to step no 10
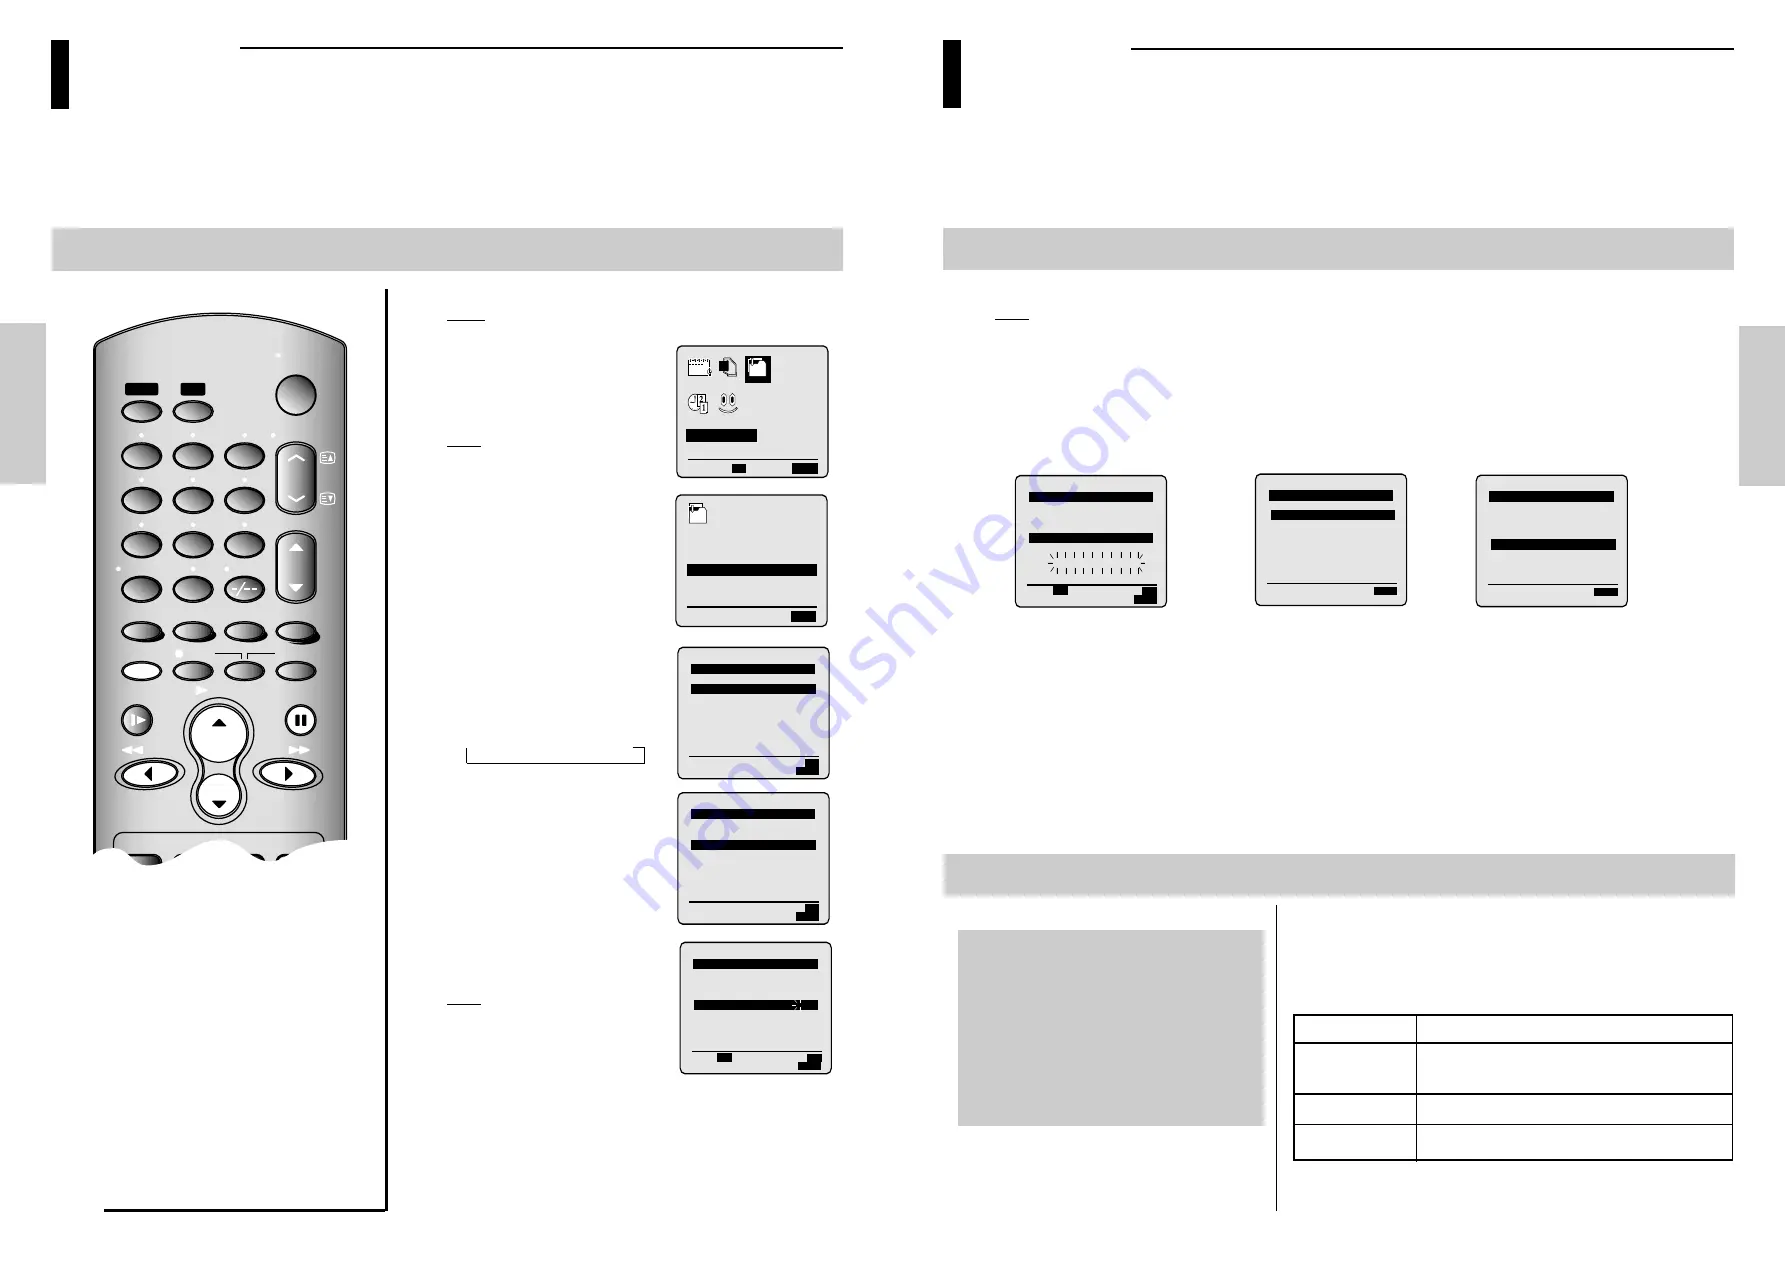
You now need to tell the VTR the channel order on your satellite receiver. Most Satellite receivers are preset to either
SKY ANALOGUE, SKY DIGITAL or ON DIGITAL order. If, however, you have changed the order then you will need to select
PERSONAL PREFERENCE and change the VIDEO Plus+ system GUIDE numbers accordingly.
Select any of the SATELLITE CH ORDER and this will customise your VTR to your Satellite receiver.
If you select PERSONAL PREFERENCE you will need to select the channel order of the satellite receivers on GUIDE CH menu.
Press FF button to move the active cursor to PR position and select a PR number by using FF or REW button.
Press PLAY or STOP button for other channel orders selection and repeat step 9. Press MENU three times to exit.
If you selected NO SATELLITE CONTROL you will need to manually select the correct Satellite channel on the receiver when
you want to record a satellite programme.
The set-up is now complete.
END:
MENU
$❷!!!!
** SATELLITE SETTING **
SATELLITE INPUT : RF
MEMORY:
OK
POSITION CH : 01
SAT. BRAND NO : 138
TEST CH 12 SENDING
0-9
GETTING ST
AR
TED
21
8
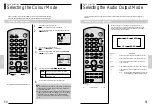
How to Preset the Type of Satellite Receiver
The satellite receiver mode (Power On or Off) must be set before
attempting to perform timer recording.
The procedure to set the mode can be devided into the following 3 types
by satellite receiver. Check which one applies on the attached list before
proceeding.
Preset Type
Controllable functions
A
No action needs to be taken. (The satellite
receiver’s power may even be OFF.)
B
Keep the satellite receiver’s power OFF.
C
Keep the satellite receiver’s power ON.
Please review the compatible satellite receiver list on page 23 before
purchasing a new receiver. In order to assure satellite receiver control,
Satellite Setting must be performed at the installation stage (see page 20).
Note:
♦
The VTR may not be able to control some
types or brands of satellite receiver, due to
the choice of remote control coding being
beyond our control.
♦
Check that the satellite receiver can be
properly controlled.
♦
Try satellite broadcast timer recording once
to check that timer recording works properly .
(Refer to page 41).
END:
MENU
$❷!!!!
** SATELLITE CH ORDER **
SKY ANALOGUE
SKY DIGITAL
ON DIGITAL
PERSONAL PREFERENCE
NO SATELLITE CONTROL
$!!!!
9
10
END:
MENU
$❷!!!!
** GUIDE CH **
GUIDE
PR
101
:
---
102
:
---
103
:
---
104
:
---
$!!!!
105
:
---
$!!!!


