GETTING ST
AR
TED
27
GETTING STARTED
Set top box Monitor Functions
66
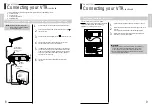
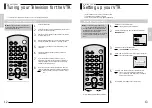
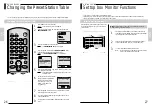
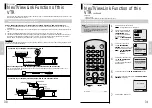
For Set top box receiver with only ONE SCART socket:
If the Set top box receiver has only one Scart output, Connect it to the BLUE input socket on the VTR. Use another Scart
lead to connect the AV1 (EURO AV) socket on the VTR to the TV
Satellite monitor functions
Note:
To view Set top box when video is in standby or (not ECO.
MODE) recording a television station:
If the Set top box receiver has two SCART outputs, one
to the VTR and another to the TV, you do not need to
use this function.
STOP
EJECT
SP/ LP
SAT.MONI.
A.DUB
SAT.CONT.
DISPLAY
TV/VIDEO
AUDIO
PROG.
PICTURE
1
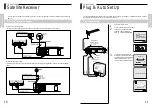
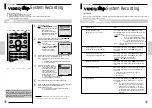
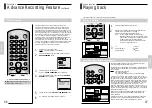
Press the SAT.MONI. button on the remote control once to
select the AV2 (SATELLITE) IN scart. This will loop the satellite
signal through the VTR up to the television.
If it has not been automatically selected, select the SCART
socket on the television. (refer to TV Owner’s Manual)
To cancel press the SAT.MONI. button again.
Note:
If you press MENU on the remote control the Set top
box Monitor function will be canceled.
3
2
26
GETTING STARTED
Changing the Preset Station Table
66
1
2
3
4
5
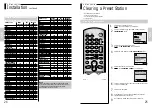
Changing the preset station table
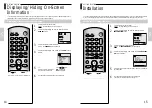
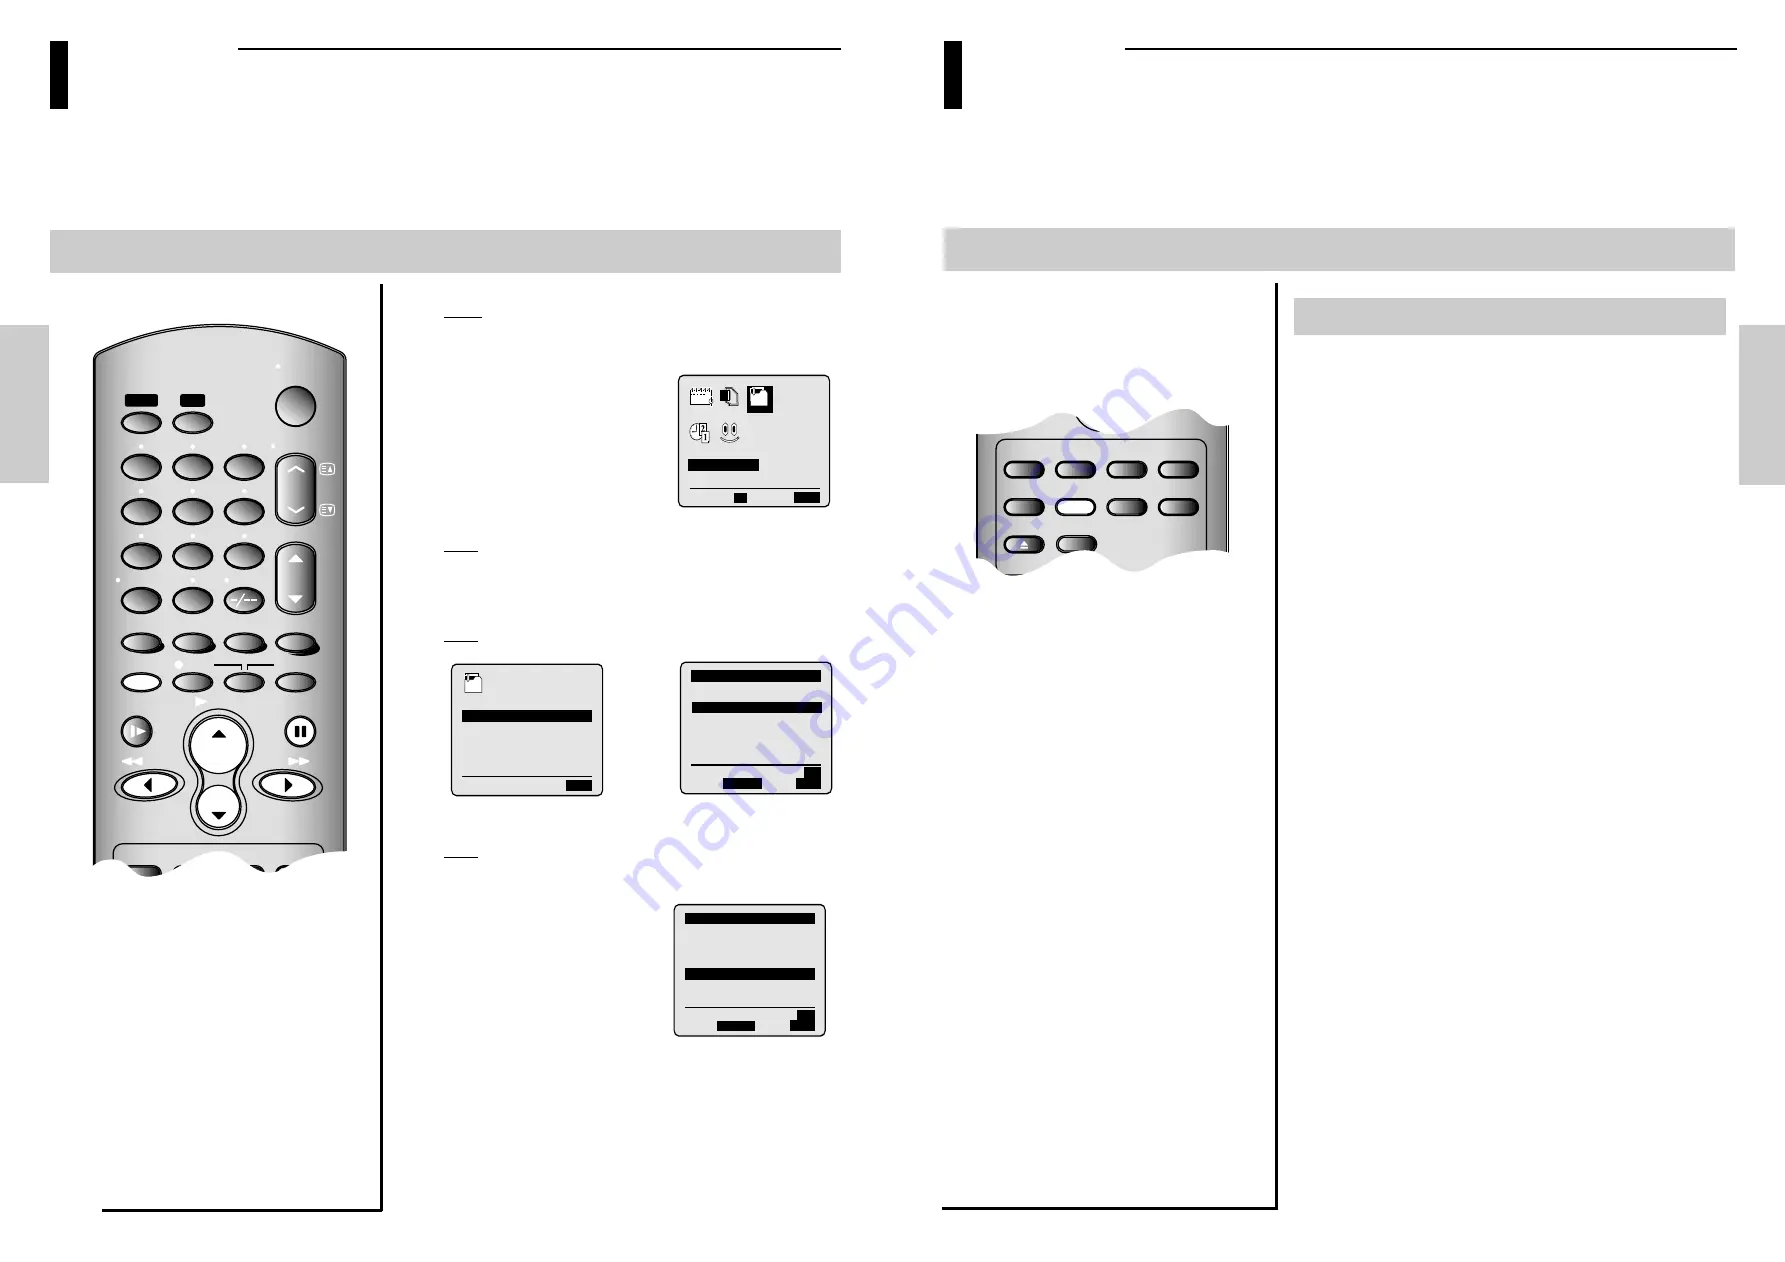
You can rearrange the preset TV stations according to your own preferences programme number assigned to the station.
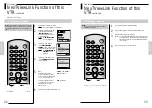
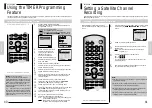
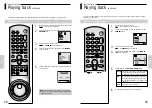
Press MENU on the remote control.
Result : The programming menu is displayed.
Press the corresponding
$
,
❷!
or
➛
,
❿
button to select the
INSTALLATION
option.
Press the OK button to select this option.
Result : The INSTALLATION menu is displayed.
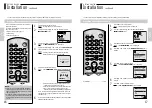
Press the
$
or
❷
button to select MANUAL SET UP option.
And then press the
❿
button to select this option.
Result : The TV STATION TABLE menu is displayed.
Press the corresponding
$
or
❷
button, until the required preset
TV programme is selected.
Result : The selected station is displayed at the same time on the
television screen.
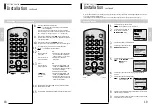
To change the programme number
assigned to station press the OK
button on the remote control.
(For example, To move a TV
station in programme 1 to
programme 3)
Press the
$
or
❷
button to select required position. And then
press OK again to swap the position.
You can modify this station by repeating the same procedure
from step 5 onwards.
On completion, press the MENU button three times to exit the
menu.
BONUS LANG
END:
MENU
$❷!!➛❿
INSTALLATION
OK
CLOCK
OPTIONS
PROG
INSTALL
END:
MENU
$❷!!!!!!❿
INSTALL
AUTO SET UP
MANUAL SET UP
NEXTVIEWLINK SETTING
SATELLITE SETTING
VCR OUTPUT CH
:CH36
** TV STATION TABLE **
$❷!!!❿
MENU
SWAPPING:
OK
PR
CH
NAME
1
004
----
2
3
4
5
DELETE:
CLR/RST
** TV STATION TABLE **
$❷!!!❿
MENU
SWAPPING:
OK
PR
CH
NAME
1
2
3
004
----
4
5
DELETE:
CLR/RST
6
7
8
9
SLOW
PAUSE/STILL
STOP
F F
EJECT
REC
TIMER
TV
VTR
CH/TRK
I.SELECT
CLR/ RST
F. ADV
TV VOL
2
4
5
7
8
9
0
6
REW
PLAY
CURSOR
ON/
STANDBY
INDEX
MENU /
SP/ LP
SAT.MONI.
A.DUB
SAT.CONT.
DISPLAY
TV/VIDEO
AUDIO
PROG.
ENTER
TXT/ TV
COUNT/ TR
OK
1
3
PROG.
GETTING ST
AR
TED


