ESV16
User’s
Manual
97
Its access privilege will then be displayed. You can alter its settings by
allowing or denying access to other cameras using the checkboxes
instead of accepting the defaults
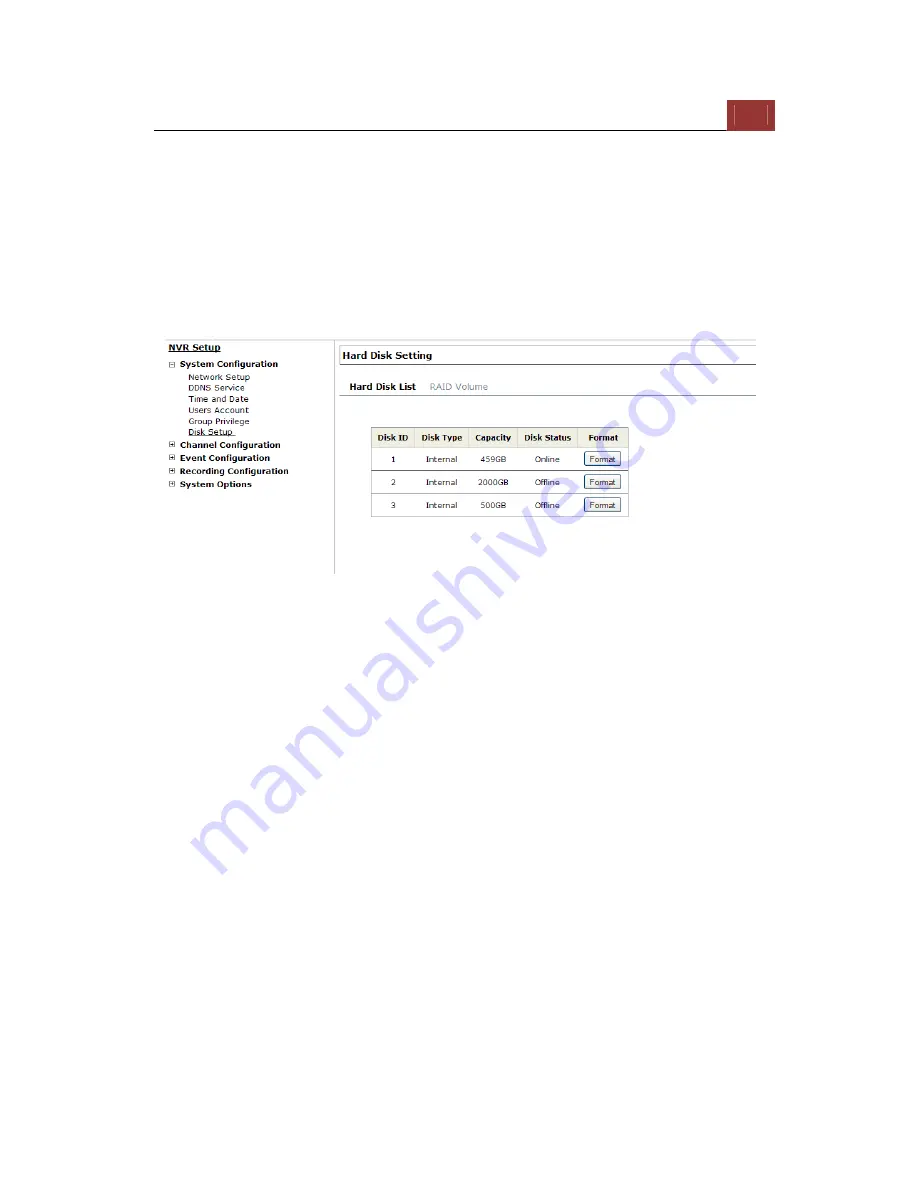
Disk Setup
Once you install a hard disk to the recorder, you would need to
initialize it so that it can be ready for recording. You can obtain basic
information about the disk you installed in this page.
To initialize it, simply click the “Format” button.
*This page will list the Internal disks (or RAID volumes), and the E-
SATA disk only. The HDD will be formatted in EXT3 file system.
*Due to the chipset limitation, “Hotswap” is NOT supported for E-SATA
HDD. Please make sure to power on the E-SATA external HDD and
plug it in to the NVR before the NVR is turned on.
NOTE: Maximum capacity of each E-SATA HDD is 2TB.
*The USB HDDs will only be listed in the "USB Backup" and "Hard Disk
Status pages in "System Options". The USB HDDs have to be
formatted in advance in FAT16/FAT32 or EXT3 file system. (FAT32 is
recommended)
Содержание Surveillix ESV16
Страница 5: ...ESV16 User s Manual 5 System Overview Front View Rear View ...
Страница 6: ...6 ESV16 User s Manual LED Status ...
Страница 9: ...ESV16 User s Manual 9 Push the tray door back to the case to secure it ...
Страница 33: ...ESV16 User s Manual 33 A new window should display and load the snapshot image ...
Страница 34: ...34 ESV16 User s Manual The new window displays the snapshot ...
Страница 45: ...ESV16 User s Manual 45 Type in the IP address of the NVR in the address bar ...
Страница 46: ...46 ESV16 User s Manual You should be prompted to enter the username and password to access the NVR ...
Страница 47: ...ESV16 User s Manual 47 Upon successful login you should see the live view video of the first channel ...
Страница 48: ...48 ESV16 User s Manual Click on the Channel drop down menu to select other cameras ...
Страница 52: ...52 ESV16 User s Manual Press the button highlighted above to go back to the browser ...
Страница 53: ...ESV16 User s Manual 53 Type in the IP address of the NVR in the address bar ...
Страница 54: ...54 ESV16 User s Manual You should be prompted to enter its username and password for access ...
Страница 63: ...ESV16 User s Manual 63 You may click Update to update the list to display the most recent results ...
Страница 66: ...66 ESV16 User s Manual A new window should display and load the snapshot image ...
Страница 67: ...ESV16 User s Manual 67 The new window displays the snapshot ...
Страница 79: ...ESV16 User s Manual 79 Locate the exported AVI file and click open Normally under C ExportFolder ...
Страница 100: ...100 ESV16 User s Manual Please wait for a few moments while the NVR is creating the RAID volume ...
Страница 155: ...ESV16 User s Manual 155 Type in the default username admin and password admin to log in ...
Страница 159: ...ESV16 User s Manual 159 Live events are listed in the side menu along with the time information ...
Страница 166: ...166 ESV16 User s Manual Video window surrounded with blue color means it s currently selected ...
Страница 169: ...ESV16 User s Manual 169 The snapshot of the video will be displayed on a pop up window ...
Страница 172: ...172 ESV16 User s Manual Click and drag the mouse diagonally on an area in which you would like to zoom in to ...
Страница 186: ...186 ESV16 User s Manual ...
Страница 189: ...ESV16 User s Manual 189 Double click on one from the search result to add it and for more detail configurations ...
Страница 191: ...ESV16 User s Manual 191 Click Apply to finish and save the settings ...
Страница 197: ...ESV16 User s Manual 197 Locate the image file jpg and click Open to finish ...
Страница 228: ...228 ESV16 User s Manual You can double click on the video again to go back to the Local map view ...


