


Playing Back
Photographed Images
Deleting
Photographed Images
Connecting to
the PC
Other Useful
Information
Additional
Information
Getting
Ready
Preface
T
aking
Photographs
74
Press the OK button.
The date and time setting screen appears.
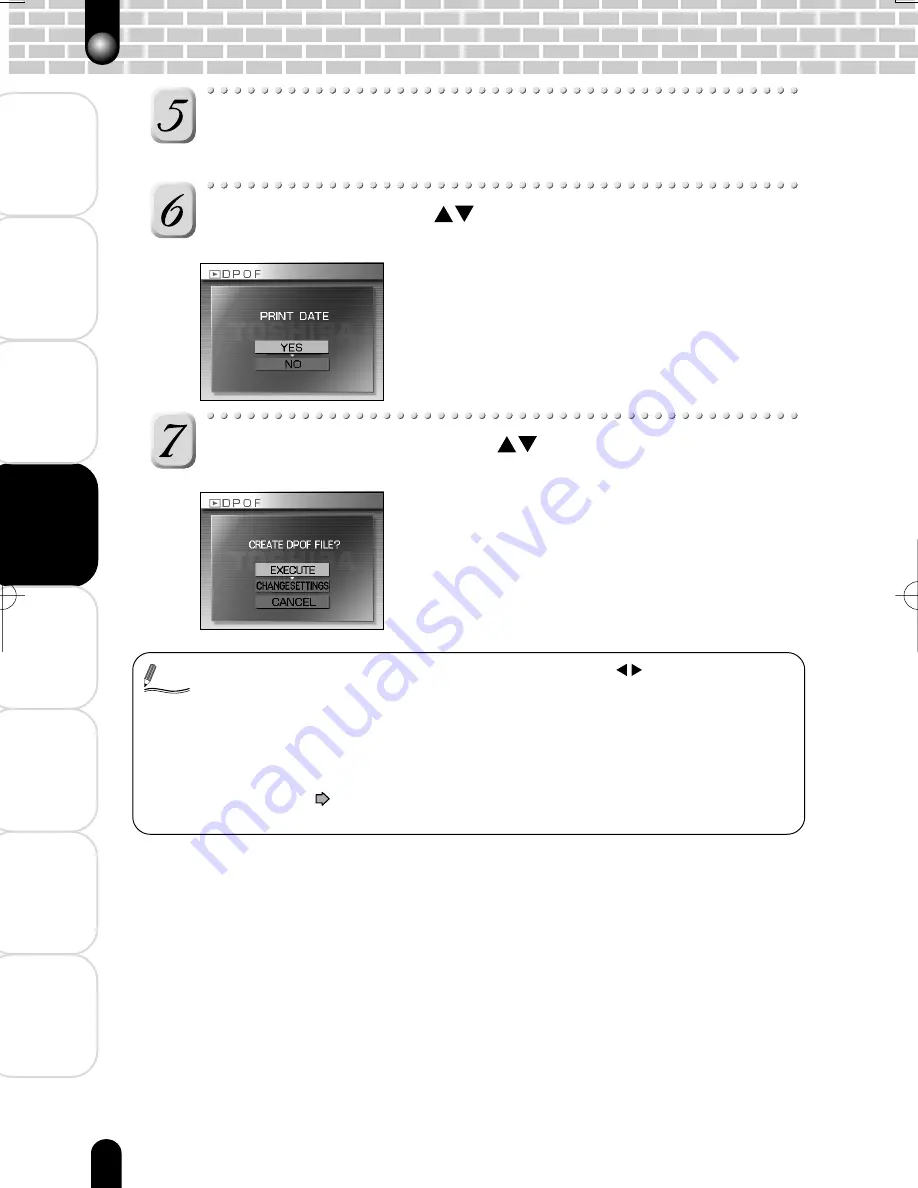
The date of the image can be printed at the bottom right corner of the photo.
Select [YES] with the
button, and press the OK
button.
To not print the date on the photo, select [NO],
and press the OK button.
The message “CREATE DPOF FILE?” is displayed.
• All of the images in a folder can be selected by pressing the button if multiple
folders exist.
• To display the image full on screen for confirmation, press the Tele button. To return the
original screen, press the Wide button.
• The date that is printed on the photo is the date set on the camera. To print the correct
date on the photo, mark the date setting on the camera before you photograph the
image.
TIME & DATE
page 103
• Please note that some types of printers do not support DPOF.
Select [EXECUTE] with the
button, and press the
OK button.
This creates a file containing the DPOF information,
and when the operation is finished, the screen
returns to the playback menu.
To continue setting the date and time, select
[CHANGE SETTINGS], and to exit setting without
creating the DPOF file, select [CANCEL] and press the
OK button.
DPOF Settings (Continued)
Memo
Содержание PDR-M500
Страница 16: ......
Страница 80: ......
Страница 81: ...Deleting Photographed Images Erasing Images Formatting the SD Card ...
Страница 98: ......
Страница 99: ...Other Useful Information Basic Settings Customize About LED Taking and Playing Back Photographs on a TV ...
Страница 110: ......
Страница 111: ...Additional Information Specifications Warning Messages Troubleshooting Q A Glossary Global Contacts Index ...
Страница 120: ......


