17
Using the TV’s features
2
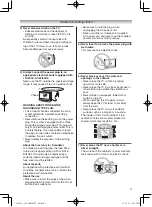
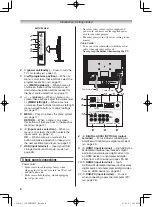
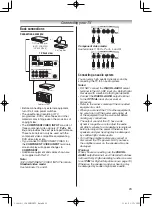
Press
Q
, then press
s
or
r
to select
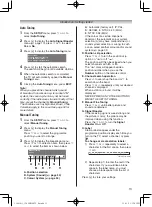
Picture Mode
.
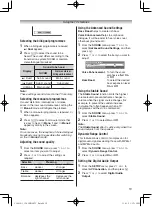
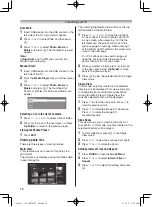
Picture Settings
1/2
Picture Mode
Backlight
Contrast
Brightness
Colour
Tint
Sharpness
Black/White Level
Dynamic
High
100
50
50
0
0
100
3
Press
v
or
w
to select the picture mode you
prefer and press
Q
.
Activating the picture preferences
You can customise current picture mode
settings as desired. For example, while selecting
"
Dynamic
," if you change the following items,
such as
Picture Settings
items, your new setting
is saved as
Dynamic-user
.
1
From the
Picture Settings
menu, press
s
or
r
to select either
Backlight
,
Contrast
,
Brightness
,
Colour
,
Tint
or
Sharpness
and
press
Q
.
2
Press
v
or
w
to adjust the settings.
Setting the Black/White Level
Black/White Level
improves the contrast of the
picture.
1
From the
Picture Settings
menu, press
s
or
r
to select
Black/White Level
.
2
Press
v
or
w
to select
High, Off, Low
or
Middle
.
Using the Cinema Mode
A movie film’s picture runs at 24 frames a second,
whereas movie software such as DVD, etc., that
you enjoy watching on TV at home runs at 30
(NTSC) or 25 (PAL) frames a second. To convert
this signal to reproduce a smooth motion and
picture quality, select the
On
mode.
Effective signal and setup conditions:
• When the Video input mode is selected.
• When the input signal format is 480i, 576i or
1080i signals.
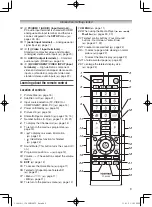
1
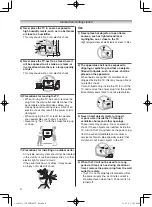
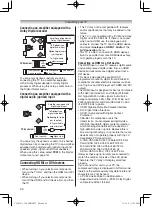
From the Picture Settings menu, press
s
or
r
to select
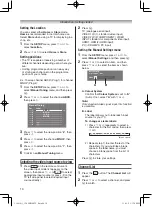
Cinema Mode
on the 2nd page.
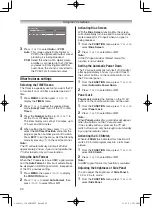
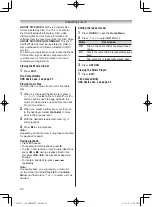
Picture Settings
2/2
Cinema Mode
Colour Temperature
Reset
Off
2
Press
v
or
w
to select
On
or
Off
.
Note:
When a DVD movie with subtitle is playing back,
this mode may not work correctly.
Adjusting the Colour Temperature
Colour Temperature
increases the warmth or
coolness of the picture by setting the red, green
or blue tint.
1
From the
Picture Settings
menu, press
s
or
r
to select
Colour Temperature
on the 2nd
page, then press
Q
.
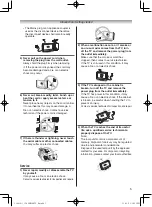
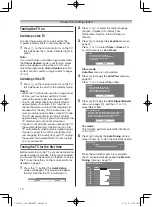
2
Press
v
or
w
to select
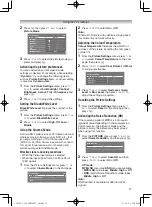
Cool, Natural
, or
Warm
to suit your preference.
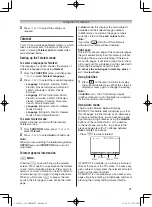
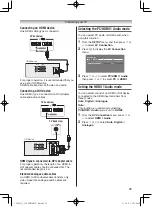
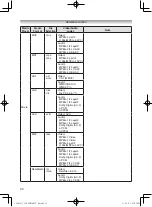
Colour Temperature
Colour Temperature
Cool
Red Level
Green Level
Blue Level
0
0
0
3
Press
s
or
r
to select
Red Level, Green
Level
or
Blue Level
, then press
v
or
w
to
adjust the setting as required.
Resetting the Picture Settings
1
From the
Picture Settings
menu, press
s
or
r
to select
Reset
on the 2nd page, then
press
Q
.
Activating the Noise Reduction (NR)
If the receiving signal of MPEG is a mosquito
(grained) noise depending on the compression
and conversion, the picture is weak and the
picture is blurry, the picture may be improved
when using this function.
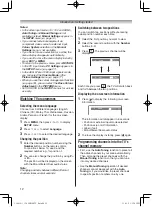
1
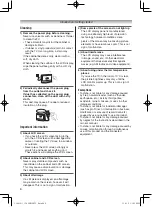
From the
PICTURE
menu, press
s
or
r
to
select
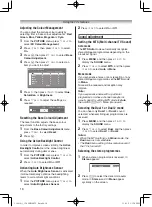
Noise Reduction
, and then press
Q
.
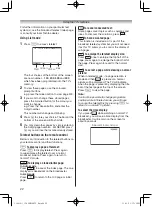
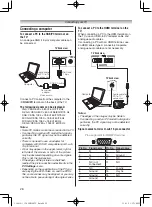
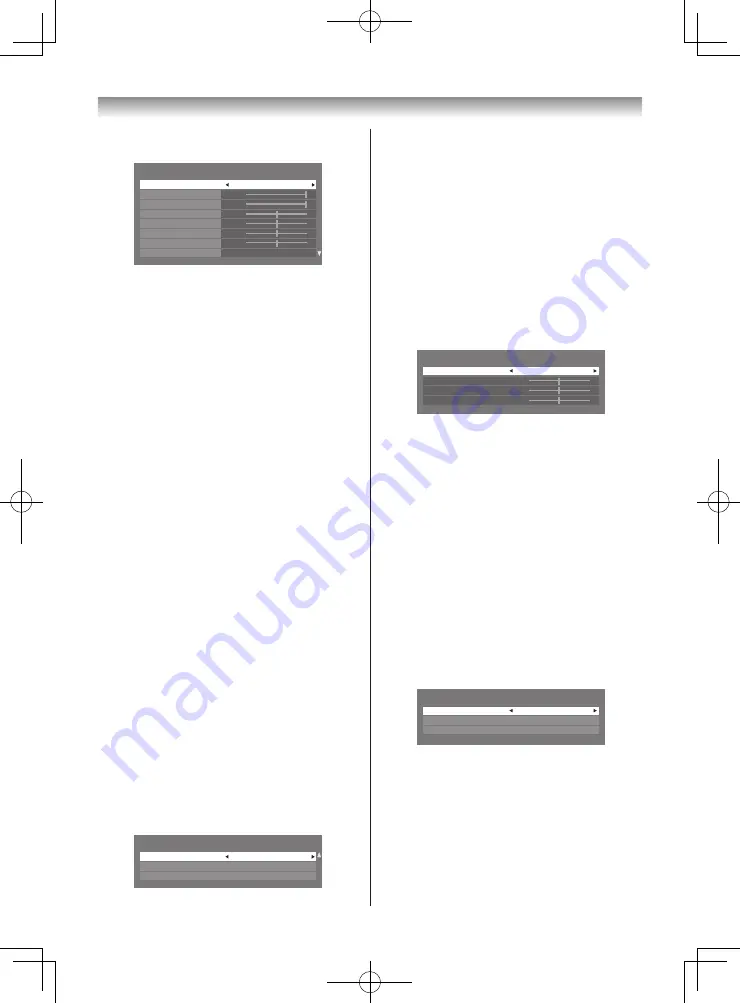
Noise Reduction
Auto NR
On
MPEG NR
Auto
DNR
Auto
2
Press
s
or
r
to select
Auto NR
, and then
press
v
or
w
to select
On
or
Off
.
Off mode :
MPEG NR
menu and
DNR
menu are available.
•
MPEG NR
mode:
Low
,
Middle
,
High
or
Off
•
DNR
(Digital Noise Reduction) mode:
Low
,
Middle
,
High
or
Off
Note:
DNR function is available for 480i and 576i
signals.
110419c1_3240PB10ETV_En.indd 17
11.4.19 1:57:09 PM

