


26
Digital
text and interactive services
and
Analogue
text
This television has a multi-page text memory,
which takes a few moments to load.
The
digital
text and interactive services are the
up-to-date way of viewing service information,
using computer-style formats, incorporating
pictures and interactive views.
They offer high quality on-screen images with
multi-colour photographic still images, advanced text and
graphics and are user-friendly. These services are free to
anyone with a digital television, however, they are not
available for all digital stations and are dependant on the
broadcaster.
Simply using the coloured buttons on the remote control
and
P
,
Q
,
S
and
R
makes navigating pages and
pull-down menus quick and easy.
Digital
text and interactive services
Using
Digital
interactive services
Analogue
text
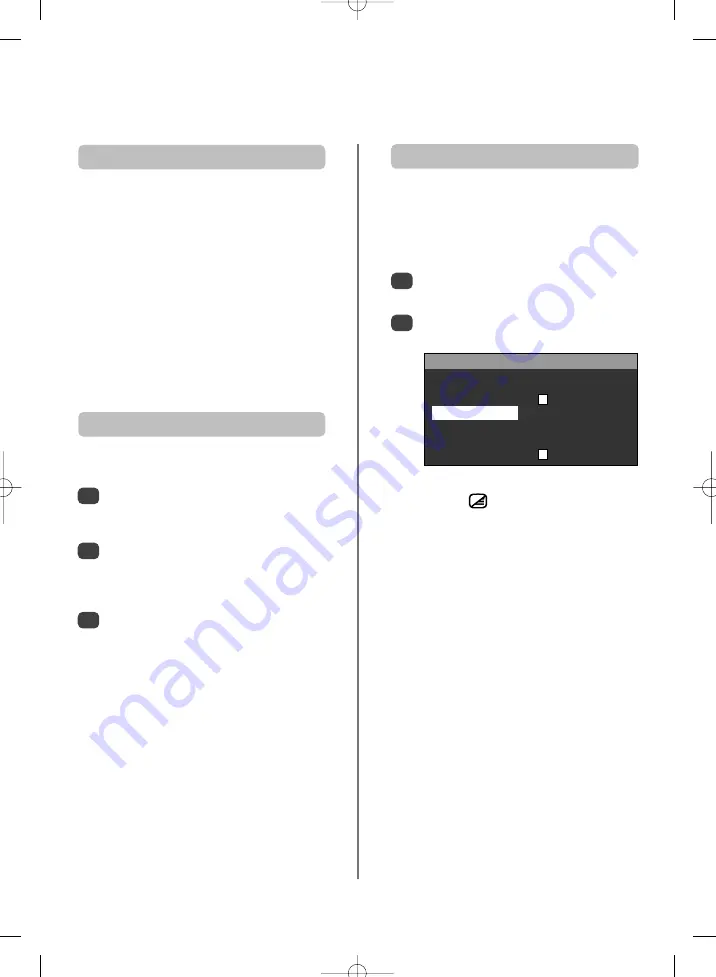
Select
TXT LANGUAGE
from the
FEATURE
menu.
With
R
choose the required language then press
OK
.
Before using the text services the required language must
be chosen.
1
2
To access
digital
interactive services press the
TEXT
or
RED
button. It may take a few seconds to
load.
Using
P
and
Q
highlight the required subject
and press
OK
.
Use the coloured buttons as instructed.
To return to normal viewing press
TEXT
.
1
2
3
FEATURE
SLEEP TIMER
OFF
CHILD LOCK
TXT LANGUAGE
ENGLISH
LANGUAGE
ENGLISH
EXT-2 OUTPUT
TV
BLUE BACKGRND
The TEXT
6
/ /
7
button
:
To view text services press
TEXT
. Pressing again will split
the screen in two with the television picture on one side
and text on the other. Press again to return to normal
viewing. Programmes cannot be changed until text is
cancelled.
The first text page shown will be the
initial
page.
Any text page can be accessed by entering the 3 digit
page number using the numbered buttons, pressing the
coloured buttons or pressing
P
f
(
P
) to advance to the
next page and
P
e
(
Q
) to go back to the previous page.
Four coloured titles will appear at the base of the screen.
To access one of the four given subjects, press the
relevant coloured button on the remote control.
For further information on your particular text system(s),
see the broadcast text index page or, consult your local
Toshiba dealer.
Most channels that offer interactive services will show a
prompt, for example, "Press RED".
Содержание 28YT56
Страница 1: ...28 32YT56 Series Owner s manual TOSHIBA ...
Страница 30: ...30 Notes For your own records ...
Страница 31: ...31 Notes For your own records ...


