Setup
Loose Parts
Use the chart below to verify that all parts have been shipped.
Procedure
Description
Qty.
Use
1
No parts required
–
Prepare the machine.
2
No parts required
–
Adjust the control-arm position.
Right front hose guide
1
3
Left front hose guide
1
Install the cutting units.
4
Rear weights (size varies with
configuration)
Varies
Install rear weights (order from your
Toro Distributor).
Hood lock, seal, and jam nut
1
5
Washer
1
Install the CE hood lock.
6
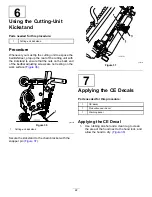
Cutting-unit kickstand
1
Install the cutting-unit kickstand.
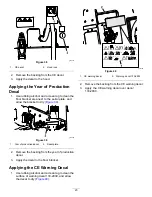
CE decal
1
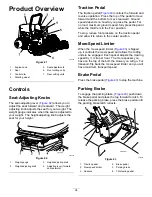
Production year decal
1
7
Warning decal
1
Apply the CE decals.
Media and Additional Parts
Description
Qty.
Use
Operator's Manual
1
Read the manual before operating the machine.
Engine owner’s manual
1
Read the manual before operating the engine.
Note:
Determine the left and right sides of the
machine from the normal operating position.
1
Preparing the Machine
No Parts Required
Procedure
1.
Park the machine on a level surface, lower the
cutting units, and engage the parking brake.
2.
Shut off the engine, remove the key, and wait for
all moving parts to stop.
3.
Check the tire air pressure before use; refer to
Checking the Tire Air Pressure (page 52)
.
Note:
The tires are overinflated for shipping.
Adjust the tire air pressure before operating the
machine.
4.
Check the hydraulic-fluid level; refer to
the Hydraulic-Fluid Level (page 58)
.
5.
Grease the machine; refer to
Bearings and Bushings (page 42)
.
Important:
Failure to properly grease the
machine will result in premature failure of
critical parts.
6.
Open the hood and check the coolant level; refer
to
Checking the Coolant Level (page 54)
.
7.
Check the level of the engine-oil level, and
close and latch the hood; refer to
Engine-Oil Level (page 44)
.
Note:
The engine ships with oil in the
crankcase; however, check the oil level before
and after the engine is first started.
10
Содержание Reelmaster 5610
Страница 68: ......


