


8
Comm Mode
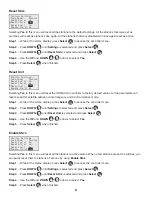
What’s Running
Manual Watering
Scheduled Watering
Communication
Diagnostics
Settings
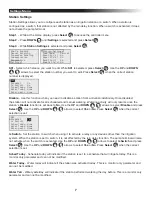
Station Settings
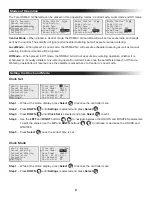
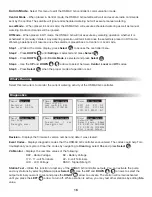
Comm Mode:
Reset Pgr’s: No
Reset Sta’s: No
Reset Unit: No
Enable Sta’s: No
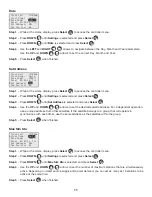
Central
Station Settings
Comm Mode:
Reset Pgr’s: No
Reset Sta’s: No
Reset Unit: No
Enable Sta’s: No
Local
Station Settings
Comm Mode:
Reset Pgr’s: No
Reset Sta’s: No
Reset Unit: No
Enable Sta’s: No
Off
Central Mode – When placed in Central mode, the OSMAC G3 satellite will wait and execute radio commands
sent by the Central mode. The satellite will ignore all scheduled watering but will execute manual watering.
Local Mode – When placed in Local mode, the OSMAC G3 will execute scheduled watering as well as manual
watering. Radio commands will be ignored.
Off Mode – When placed in Off mode, the OSMAC G3 will not execute any watering operation whether it is
scheduled or manually initiated. Any watering operation will terminate once the satellite is placed in Off mode.
Watering operations will resume once the satellite is placed back to Central or Local mode.
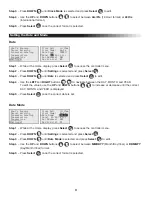
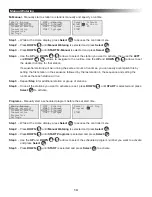
Step 1 – While at the Home display, press Select
SELECT
SELECT
to access the controller menu.
Step 2 – Press DOWN
until Settings is selected and press Select
SELECT
SELECT
.
Step 3 – Press DOWN
until Comm Mode is selected and press Select
SELECT
SELECT
.
Step 4 – Use the UP and DOWN
arrows to select between Central, Local and Off modes.
Step 5 – Press Select
SELECT
SELECT
when the proper mode of operation is set.
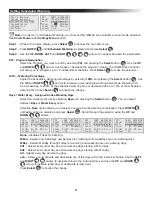
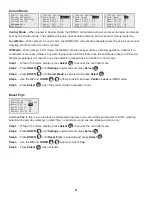
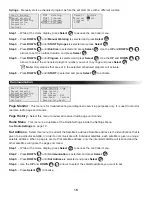
Reset Prg’s
Station Settings
Comm Mode: Central
Reset Pgr’s: No
Reset Sta’s: No
Reset Unit: No
Enable Sta’s: No
Yes
Selecting Yes to this menu will erase all scheduled programs and reset all their parameters to 100% watering
adjustment, everyday watering, no start time, no set station, and one simultaneous station only.
Step 1 – While at the Home display, press Select
SELECT
SELECT
to access the controller menu.
Step 2 – Press DOWN
until Settings is selected and press Select
SELECT
SELECT
.
Step 3 – Press DOWN
until Reset Prg’s is selected and press Select
SELECT
SELECT
.
Step 4 – Use the UP and DOWN
arrows to select Yes.
Step 5 – Press Select
SELECT
SELECT
when finished.


