29
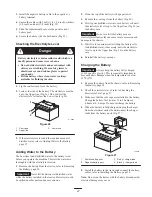
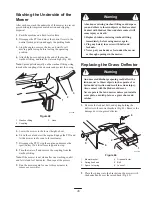
8. Install the fuel line onto the fuel filter. Slide the hose
clamp close to the fuel filter to secure the fuel line
(Fig. 29).
Greasing and Lubrication
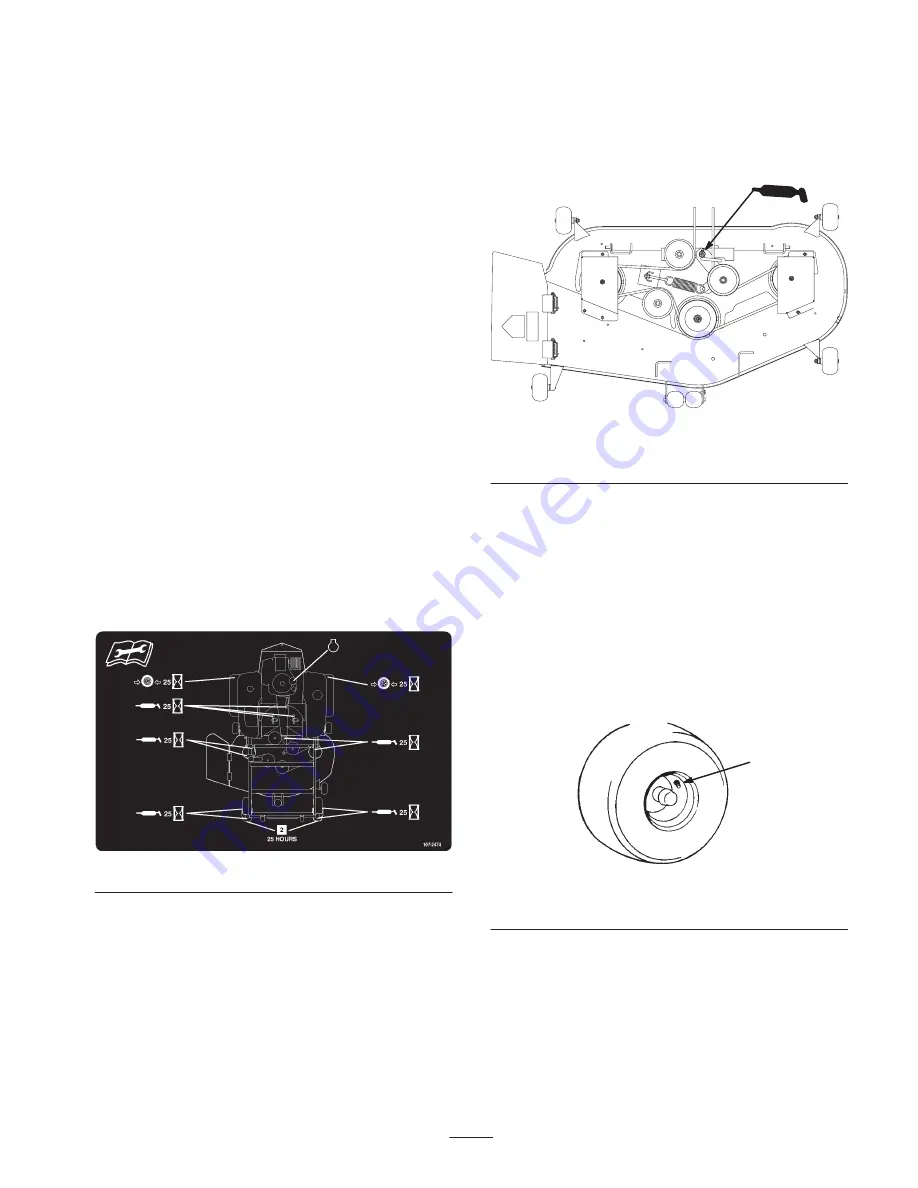
Lubricate the machine when shown on the Check Service
Reference Aid decal (Fig. 30) located beneath the seat.
Grease more frequently when operating conditions are
extremely dusty or sandy.
Grease with No. 2 general purpose lithium base or
molybdenum base grease.
How to Grease
1. Disengage the PTO, stop the engine, and remove the
key.
2. Clean the grease fittings with a rag. Make sure to scrape
any paint off of the front of the fitting(s).
3. Connect a grease gun to the fitting. Pump grease into
the fittings until grease begins to ooze out of the
bearings.
4. Wipe up any excess grease.
Where to Add Grease
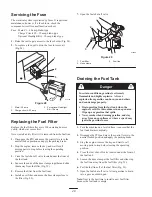
Lubricate the grease fittings as shown on the Check Service
Reference Aid decal (Fig. 30) located beneath the seat.
Figure 30
Greasing the Mower
The cutting unit must be lubricated regularly; refer to the
Recommended Maintenance Schedule, page 21. Grease
with No. 2 general purpose lithium base or molybdenum
base grease.
1. Disengage the PTO and move the control levers to the
neutral locked position and apply the parking brake.
2. Stop the engine, remove the key, and wait for all
moving parts to stop before leaving the operating
position.
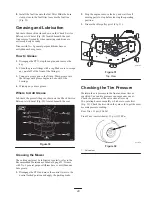
3. Grease the idler pulley pivot (Fig. 31).
m–5157
Figure 31
Top View
Checking the Tire Pressure
Maintain the air pressure in the front and rear tires as
specified. Uneven tire pressure can cause uneven cut.
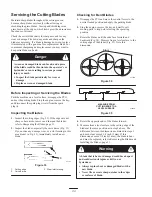
Check the pressure at the valve stem after every
50 operating hours or monthly, whichever occurs first
(Fig. 32). Check the tires when they are cold to get the most
accurate pressure reading.
Rear Tires: 13 psi (90 kPa)
Front Tires (castor wheels): 35 psi (139 kPa)
m–1872
1
Figure 32
1.
Valve stem
Содержание 18-52ZX TimeCutter
Страница 7: ...7 Slope Chart ...
Страница 8: ...8 ...

