13
1. Replacing seat and plug
If the valve does not properly seal, dirt or damaged sealing edges could be the
cause. In case of dirt, thoroughly clean the parts. In case of damaged sealing
edges, replace for new ones.
1.1 Plug
When replacing the plug, you should also replace the packing (4.2, fig.5) and the
gasket (1.2, fig.5). To exchange the plug, carry out the same steps as described in
chapter 4.1. However, install a new plug instead of the used one. Apply lubricant to
the plug stem prior to installation.
1.2 Seat
Replace the seat (2, fig.5) as described below:
1) Unscrew the nuts (1.1, fig.5) and lift the valve bonnet (5, fig.5) and flange (5.1,
fig.5) off the valve body (1, fig.5).
2) Unscrew the seat (2, fig.5) using the appropriate seat wrench (see torque table).
3) Apply lubricant to the thread and the sealing conus of the new seat and screw in.
4) Place the valve bonnet with flange on the valve body and secure with nuts (1.1).
Observe the tightening torques!
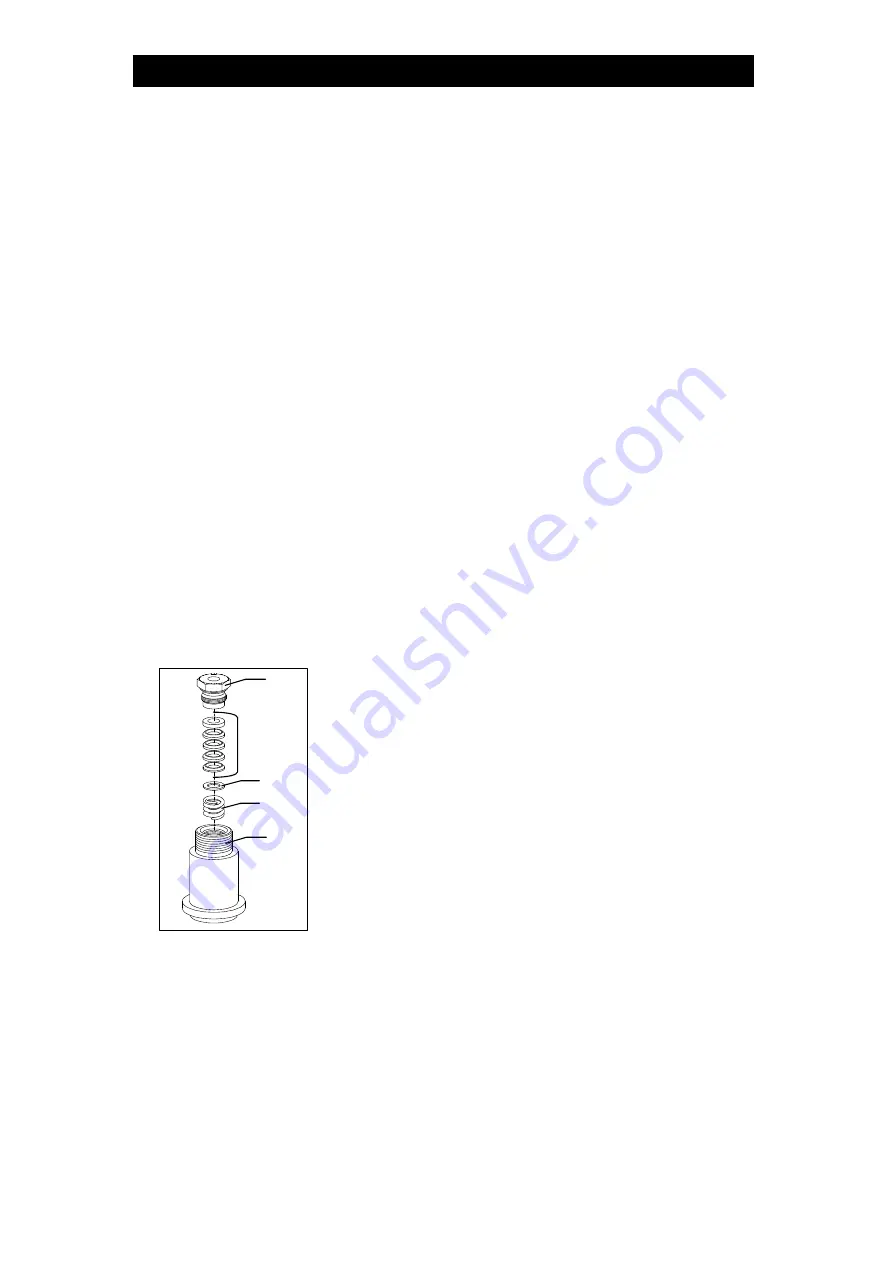
2. Replacing the packing
Fig. 6
If the valve leaks at the stuffing box, the packing (4.2)
of the stuffing box needs to be exchanged as follows:
1) Unscrew the nuts (1.1) and remove the valve bonnet
(5) and flange (5.1).
2) Check the gasket (1.2) in the valve body for damage.
We recommend that you re-place the gasket.
3) Screw off the threaded bushing (5.2) and pull out the
plug (3).
4) Pull out the damaged packing (4.2) using an
appropriate tool. Remove the washer (4.3) and spring
(4.1) and clean the packing chamber.
5) Apply lubricant to the individual parts of the new packing and the plug stem. Insert
the plug (3) in the valve bonnet (5).
6) Place the valve bonnet with flange on the valve body and secure with nuts (1.1).
Observe the tightening torques given in the table.
7) Insert the spring (4.1) and washer (4.3) and carefully slide the new packing (4.2)
over the plug stem into the packing chamber. Screw in the threaded bushing (5.2)
and tighten.
4.2
4.3
5
5.3
4.1


