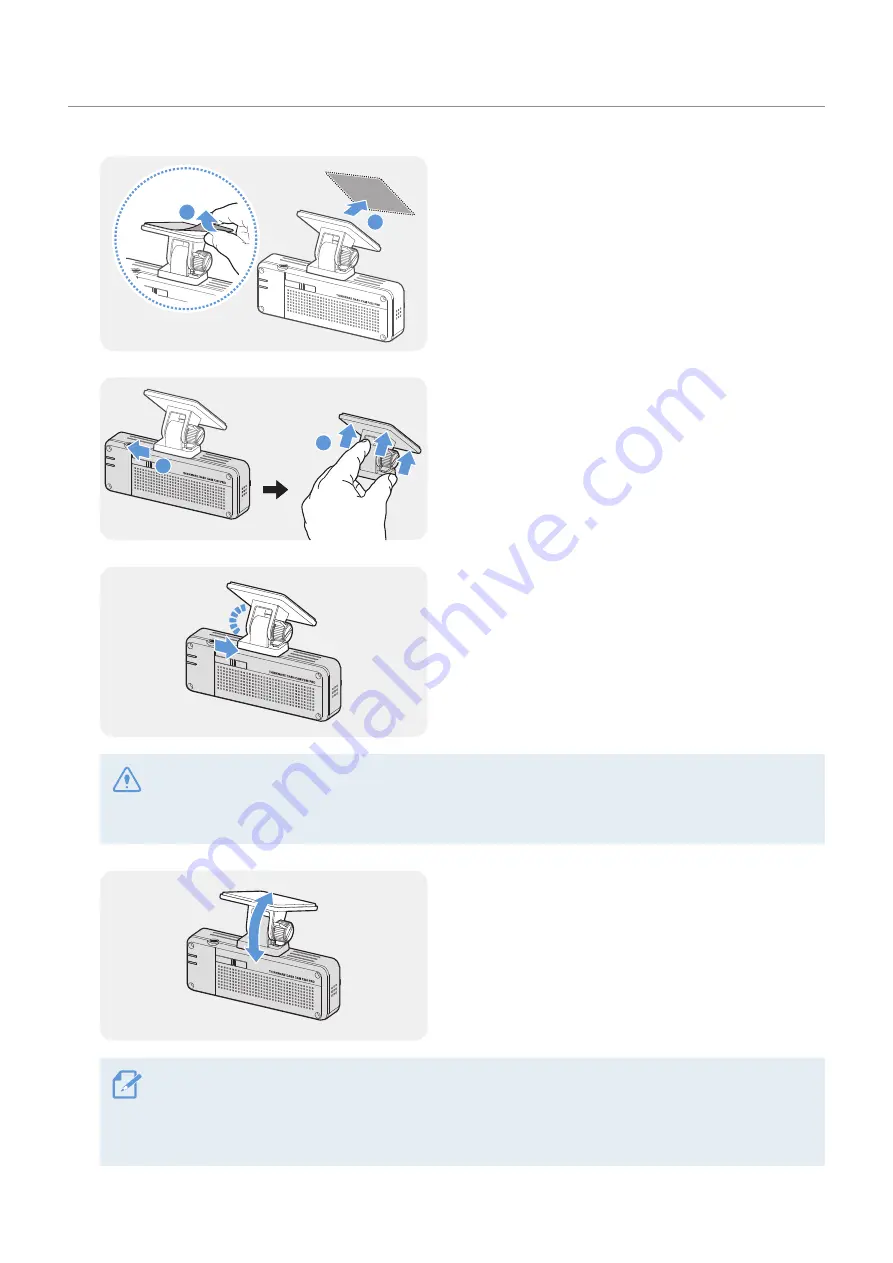
Installing the product
12
3
1
2
➊
➊
➋
➋
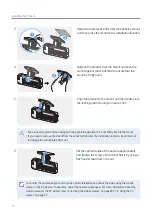
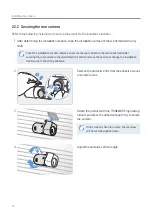
Remove the protective film from the adhesive mount,
and then press the mount to the installation location.
4
2
1
➊
➊
➋
➋
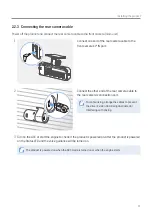
Remove the product from the mount and push the
mount against the windshield to ensure that the
mount is firmly fixed.
5
Align the product to the mount, and then slide it into
the locking position until you hear a click.
• The product may fall and be damaged during vehicle operation if it is not firmly fixed to the mount.
• If you need to remove the mount from the windshield to alter the installation location, be careful not
to damage the windshield’s film coat.
6
Set the vertical angle of the camera appropriately
and tighten the screw of the mount firmly by using a
flat-head screwdriver or a coin.
To confirm the camera angle, record a video after installation and check the video using the mobile
viewer or the PC viewer. If necessary, adjust the camera angle again. For more information about the
mobile viewer or the PC viewer, refer to "4. Using the mobile viewer" on page 20 or "5. Using the PC
viewer" on page 21.
Содержание DASH CAM F200 PRO
Страница 33: ...http www thinkware com Ver 1 0 August 2020...


