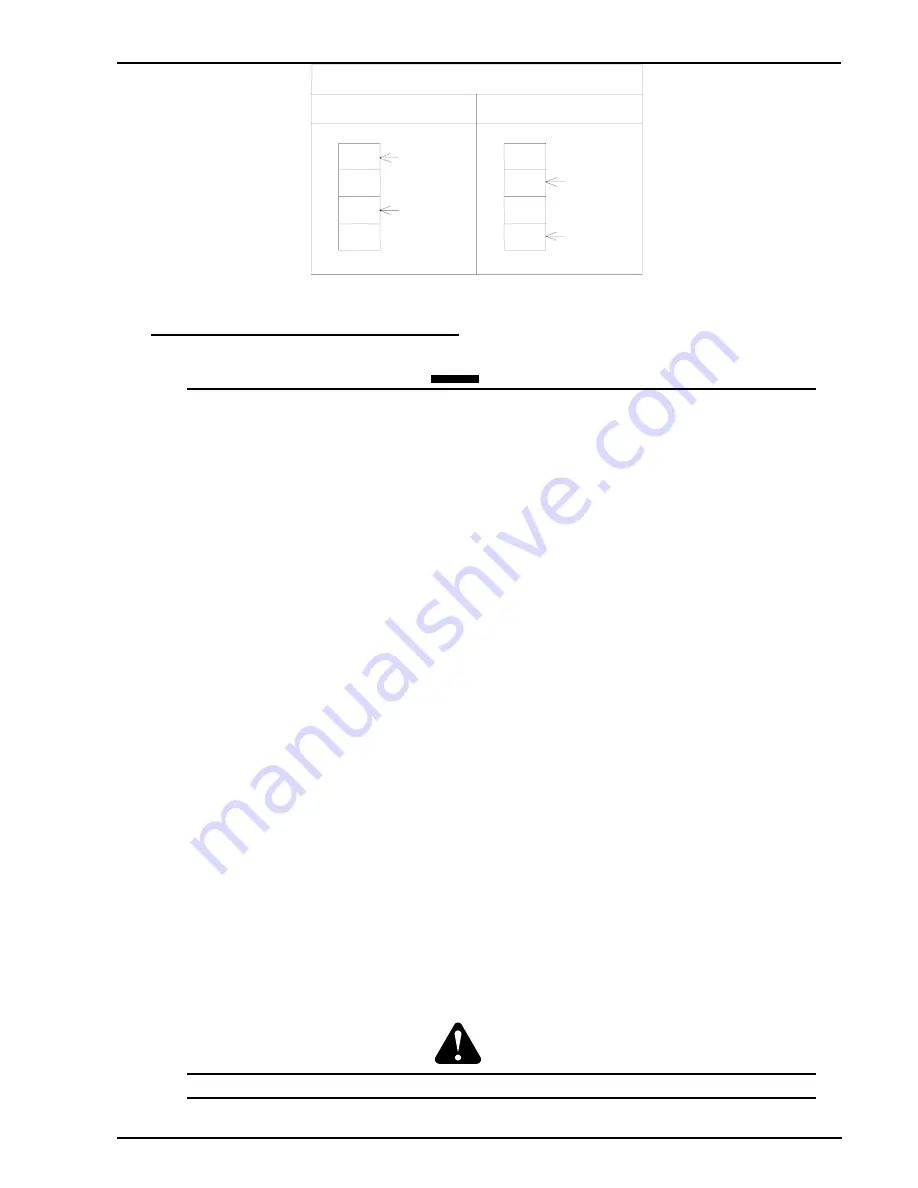
Viking 210GM, 250GM
15
Figure 2 - Voltage settings for Viking 210GM & 250GM.
5. SET UP FOR COMPACT VIKINGS
a)
Remove all packaging materials.
CAUTION 1
To obtain adequate air flow and cooling for the Power Source components, the four wheels must be fitted.
Alternatively, the Power Source may be raised 140mm (5.5”) from the floor using supports that do not
restrict airflow.
b)
Connect the work lead to the negative (
−
) socket (po for Flux Cored Wire)
c)
Connect the
TORCH
lead to the positive (+) socket (negative
−
for Flux Cored Wire)
d)
Position a gas cylinder on the rear tray and lock securely to the Power Source cylinder
bracket with the chain provided. If this arrangement is not used then ensure that the gas
cylinder is secured to a building pillar, wall bracket or otherwise securely fixed in an
upright position.
e)
Fit the gas Regulator/Flowmeter to the gas cylinder.
f)
Connect the gas hose from the rear of the Power Source to the Flowmeter outlet.
g)
Three dual groove feed rollers are supplied as standard with the Power Supply. These can
accommodate 0.6mm (.024”), 0.8mm (.030”), 0.9mm (.035”) and 1.2mm (.045”) diameter
hard wires as well as 1.0mm (.040”) and 1.2mm (.045”) flux cored wires. Select the roller
required with the chosen wire size marking facing outwards.
h)
Fit the electrode wire spool to the wire reel hub located behind the electrode wire
compartment door. Ensure that the drive dog-pin engages the mating hole in the wire
spool. Push the 'R' clip into place to retain the wire spool securely. The wire should feed
from the bottom of the spool.
i)
Fit the TWECO MIG torch to the wire feed unit by releasing the torch locking screw in
the brass torch adaptor and pushing in the torch fitting until the plastic torch casing meets
the brass adaptor. Tighten the torch locking screw securely. Also ensure that the adjacent
black knurled screw in the wire feeder casting is securely tightened. Remove the contact
tip from the torch.
j)
Connect the two black torch trigger leads to the torch trigger terminals.
k)
Lift up the wire feeder pressure lever and pass the electrode wire through the inlet guide,
between the rollers, through the outlet guide and into the torch.
l)
Lower the pressure lever and with the torch lead reasonably straight, feed the wire through
the torch. Fit the appropriate contact tip.
WARNING 3
The electrode wire will be at welding voltage potential whilst it is being fed through the system.
INPUT VOLTAGE SELECTION
208V
230V
230V
208V
230V
208V
230V
208V
230V
208V
CONNECT WIRE
10 TO THE
230V TERMINAL
CONNECT WIRE
6 TO THE
230V TERMINAL
CONNECT WIRE
10 TO THE
208V TERMINAL
CONNECT WIRE
6 TO THE
208V TERMINAL
Содержание Viking 210GM
Страница 21: ...Viking 210GM 250GM 16 6 WELDING GUIDE VIKING 210GM...
Страница 22: ...Viking 210GM 250GM 17 7 WELDING GUIDE VIKING 250GM...
Страница 40: ...Viking 210GM 250GM 35 14 VIKING 210GM CIRCUIT DIAGRAM...
Страница 41: ...Viking 210GM 250GM 36 15 VIKING 250GM CIRCUIT DIAGRAM...
Страница 42: ...Viking 210GM 250GM 37 16 PRINTED CIRCUIT BOARD CIRCUIT DIAGRAM CAT NO 10 6100...


