


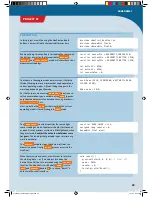


There isn’t a whole lot that the code does. With each pass
of the main loop, a new value is read by the sensor pin and
output by
Serial.println()
.
#include <KosmoBits_Pins.h>
const int sensorPin = KOSMOBITS_SENSOR_PIN;
void setup() {
pinMode(sensorPin, INPUT);
Serial.begin(115200);
}
void loop() {
Serial.println(analogRead(sensorPin));
}
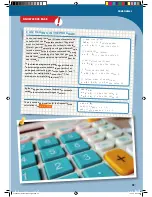
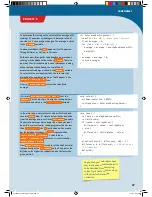
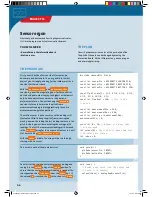
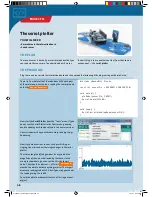
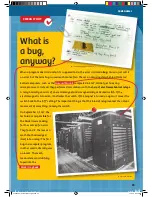
The serial plotter
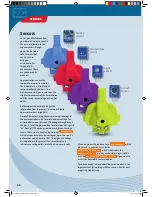
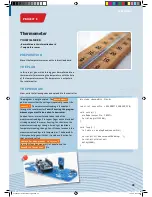
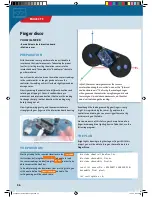
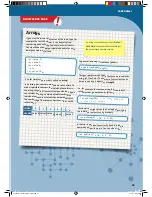
YOU WILL NEED
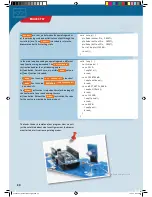
› KosmoDuino in the interaction board
› Sound sensor
THE PLAN
The sound sensor is basically a small microphone that you
can read via the sensor pin. To understand how it works,
115200 Baud
Now start the
Serial Plotter from the “Tools” menu. (If you
do not see the Serial Plotter in the Tools menu, you may
need to update your Arduino software to a newer version.)
A new window will open with some crazy-looking things
happening.
Now try to make various sounds, such as whistling or
singing. You will see how the image changes in the serial
plotter.
The scale along the left edge makes it easy to read the
magnitude of the values delivered by the sensor. In the
example shown here, you can see that 0 is the lowest
value. That should be obvious — after all
analogRead()
wouldn’t be able to deliver anything smaller. The largest
measured reading is about 250. But if you clap your hands,
the readings may rise to 800.
You will be able to make excellent use of this in your next
project.
</>
THE PROGRAM
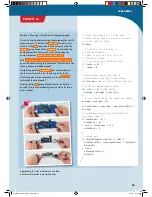
Plug the sound sensor into the interaction board and then upload the following little program to your KosmoDuino:
the best thing is to use another cool tool from the Arduino
environment — the
serial plotter.
46
PROJECT 15
CodeGamer manual inside english.indd 46
7/19/16 12:32 PM


