7.
Installation
Please follow the steps below for proper installation :
1.
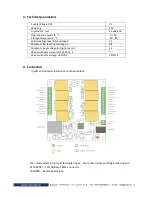
Mount the controller in a dry and ventilated place.
2.
Connect the Ethernet port to a 10/100 Base T Ethernet connection. For direct
connection to a PC use a “crossover” cable.
3.
Connect the I/O pins of the controller according to the required application.
4.
Connect the power supply.
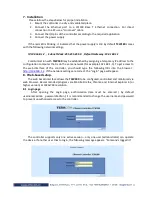
If the red LED is blinking, it indicates that the power supply is OK. By default
TCW180
comes
with the following network settings:
IP:192.168.1.2 , Subnet Mask: 255.255.255.0 , Default Gateway: 192.168.1.1
Communication with
TCW180
may be established by assigning a temporary IP address to the
configuration computer that is on the same network (for example 192.168.1.3). To get access to
the web interface of the controller, you should type the following URL into the browser :
http://192.168.1 2
. If the network settings are correct, the “Login” page will appear.
8.
Web-based setup.
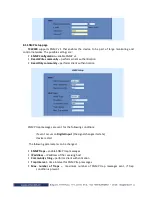
The web based interface allows the
TCW180
to be configured, controlled and monitored via
web browser. Recommended programs are Mozilla Firefox, Chrome and Internet Explorer 6 (or
higher version) at 1024x768 resolution.
8.1
Login page
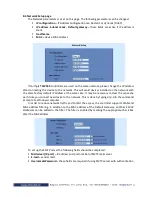
After opening the Login page, authorization data must be entered ( by default
username=admin , password=admin). It is recommended to change the username and password
to prevent unauthorized access to the controller.
The controller supports only one active session – only one user (administrator) can operate
the device. If another user tries to login, the following message appears: “Someone’s logged in”

