13
Data and turning your unit off
Downloading data
1. Remove the rubber plug from the USB port on the collar or pod and plug
your GPS collar or pod into your pc with the USB cable provided.
2. Open the user software and navigate to the data page.
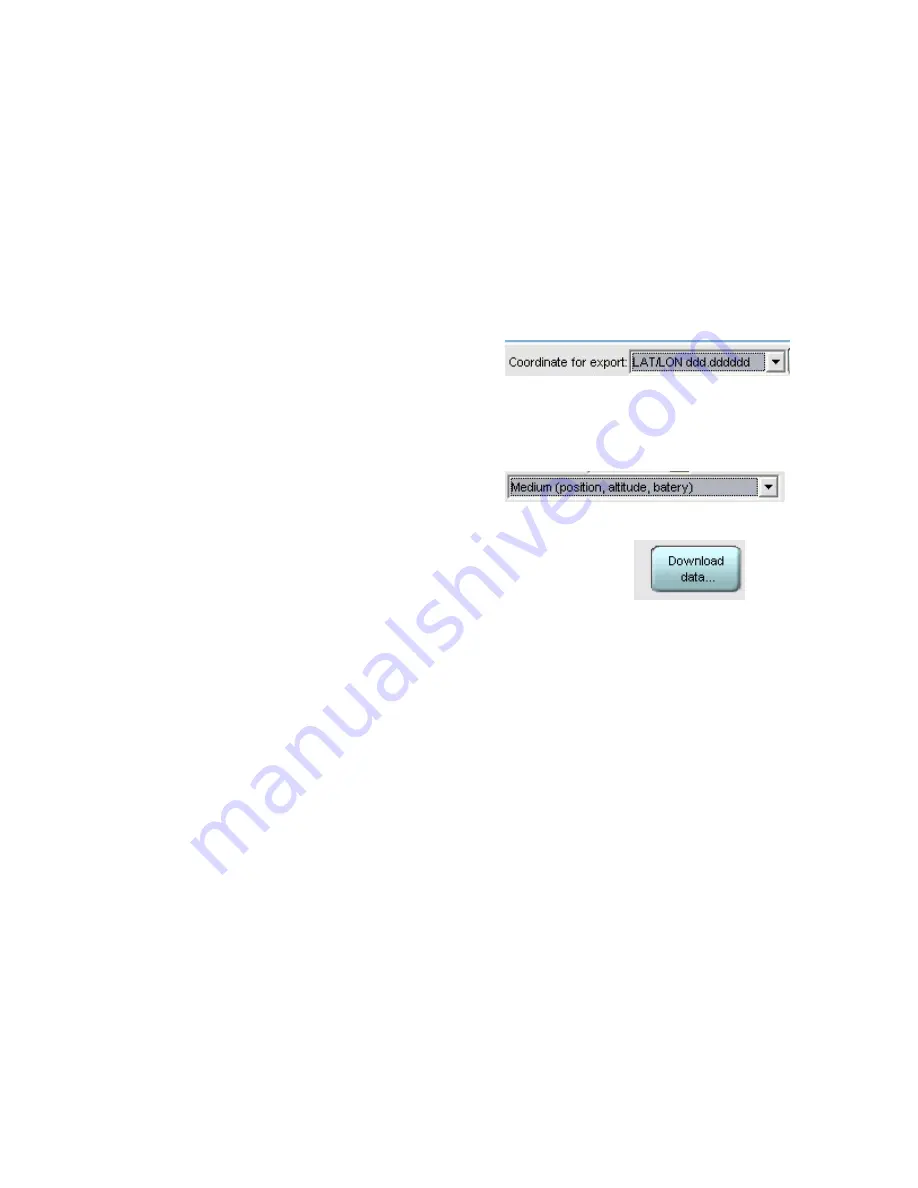
3. Set the format for your data in the
text box labeled coordinate for
export. You may choose from
Lat/Long dd:mm:ss.ss, Lat/Long ddd.dddddd, UTM or KML. If you have
Google Earth loaded on your computer and you choose KML then the
data will download and automatically be mapped onto Google Earth.
4. At the bottom of the page choose
medium (position, altitude, battery).
This is the only setting that will
result in data that is readable.
5. Click download data.
6. The data are viewable by clicking on the
downloaded file in the list in the top half of the data
page. The data opens in notepad.
7. To export the data highlight the data file to export then click the export
button.
8. Save the data as a .txt file.
9. You can use that .txt file to import into Excel or into the GIS program of
your choice.
Waterproof the USB port before deployment
1. After all programming and testing is complete, replace the rubber
plug into the USB port. Extra plugs have been provided.
2. RTV the opening over the USB plug. This will keep water out of the
USB port and GPS data logger.
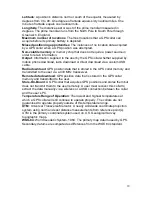
Output
Each data column has a heading indicating what it is. When viewing in notepad
these headings do not line up properly with the columns of data. By exporting
the files and then importing the file into Excel, the headings line up properly. This
is a list and brief explanation of each column in the output.
Date: Date that the GPS location was acquired.
Time: Time that the GPS location was acquired. This is local time according to
the time zone that you set in the edit collar text box.


