


Call: 1-631-648-7481 or Visit:: www.technocnc.com/technical-support/
1
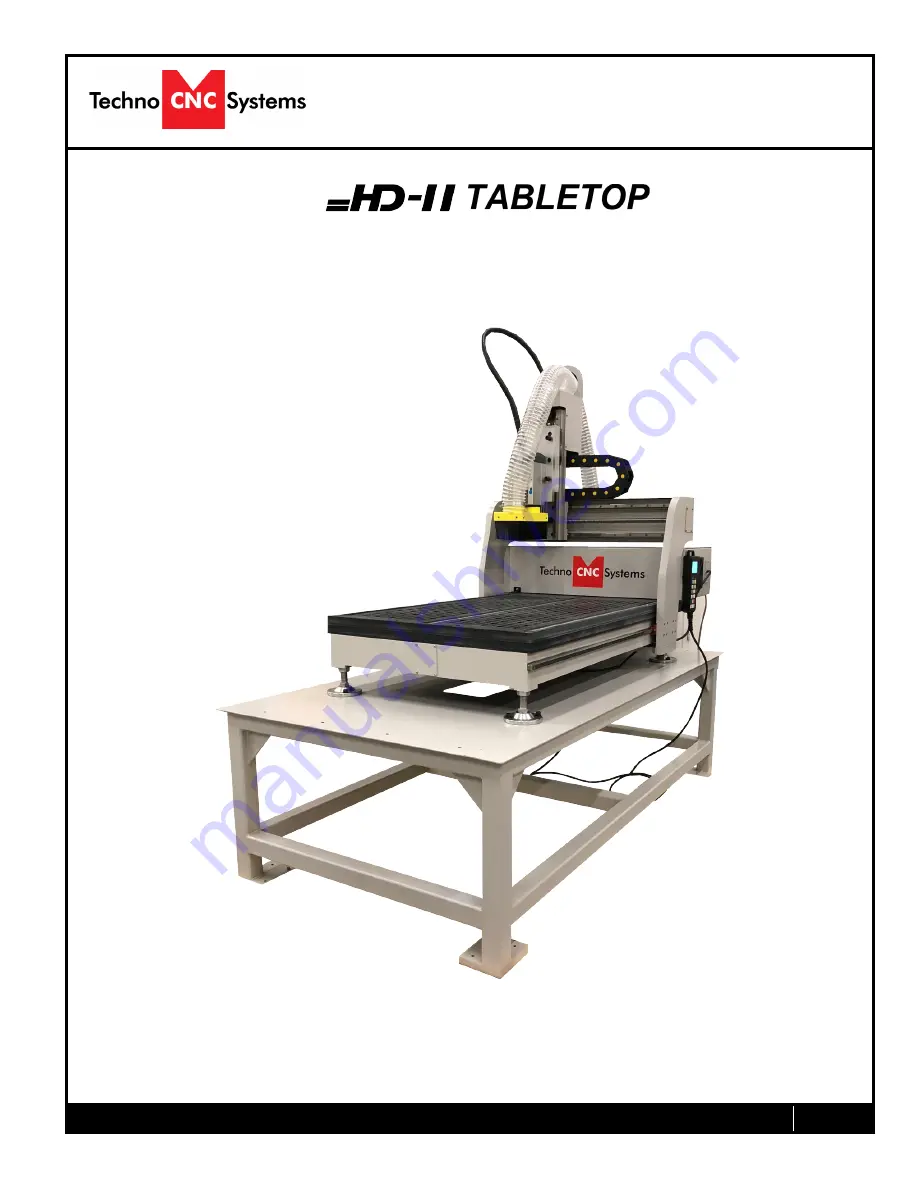
HD II Tabletop Manual
NK105G2
Techno CNC Systems, LLC ©2018
This document will provide a quick guide to the set up and operation of the Techno HD II Tabletop
CNC Router equipped with the NCstudio controller.
Tabletop CNC
Router Manual


