background image

1

Read these instructions. 
Keep these instructions. 
Heed all warnings. 
Follow all instructions. 
Do not use this apparatus near water. 
Clean only with a slightly damp cloth. 
Do not block any ventilation openings. 
Install in accordance with the manufacturer’s instructions. 
Do  not  install  or  operate  near  any  heat  sources  such  as 

radiators, stoves, or other apparatus that produce heat. 
Unplug  this  apparatus  during  lightning  storms  or  when 

unused for long periods of time.
Refer all servicing to qualified service personnel. Servicing 

is  required  when  the  apparatus  has  been  damaged 

in  any  way,  such  as  the  power-supply  cord  or  plug  is 

damaged,  liquid  has  been  spilled  or  objects  have  fallen 

into  the  apparatus,  the  apparatus  has  been  exposed  to 

rain or moisture, does not operate normally, or has been 

dropped.
Warning: To reduce the risk of fire or electrical shock, do 

not expose this product to rain or moisture. The product 

must  not  be  exposed  to  dripping  and  splashing  and  no 

object filled with liquids such as a vase of flowers should 

be placed on the product.
No naked flame sources such as candles  should be placed 

on the product.
Caution: Changes or modifications not expressly approved 

by  the  manufacturer  could  void  the  user’s  authority  to 

operate this device.
Caution: Usage of controls or adjustments or performance 

of procedures other than those specified herein may result 

in hazardous exposure.

IMPORTANT


This  equipment  generates,  uses  and  can  radiate  radio 

frequency  energy  and,  if  not  installed  and  used  in 

accordance  with  the  instructions,  may  cause  harmful 

interference to radio communication. However, this is no 

guarantee that interference will not occur in a particular 

installation.  If  this  equipment  does  cause  harmful 

interference to radio or television reception, which can be 

determined by turning the equipment off and on, the user 

is encouraged to try to correct the interference by one of 

the following measures:
-   Reorient or relocate the receiving antenna.
-   Increase  the  separation  between  the  equipment  and 

receiver.

-   Connect  the  equipment  into  an  outlet  on  a  circuit 

different from that to which the receiver is connected.

-   Consult  the  dealer  or  an  experienced  radio/TV 

technician for help. 

This  symbol  indicates  that  there  are 

important  operating  and  maintenance 

instructions in the literature accompanying 

this unit.
This  symbol  indicates  that  dangerous 

voltage constituting a risk of electric shock 

is present within this unit. 

CAUTION!

RISK OF ELECTRIC SHOCK

DO NOT OPEN

TO REDUCE THE RISK OF ELECTRIC SHOCK 

DO NOT REMOVE COVER (OR BACK) 

  IMPORTANT SAFETY INFORMATION

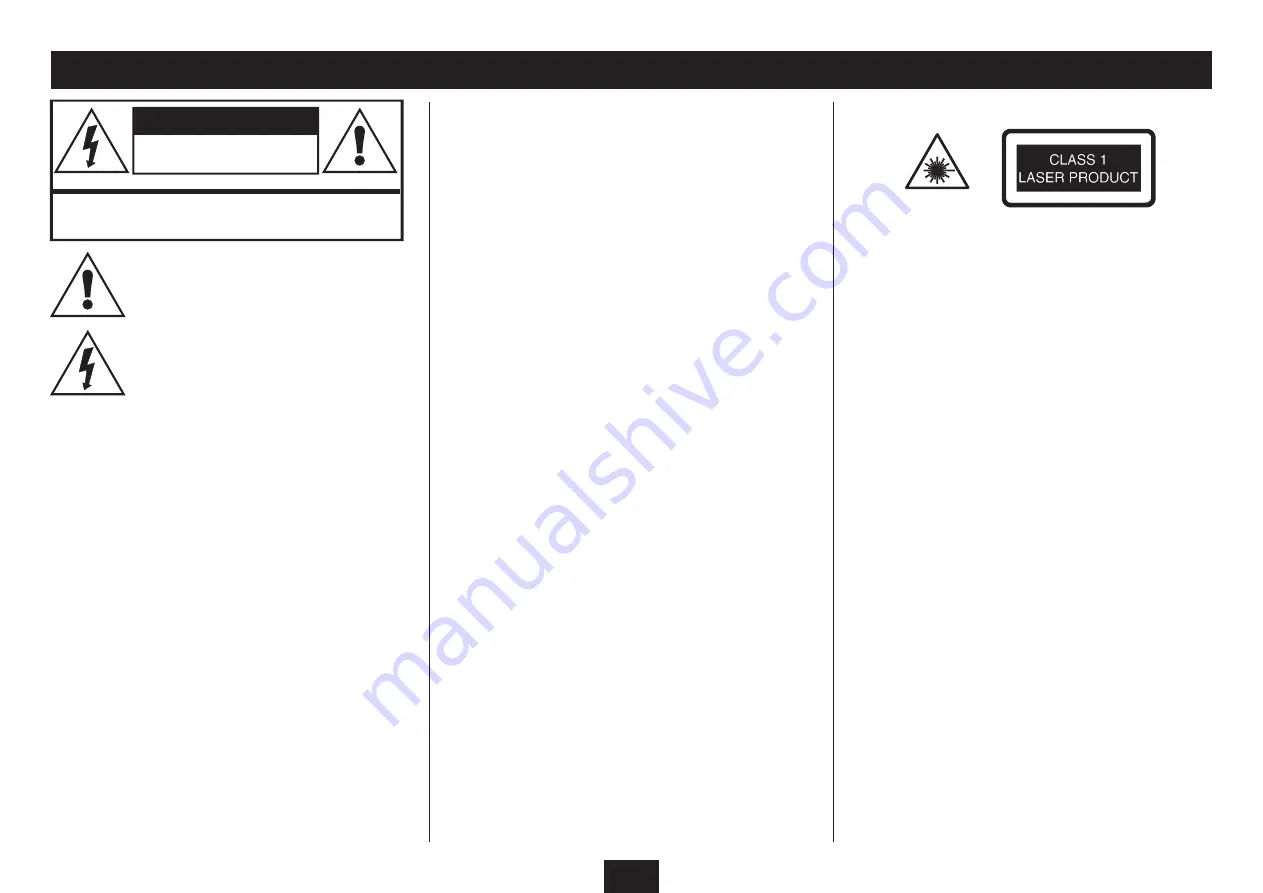
WARNING: DANGER OF RADIATION

These  labels  tell  you  that  the  unit  contains  a  laser 

component.  Opening  the  CD  compartment  lid  and 

defeating  the  safety  interlocks  will  expose  the  user  to 

radiation from the laser beam. Do not stare into the laser 

while it is operating.

ELECTRICAL INFORMATION

Mains Supply: The mains operating voltage of this unit  is 

marked on a rating plate on the underside of the unit.
The means of disconnecting this appliance from the mains 

supply is the mains plug. This should be unobstructed and 

readily operable at all times.

Содержание BRSS10

Страница 1: ...BRSS10 Owner s Handbook Blu raydisc player...

Страница 2: ......

Страница 3: ...frequency energy and if not installed and used in accordance with the instructions may cause harmful interference to radio communication However this is no guarantee that interference will not occur i...

Страница 4: ...Pop up menu display during playback Wired ethernet connection to enable access to BD Live features Where available on Blu ray discs Menu navigation assistance Your Blu ray player includes menus to ena...

Страница 5: ...play all disc ratings Each disc and packaging has information about the classification of the disc If there are children in your house you can restrict viewing to particular age groups by following th...

Страница 6: ...ay 1 Open close button 2 Play pause button 3 Stop button 4 Standby On button 5 USB dock under cover 6 BACK VIEW Power cord 1 Analogue stereo audio out 2 Analogue composite video out 3 Digital audio ou...

Страница 7: ...Disc menu button 29 OSD button 30 Repeat button 31 Zoom button 32 Stop button 33 Fast reverse button 34 Fast forward button 35 Search button 36 Standby On button 37 When replacing the batteries in th...

Страница 8: ...OUND SOUND DECODER If your audio visual system includes a separate surround sound decoder with HDMI connections you can use two HDMI cables not supplied to connect your player to the decoder and then...

Страница 9: ...a digital HDMI connection it may have separate composite video CVBS and stereo audio connection The input jacks for these connections are normally coloured yellow composite video white left audio and...

Страница 10: ...udio input of the decoder NOTE Video may be connected to the TV via HDMI or CVBS Composite analogue video out In the system illustrated video and audio are connected to the TV via the HDMI connection...

Страница 11: ...a Blu ray disc that features BD Live You can also check through the settings menu if there are any updates for your player To make this connection your home network will require an always on connecti...

Страница 12: ...r is not connected to the Internet This may be because there is no connection cable in place or because the Internet connection is not working If you are not planning to use BD Live features on Blu ra...

Страница 13: ...play to the start of the current chapter Fast search Press the or button to fast search forward or backward through a movie Pressing the button repeatedly will increase search speed in the range 2X 4...

Страница 14: ...otal time Repeat status Play status Elapsed time bargraph Total chapters On Screen status display When a Blu ray or DVD Video disc is playing you can open the On Screen status display to show informat...

Страница 15: ...ecrease the volume setting The volume level will be shown on screen as a number in the range 0 100 and also as a bargraph display To mute the sound completely press the MUTE button To un mute the soun...

Страница 16: ...played Press the M or N button to scroll through the options In the example above scroll down to select the first 01 option of the two 02 PIP options avaiable Press the ENTER button to select an optio...

Страница 17: ...y is not optional BD Live will only function when a USB drive memory is installed If USB memory is not installed you may see a warning message stating that your player is incompatible with BD Live Loa...

Страница 18: ...e player is used for audio playback of CDs through an audio Surround Decoder or amplifier a basic CD playback display is available on the unit the TV display is not required for track time navigation...

Страница 19: ...humbnail view of your photos If your photos are stored in folders the folders will be displayed in the thumbnail pane Use the P M N buttons to navigate to the folder containing your photos The thumbna...

Страница 20: ...ture display Press the ZOOM button repeatedly to select the zoom level you want from the options of Zoom off zoom x 2 zoom x 4 The view will zoom to the top left corner of the picture and a zoom icon...

Страница 21: ...Music option Press the ENTER button to select this option If your music is not stored in folders you will now see a list of tracks and can skip to the Playing Music section Music stored in folders alb...

Страница 22: ...NOTE Pressing the button for the first time will return play to the start of the current track Jumping to a track music file or time within a track If you want to jump to a particular track on the dis...

Страница 23: ...play Disc drive contents Press the M or N button to highlight the Videos option Press the ENTER button to select this option If your music is not stored in folders you will now see a list of videos an...

Страница 24: ...the files in the folder NOTE Pressing the button for the first time will return play to the start of the current video Jumping to a video file or time within a video If you want to jump to a particul...

Страница 25: ...e and highlight one of the categories Press the M or N button to scroll up or down the settings categories As each category is highlighted the current settings will be displayed Changing settings All...

Страница 26: ...nto the player NOTE This process is not reversible all content will be erased Ensure that you there are no files or other content that you wish to keep on the USB drive before erasing it Optical Disc...

Страница 27: ...avigate to the Network category of the Settings Menu A window will open which will display the current status of your network If the player is not connecting to the Internet If the tests in the previo...

Страница 28: ...r your network The IP address of your network gateway Primary and secondary DNS settings for your network If you have the above data Select the Network category of the Settings Menu The Network status...

Страница 29: ...in the display category press the P button The display settings edit window will open You can now edit the display settings TV Aspect Change this setting to match the aspect ratio shape of your TV Wid...

Страница 30: ...er correctly to the audio system in your TV or AV surround decoder Choose PCM if your audio plays through a two channel stereo TV or audio system Choose Bitstream HD if your AV system includes an adva...

Страница 31: ...language as that set for OSD menus Audio Changing the Audio language will change the default audio language when movies are playing if the selected language is available The Auto setting is recommend...

Страница 32: ...Choose this option to switch Parental Control on or off factory setting When Parental Control is set on any viewing restrictions set within this category will be applied NOTE Once Parental Control ha...

Страница 33: ...olume control on the player remote 4 control is turned up Check that audio mute is not set press the 5 MUTE button to check status Disc problems playback skips or the disc will not read The disc may b...

Страница 34: ...sulated This product must not be connected to earth UK Waste electrical products batteries should not be disposed of with household waste Separate disposal facilities exist for your nearest facilities...

Страница 35: ......

Страница 36: ...Tesco Stores Ltd Delamare Road Cheshunt Herts EN8 9SL Technika Helpline 0845 456 6767 Calls cost up to 4p per minute from a BT landline other providers may vary BRSS10V0 3...

Отзывы: