7-2
EM18-33012
7. PROGRAM DOWN LOAD
↵
7.3 DOWN LOAD PROCEDURE
(1) Turn the PC power on.
(2) Turn the printer power on.
(3) Inset the program down load floppy disk into the PC.
(4) Change the drive to A. Type
A :
(5) Start the batch file “PDL”. Type P D L
Or copy the contents of the floppy disk in to the hard disk and start the program in the hard disk.
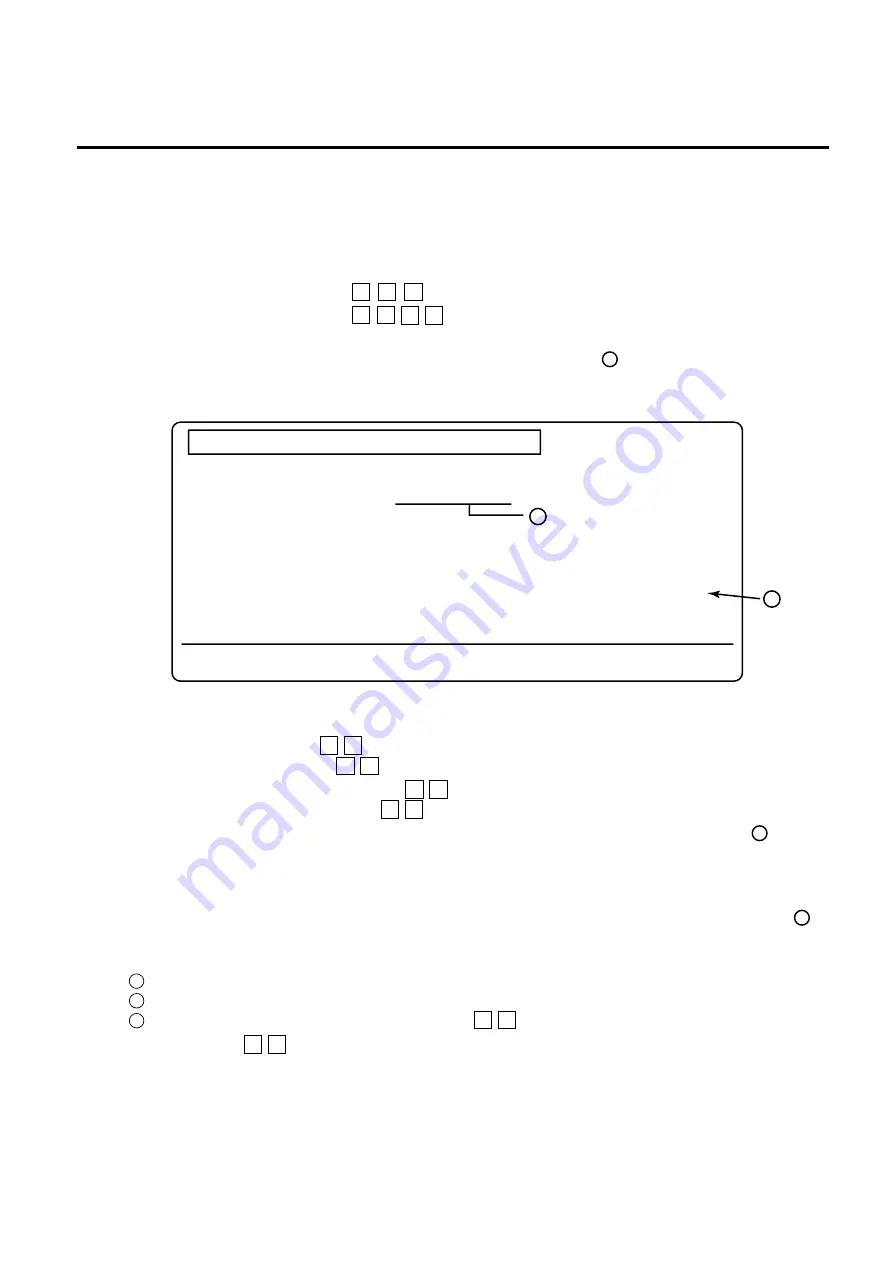
(6) After starting the batch file “PDL”, the following menu is displayed. indicates the main program
version.
A
(7) Select the interface.
•
RS-232C interface
1
•
High speed PC interface 2
(8) Start the main program transmission.
Y
When changing the interface, press N and go back to step (7).
(9) While the main program is being transmitted, the following message is displayed in line . “###“
in the message, a running count, from 0 through 128 is shown indicating the number of KB
transferred.
** Now transmitting (###/128KB)**
(10) When the transmission is successfully completed, the following message is displayed in line .
End of Transmission. Continue (Y/N) ? [ ]
•
To continue
1 Turn the printer power off and exchange the printer with another one.
2 Turn the printer power on.
3 Start the main program transmission.
Y
•
To terminate
N
B
(Revision Date Sep. 27, ’95)
7.3 DOWN LOAD PROCEDURE
↵
↵
↵
↵
↵
B
↵
↵
This is the down load program for B-X
This program down line loads
the program file (Version V1.OA) to the B-X
Are you sure ? (Y/N) [ ]
To end the program press the <F1 key>
Select the communication device. [ ]
( 1=RS-232C , 2=High Speed PC interface)
(Pressing the <Y key> will transmit the program file.)
)
DD-MM-YYYY
A
B


