26
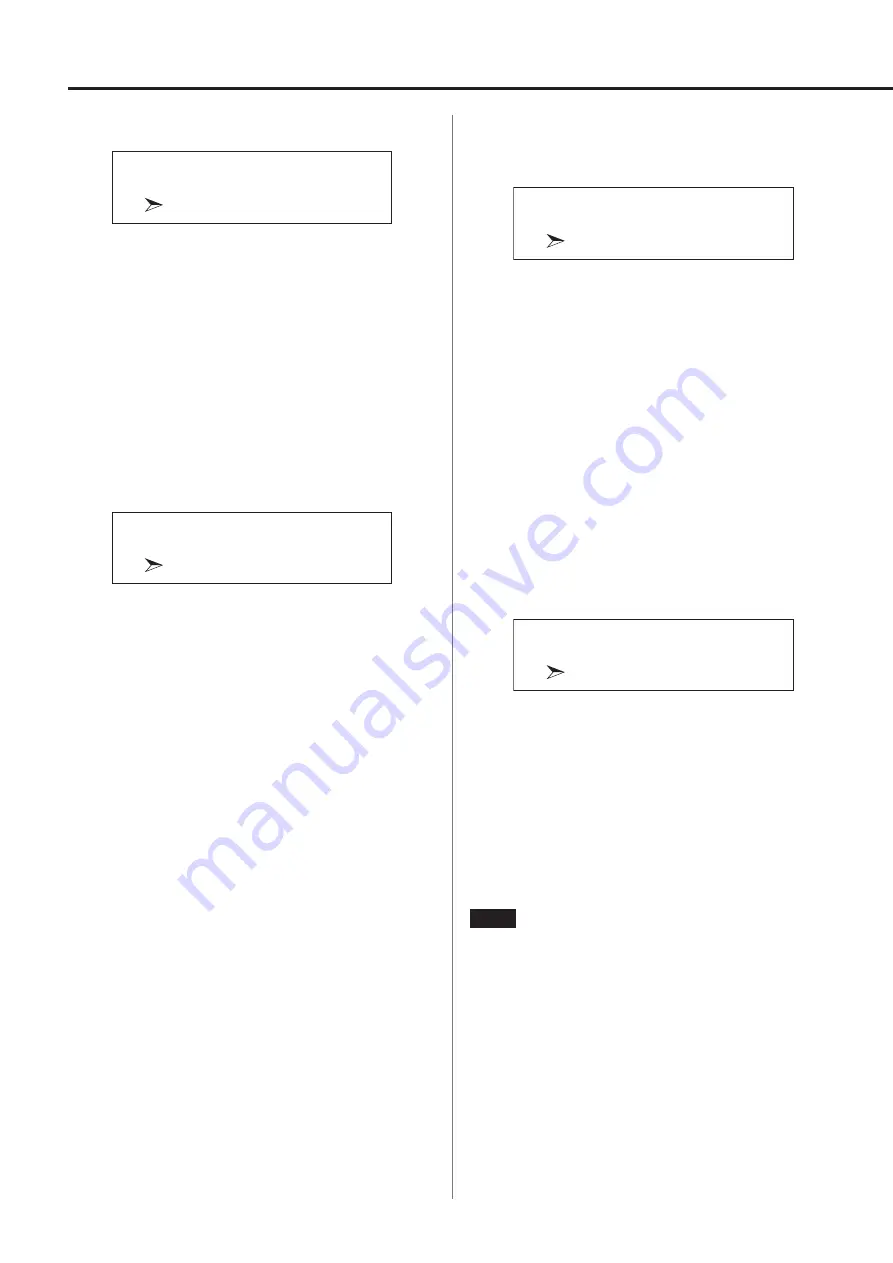
Clock sync
MENU
CLOCK SYNC
OFF
OFF
No clock sync is used.
ON
This unit’s master clock will be synchronized to the 10MHz clock
input through the CLOCK sync input (10MHz IN) connector.
o
When the input source is COAXIAL or OPTICAL, both this unit
and the digital audio output device must be synchronized
with the same external clock. If they are not synchronized, the
sound might skip or break up.
Line output selection
Use this to select which connectors output analog audio.
MENU
LINE OUT SELECT
RCA
RCA
Analog audio signals are output through the RCA connectors.
PIN 2 HOT
Analog audio signals are output through the XLR connectors
with 2: HOT polarity.
PIN 3 HOT
Analog audio signals are output through the XLR connectors
with 3: HOT polarity.
Line output level
Use this to set the audio level output from the analog audio output
(LINE OUT) connectors.
MENU
LINE OUT LEVEL
VARIABLE
FIXED 0dB
A maximum of 2 Vrms is output. Select this if you want to adjust
the volume using an amplifier.
FIXED +6dB
A maximum of 4 Vrms is output. Select this if you want to adjust
the volume using an amplifier.
o
If the sound distorts, set this to FIXED 0dB.
VARIABLE
This will enable adjustment of the analog output level using this
unit’s VOLUME knob. Select this if you want to adjust the volume
using this unit.
OFF
No sound is ever output.
Display brightness
MENU
DIMMER
Slightly BRIGHT
BRIGHT
Stays lit brightly.
Slightly BRIGHT
Stays lit dimly.
DARK
Stays dark.
AUTO OFF
Turns off automatically.
o
The display turns off when not being operated.
NOTE
This can be set directly with the remote control DIMMER button.
Settings (continued)


