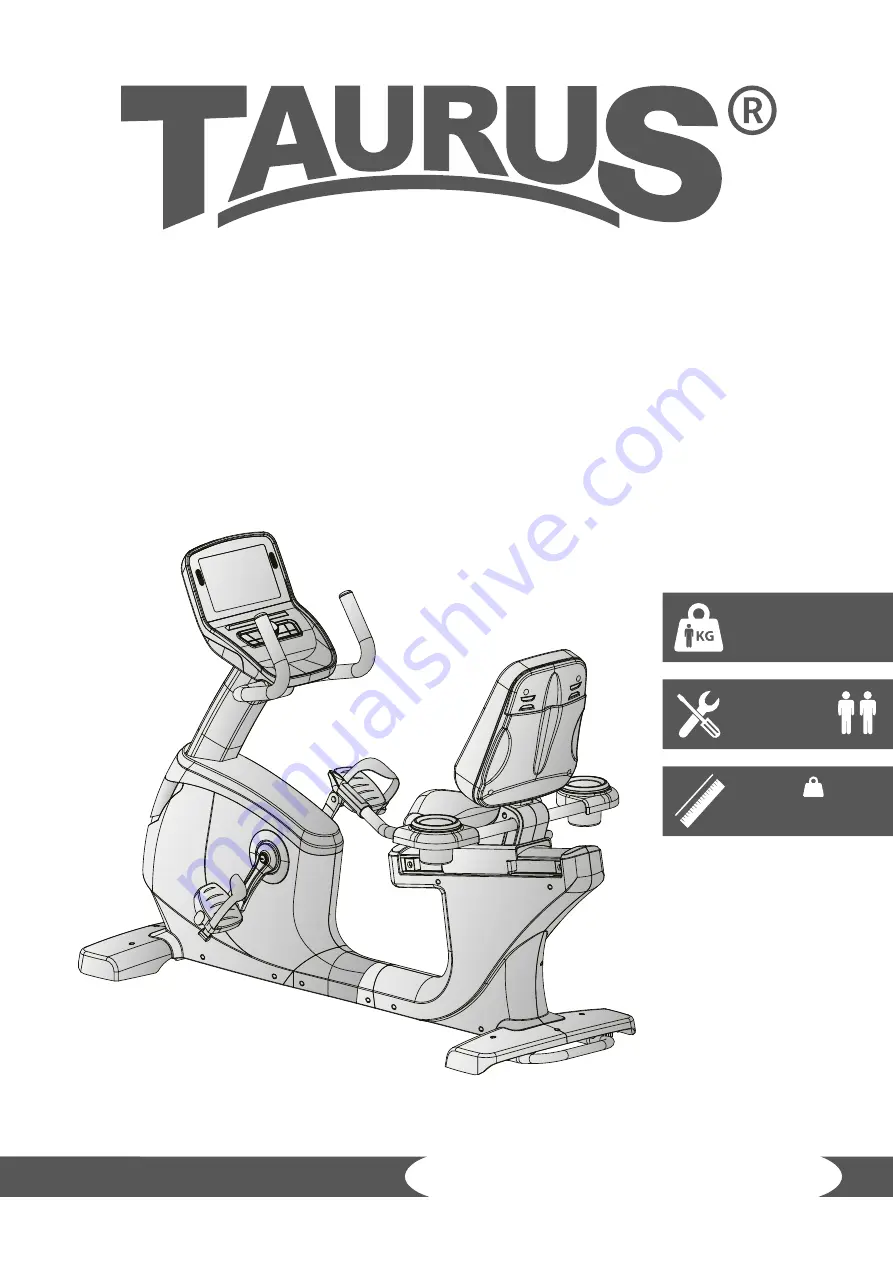
TFRB99TFT.01.08
max. 180 kg
~ 60 Min.
CM
66 kg
Assembly and Operating Instructions
L 170 | W 75 | H 122
Upright Bike
RB9.9 Touch
Art. No. TF-RB99-TFT
Страница 1: ...TFRB99TFT 01 08 max 180 kg 60 Min C M 66 kg Assembly and Operating Instructions L 170 W 75 H 122 Upright Bike RB9 9 Touch Art No TF RB99 TFT...
Страница 2: ...2 RB9 9 Touch...
Страница 3: ...ick Start 24 3 3 2 Target programmes 24 3 3 3 Pre set programmes 24 3 3 4 User defined programmes 27 3 3 5 Heart rate oriented programmes 28 3 3 6 Watt programme 29 3 4 Fitness Test 30 3 5 Media 31 3...
Страница 4: ...4 RB9 9 Touch 8 ORDERING SPARE PARTS 37 8 1 Serial Number and Model Name 37 8 2 Parts List 38 8 3 Exploded Drawing 42 9 WARRANTY 43 10 CONTACT 45...
Страница 5: ...for home fitness International Headquarters Flensburger Stra e 55 24837 Schleswig Germany Management Christian Grau Sebastian Campmann Dr Bernhard Schenkel No HRB 1000 SL Local Court Flensburg Europea...
Страница 6: ...y follow the instructions and that all parts are securely in place If required read through the instructions again to correct any mistakes Please pay close attention to the safety and maintenance inst...
Страница 7: ...nge in the watt programme 10 350 W Min and max Watt at 60 RPM 20 300 W Min and max Watt at 100 RPM 44 497W User memory 4 Training programmes in total 44 Quick Start programmes 1 Target programmes 3 He...
Страница 8: ...access to the equipment Persons with disabilities must have a medical license and must be under strict observation when using the equipment The equipment is strictly for use by one person at a time I...
Страница 9: ...cket using the supplied mains cable Extension cables must conform toVDE guidelines Always completely unwind the mains cable The socket must be protected by a fuse with a minimum fuse rating of 16 A sl...
Страница 10: ...he sides of the equipment The set up and mounting surface of the equipment should be flat loadable and solid ATTENTION The device may only be used in one building in sufficiently tempered and dry room...
Страница 11: ...Do not open the packaging when it is lying on its side Ensure to have sufficient room for movement in each direction during assembly The assembly of the equipment must be carried out by at least two...
Страница 12: ...check whether all parts and tools belonging to the device are included in the scope of delivery and whether damage has occurred In the event of complaints the contractual partner must be contacted dir...
Страница 13: ...0L 4PCS 9 D15 4 D8 2 2T 8PCS mm 16 D16 D8 5 1 2T 8PCS 7A M8 1 25 110L 4PCS 15 M8 1 25 15L 4PCS 16 D16 D8 5 1 2T 4PCS 9 D15 4 D8 2 2T 4PCS 42 97 2 75 42 1PC 41 M8 1 25 50L 4PCS 8 D22 D8 5 1 5T 4PCS 15...
Страница 14: ...our end device in order to open the file Step 1 Mounting the stabilisers 1 Removeanddisposeofthefasteneralongwiththetwoscrews theyarenotpartofthemounting kit see figure 1 1 CAUTION For the next step t...
Страница 15: ...7 9 16 7A 2 9 16 7A 7 1 2 9 16 7A 7 1 9 7 16 7A 4 9 7 16 7A 4 M8x1 25x70L D16xD8 5x1 2T x4 x8 x8 D15 4xD8 2x2T 13 15 M8x1 25x110L x4 1 3 1 1 1 2 1 4 15...
Страница 16: ...post 1 Slide the cover 11 up along the front post 17 see fig 2 1 2 Connect the cables 64 65 and the cables 14 18 with one another see fig 2 2 3 Insert the front post 17 into the main frame holder 1 4...
Страница 17: ...2 Place the console 76 on the front post 17 3 Guide the ground cable through the console bracket on the console mast 17 and mount the console 76 to the console mast 17 with four screws 39 see fig 3 2...
Страница 18: ...ith three screws 15 three washers 16 and three spring washers 9 2 Connect the cables 37L 18 and the cables 37R 18 see fig 4 1 3 Attachthehandleswiththehandpulsesensors 36 tothemainframe 1 withtwoscrew...
Страница 19: ...ft pedal 51L to the left crank 48L by turning the pedal 51L counterclockwise 3 Screw the right pedal 51R to the right crank 48R by turning the pedal 51R clockwise CAUTION Make sure to screw in the ped...
Страница 20: ...ise in order to unscrew them therefore raising the equipment 3 Rotate the screws counterclockwise in order to lower the equipment Step 7 Connecting the equipment to the mains supply ATTENTION The equi...
Страница 21: ...een 2 Tap Wireless and connect your treadmill to the Internet 3 Return to the settings 4 Tap System and Apps and go to updates 5 Tap Update to update the software Do not use or switch off the equipmen...
Страница 22: ...ined to you by a specialist 3 1 Console Display DISPLAY DESCRIPTION Level Display of the current resistance level Display range 1 32 Time Display of the training time in minutes Display range 00 00 99...
Страница 23: ...d 7 times as much oxygen than when in rest Training between three to six METs is seen as moderate physical activity Training at more than six METs is seen as strong physical activity Speed RPM Display...
Страница 24: ...he programme The resistance level can be adjusted manually during your training 5 Press the STOP button to pause your training The resistance level is set to 0 5 1 Press STOP again to end your trainin...
Страница 25: ...12 10 10 P17 LEVEL 8 11 16 21 21 13 8 8 11 16 21 21 13 8 8 P18 LEVEL 8 11 13 18 21 8 11 13 18 21 8 11 13 18 21 P19 LEVEL 8 21 18 13 11 8 8 21 18 13 11 8 8 21 18 P20 LEVEL 13 21 21 13 21 21 13 21 21 13...
Страница 26: ...15 12 10 10 7 7 7 P17 LEVEL 11 16 21 21 13 8 8 11 16 21 21 13 8 8 11 P18 LEVEL 8 11 13 18 21 8 11 13 18 21 8 11 13 18 21 P19 LEVEL 13 11 8 8 21 18 13 11 8 8 21 18 13 11 8 P20 LEVEL 13 21 21 13 21 21...
Страница 27: ...and type in the desired name 3 Enter your gender age weight and the desired training time 4 Set the desired speed and incline for all the 30 segments 5 Press START to start the programme The resistanc...
Страница 28: ...our age We recommend a chest strap for these programmes 1 Tap on HRC in the main menu 2 Enter your gender age weight and the desired training time 3 Choose either 60 80 or Target HR 3 1 If you have ch...
Страница 29: ...es The default value is 20 minutes 3 To start the programme press START The upper left corner of the screen shows the target wattage The upper right corner of the screen shows the current wattage Thet...
Страница 30: ...gender age and weight 3 Press START to start the fitness test The warm up phase will start L NOTICE We recommend to use this phase if you have not done a warm up beforehand Otherwise the warm up phase...
Страница 31: ...g mp3 und flac Video mp4 und avi Settings Under SETTINGS in the main menu you can make your system settings This includes Language screen brightness and volume Bluetooth You can connect your mobile de...
Страница 32: ...ice tablet or smart phone and start the fitness app Select your fitness equipment Please follow the instructions given in the app You will find the name of your fitness euqipment on a small sticker on...
Страница 33: ...ated and have a constant ambient temperature between 10 C and 35 C 4 2 Transportation Wheels ATTENTION If you want to transport your equipment over particularly sensitive and soft floor coverings such...
Страница 34: ...rtheless faults or malfunctions may occur Frequently individual parts are responsible for these disturbances an exchange is usually sufficient Please refer to the following overview for the most commo...
Страница 35: ...he video serves to illustrate the maintenance points described in this manual Please note that the video may not be available in your language or with appropriate subtitles If you cannot scan QR codes...
Страница 36: ...that you use a compatible chest strap as this ensures optimum transmission of the heart rate You may want to buy additional grips or weights for multi gyms Ourrangeofaccessoriesoffersthehighestquality...
Страница 37: ...ave the model name article number serial number exploded drawing and parts list ready The corresponding contact options can be found in chapter 10 of this operating manual L NOTICE The serial number o...
Страница 38: ...4 B20 191 9 172 1 138 4 1 13 Seat post 744S0 3 2200 J0 1 14 Middle cable for quick button 744S4 6 2543 00 600L 2 15 Bolt 50108 5 0015 F0 M8 1 25 15L 4 16 Flat washer 55108 1 1612 FA D16 D8 5 1 2T 29 1...
Страница 39: ...6 3781 B0 97 2 75 42 1 43 Front protective cover for handlebar 734S0 6 3780 B0 100 77 1 42 1 44 Flat washer 55120 1 2615 NA D26 D21 1 5T 1 45 Crank cover 744S0 6 4524 C0 D150 D41 14 2 2 46 Left chainc...
Страница 40: ...4S4 6 3479 00 700L 1 75 External cable of system 738G0 6 3177 00 500L 1 76 Console 744S4 6 2501 B0 AC00511 1 77 C ring 55517 1 0010 00 S 17 1T 1 78 Waved washer 55117 5 2203 DA D17 D22 0 3T 3 79 Beari...
Страница 41: ...6 2707 00 D9 8 D6 1 20 5L 1 109 Locking base 73502 6 2219 N1 71 5 20 4T 1 110 Spring 58003 6 1068 N0 D1 D8 35 1 111 Moving wheel 73502 6 3886 B0 D25 D10 11 5 8 112 Bolt 50108 5 0035 F3 M8 1 25 35L 4...
Страница 42: ...40 39 39 8 41 3 2 16 7 9 7A 5 39 47 EMS73000 A04 RoHS 63 64 65 39 73 38 39 66 68 61 60 62 18 14 56 38 37L 37R 35L 35R 32L 32R 1 8 41 15 9 16 38 39 39 10L 10R 13 15 16 93 16 28 28 38 38 39 87 57 58 59...
Страница 43: ...uyer and or any person who received a newly purchased product as a gift from the original buyer Warranty periods The following warranty periods begin on delivery of the fitness equipment Warranty peri...
Страница 44: ...er Please make sure that you are able to provide the appropriate receipt when claiming on your warranty So that we can clearly identify the model of your equipment and for the purposes of our quality...
Страница 45: ...ez les heures d ouverture sur notre site Internet UK NL INT TECHNICAL SUPPORT TECHNISCHE DIENST SERVICE TECHNICAL SUPPORT SERVICE 44 141 876 3986 support powerhousefitness co uk SERVICE 44 141 876 397...
Страница 46: ...s companies and physio practices with professional equipment for endurance and strength training Sport Tiedje offers a wide range of fitness equipment from renowned manufacturers high quality in house...
Страница 47: ...47...
Страница 48: ...Recumbent Bike RB9 9 Touch...