Page
17
of
29
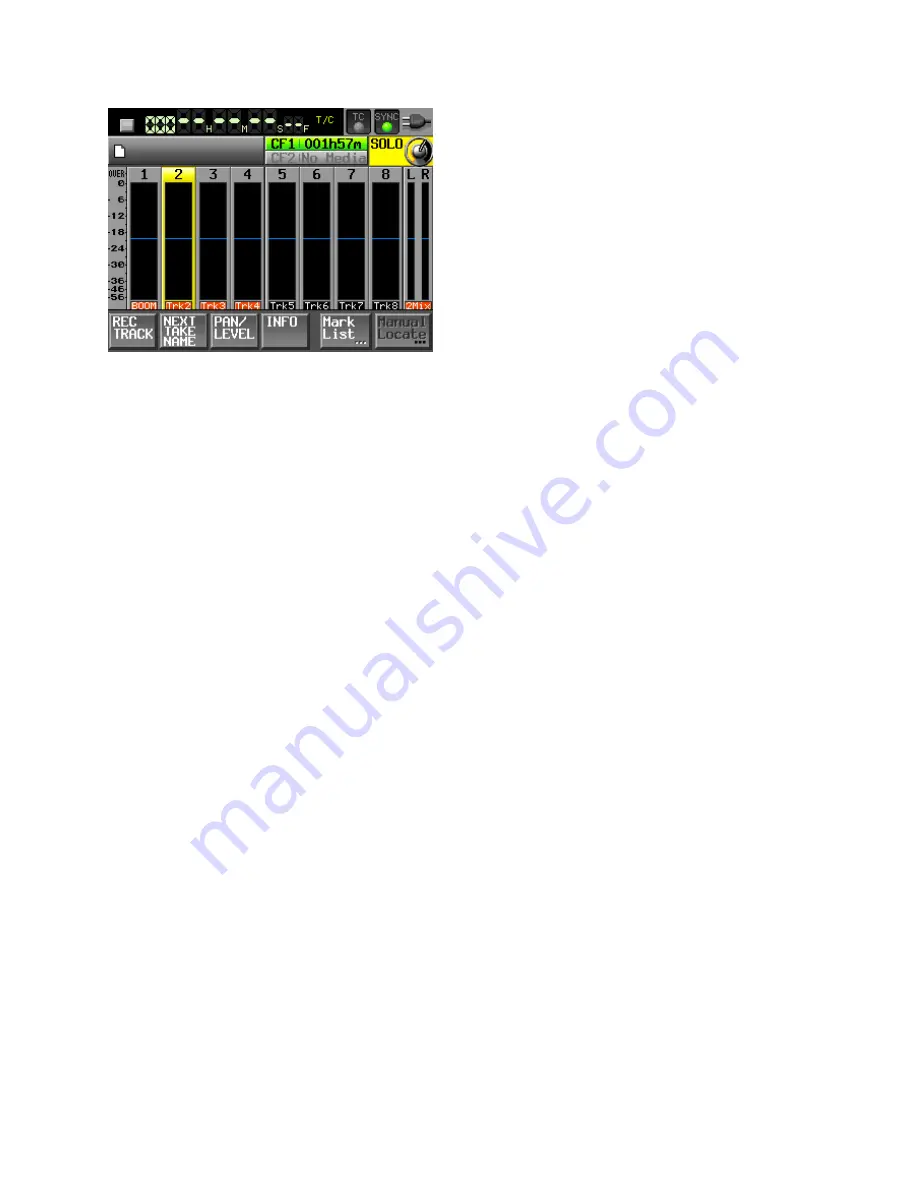
The default setting for SOLO, in the System Setup screen, is SINGLE. That means only one channel at a
time can be solo monitored. If you change the solo mode to MIX, then it is possible to highlight and
monitor as many channels simultaneously as you want to. MIX is more versatile for film/video
applications.
Setting your recording levels
Plug your source XLR’s into the recorder. The input level (gain) for each channel is adjusted by the 8
physical knobs to the left of the display.
Note that the knob will have no effect on a line level input. To adjust a line level source, you
must either increase the output level at the source, or select a different
REF LEVEL
from the
Setup
screen.
Use the individual knobs to bring each microphone volume to an optimum level on its meter. For most
film/video applications, that would be approximately -20dB or -18dB. This level allows for plenty of
headroom in the event of a loud exclamation or sound effect. In the world of digital audio recording, you
never want to exceed zero!
After you have set the input levels (referred to as “
trim
” by the audio industry), the next step is to set
the PAN and OUTPUT LEVELS.
Select the
PAN LEVEL
tab at the bottom of the
HOME
root screen. Using the virtual knobs, assign each
input to L100 (aka 100% left) or R100 (aka 100% right), if you are recording dialogue for film/video.
Select the
2Mix
knob and raise the output level to where you want it in the master mix.
Because the Tascam always remembers the last control that you have highlighted, a good technique for
setting the mix level is to return to the
HOME
root screen and adjust the output level while watching the
larger meter displays.
You are now ready to record.


