18
4:3 PS
4:3 LB
16:9 Wide
Press SETUP to exit
Current selection
Press SETUP to exit
TV Display
Video Output
TV Type
Rear AV IN
Front AV IN
Video Setup
PAL
Multi. System
NTSC
Current selection
v
v
4:3 PS
4:3 LB
16:9 Wide
Press SETUP to exit
Current selection
Press SETUP to exit
TV Display
TV Type
Video Output
Rear AV IN
Front AV IN
Video Setup
S-Video
YPbPr
Scart
Current selection
v
v
4:3 PS
4:3 LB
16:9 Wide
Press SETUP to exit
Current selection
Press SETUP to exit
TV Display
TV Type
Video Output
Rear AV IN
Front AV IN
Video Setup
Video
S-Video
Current selection
v
v
Normal/ LB (Letterbox)
Select when a conventional TV set is connected.
When the wide screen disc is played back, the black bands
appear at the top and bottom of screen.
Wide TV
Select when a wide screen TV set is connected.
Played in FULL size. ( Setting the wide screen TV to FULL
mode is also necessary.)
Notes:
The screen size may differ depending on the DVD vide
discs.
If you select Wide TV to get rid of the black bands on
screen when wide screen disc is played back, picture may
be slightly distorted.
In some discs, even if Normal/PS is selected, the black
bands may remain on the screen.
3.
Press ENTER, "V" appears, the TV display is set.
4.
Press
to return to “TV Display ”.
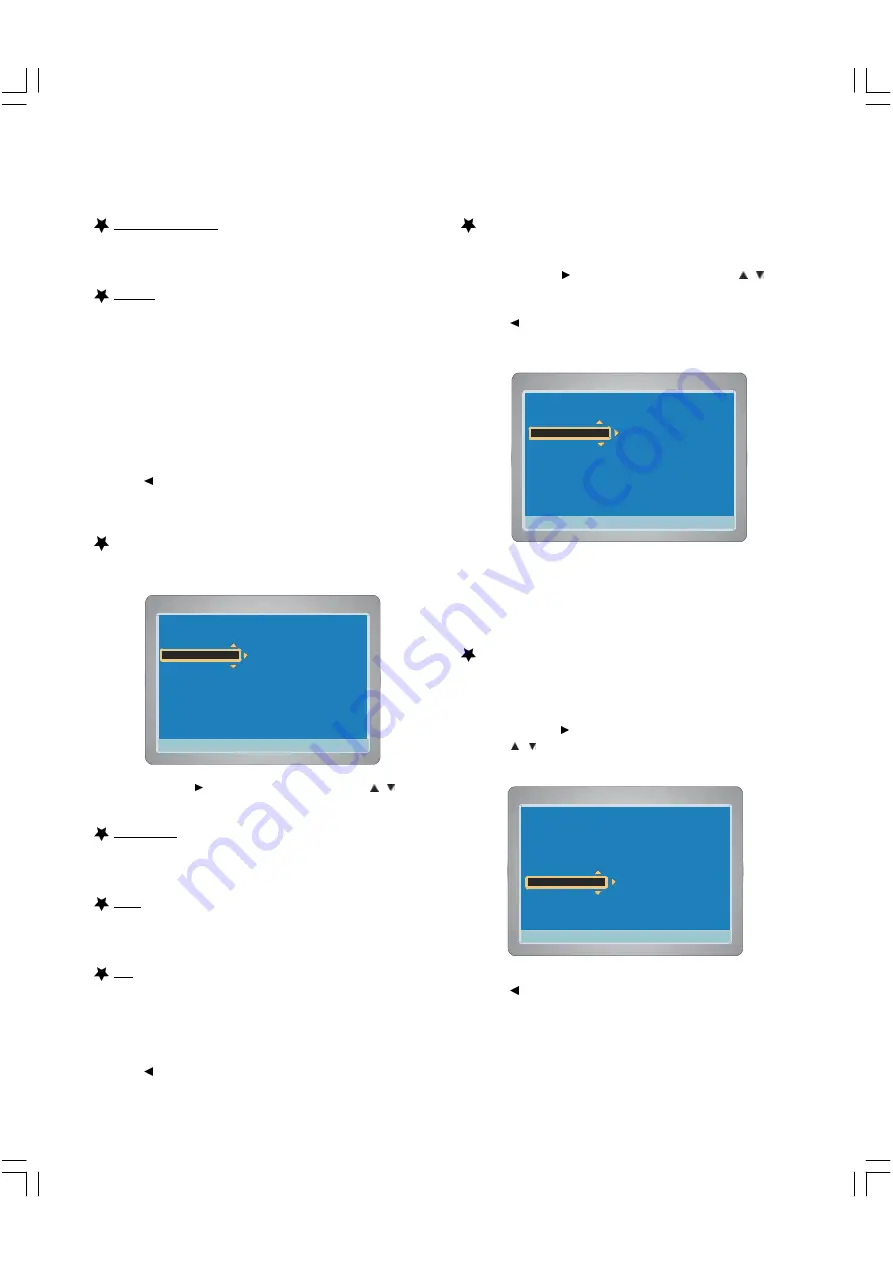
Setting TV Type
1.
Select “TV Type ”.
2.
Press ENTER or to select the sub menu, then press
/
to
select the appropriate setting for your TV screen size.
Multi. System
Select this if the connected TV set is compatible with both NTSC
and PAL (multi system). The output format will be consistent
with the video signal of the disc.
NTSC
Select this if the connected TV set is NTSC system.
It will change the video signal of a PAL video disc and output to
NTSC system.
PAL
Select this if the connected TV set is PAL system.
It will change the video signal of an NTSC disc and output to PAL
format.
3.
Press ENTER, “V” appears, the TV type is set.
4.
Press
to return to “TV Type”.
Setting Video Output
1. Select “Video Output ”.
2. Press ENTER or to select the sub menu, then press
/
to
select output mode.
3.
Press ENTER, “V ” appears.
4. Press
to return to “Video Output ”.
5. To exit, press SETUP.
When the 1st AV input ( AV1 IN ) or 2nd AV input ( AV2 IN ) jacks are
connected, you must set as follows:
(AV Select —> Rear AV IN & Front AV IN)
Setting Rear AV IN and Rear AV IN
1. Select “Rear AV IN ”or “Front AV IN ”.
Rear AV IN : When AV1 IN jacks are used
Front AV IN : When AV2 IN jacks are used
2. Press ENTER or to select the sub menu.
3. Press
/
to select “Video ”or “S-Video ”input jack.
Video : Using VIDEO input jack
S-Video : Using S-VIDEO input jack
4.
Press ENTER, “V ” appears.
5. Press
to return to “Rear AV IN ”or “Front AV IN ”.
6. Repeat steps 1 ~ 5 as necessary.
7. To exit, press SETUP.


