Cellartis iPSC rCas9 Electroporation and Single-Cell Cloning System User Manual
(030619)
takarabio.com
Takara Bio USA, Inc.
Page 18 of 24
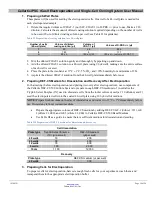
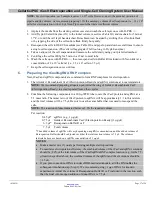
3.
Mix the reaction well by gently pipetting up and down. Incubate using a thermal cycler preheated to
37°C with the following program:
37°C
5 min
4°C
hold
4.
OPTIONAL:
Add donor DNA and keep on ice until use.
D.
Electroporating Cells Using the Neon Transfection System
1.
Aspirate the COAT-1 from each well of the 48-well plate (prepared in Section VII.B.1) and add
300 µl of pre-warmed DEF-CS medium (prepared in Section VII.B.2) to each well.
2.
Fill the Neon Tube with 3 ml of Buffer E (included with Neon kits) and insert the Neon Tube into
the Neon Pipette Station.
3.
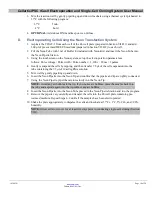
Using the touchscreen on the Neon system, set up the electroporation parameters as
follows: Pulse voltage / Pulse width / Pulse number = 1,100 v / 20 ms / 2 pulses
4.
Gently resuspend the cells by tapping, and then transfer 7.5 µl of the cell suspension into the
tube containing the 7.5 µl of rCas9/sgRNA solution.
5.
Mix well by gently pipetting up and down.
6.
Insert the Neon Pipette into the Neon Tip and confirm that the pipette and tip are tightly connected.
7.
Using the Neon Pipette, pipet the mixture slowly into the Neon Tip.
NOTE:
Avoid any air bubbles in the tip. If you notice air bubbles, place the sample back into
the
tube and aspirate again into the tip without any air bubbles.
8.
Insert the Neon Pipette into the Neon Tube placed in the Neon Pipette Station and run the program.
9.
Remove the pipette very carefully and transfer the cells into the 48-well plate containing pre-
warmed medium. Repeat Steps 4–9 until all the samples have been electroporated.
10.
Shake the plate appropriately to disperse the cells and incubate at 37°C ± 1°C, 5% CO
2
, and >90%
humidity.
NOTE:
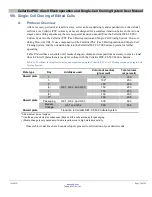
Allow cells to recover for at least five days prior to conducting single-cell cloning (Section
VIII).

