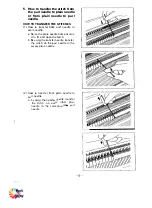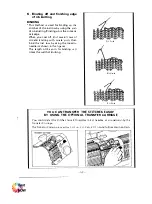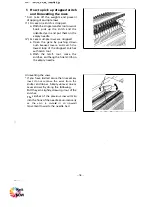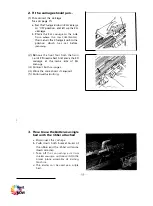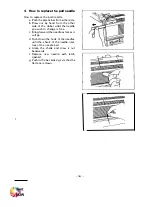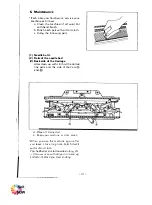
d Move the connected carriage from
right to left. (The plain needles on
position E and purl needles on
position 8 knit. and the yarn 1s
across on the purl needles on
position E)
e. To avoid a hole in the knitting. hook
the yarn laying across on the purl
needles on position
E
to the next
needle to the kn1t11ng.
Set the racking indicator on next
number
g. Bring the knitflng needles of KH bed
to position
E
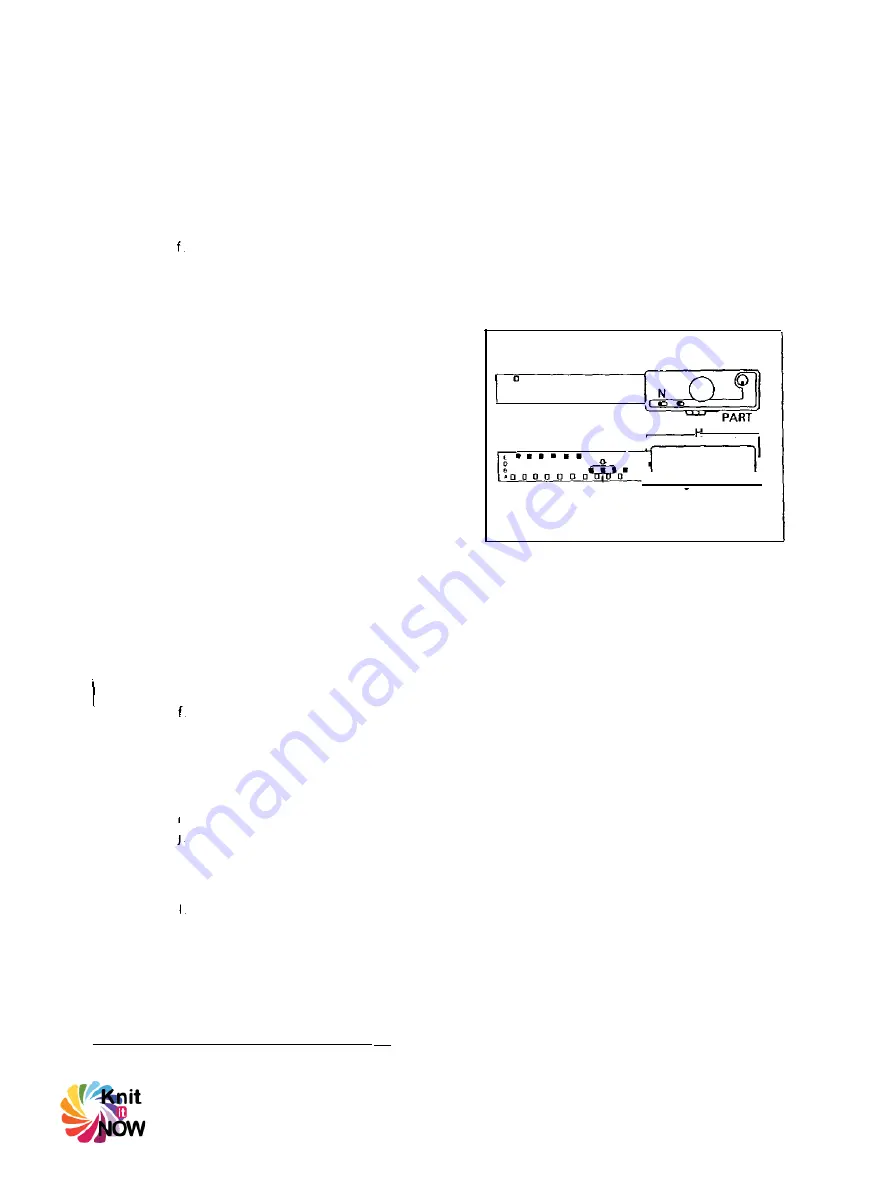
(2) Increasing knitting part
a_ Set the carriages as shown in the
Fig
b. Bring back the required needles you
want to kn,t to position D. and using
the transfer tool. place the stitch
behaind the latch into the hook.
Then. return these needles to pos1-
t1on 8.
c Bring the knitting needles of KH bed
to pos1t,on
E.
d. Move the connected carriage from
right to left. (The plain needles on
position E and purl needles on
pos1t1on B knit. and the yarn 1s
across on the purl needles on
posrt1on E.)
e
To
avoid a hole in the knitting. hook
the yarn laying across on the purl
needles on position
E
to the next
needle to the knitting
Set the racking indicator on next
number
g Bring the knrtt1ng ne edles of K H bed
to pos1t1on
E
h. Move the connected carriage from
left to right
Repeat step lb) to (e)
Set the racking indicator on next
number
k Bring the kn1t11ng needles ol KH bed
to pos1t1on E.
Move
the connected carriage from
lefl to right.
m Repeat step (b) to 111 according to
the shape of garment
- 51 -
h Move the connected carriage from
left to right
1 Repeat step (bl to (e).
J. Set the racking indicator on next
numb·er.
k. Bring the knitting needles of KH bed
to position E.
I. Move the connected carnage from
left to right.
m Repeat step (b) to (I) according to
the shape of garment.
A
aoo oaoaoo
�• I I ■ ■ ■
O
I
I
■ 8
I
I
I
J�•
"'
'
"
Return the stitch into the hook.


