


- 10 -
EN
9I03
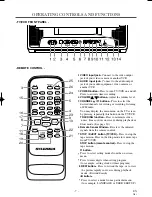
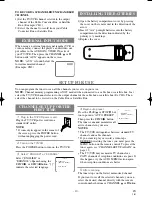
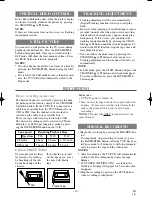
INSTALLING THE BATTERIES
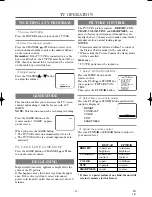
1)Open the battery compartment cover by pressing
the cover on the remote unit in the direction of the
arrow.
2)Insert 2 “AA” penlight batteries into the battery
compartment in the direction indicated by the
polarity (+/-) markings.
3)Replace the cover.
SET UP FOR USE
You can program the tuner to scan all the channels you receive in your area.
NOTE:
Channel memory programming is NOT needed when connected to a cable box or satellite box. Just
select the TV/VCR channel selector to the output channel of the cable box or satellite box (Ex CH3). Then
select the channel to be viewed on the Cable Box or Satellite Box.
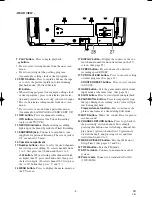
1
Plug in the TV/VCR power cord
Plug the TV/VCR power cord into a
standard AC outlet.
NOTE:
•
If some digits appear in the corner of
the screen, press the POWER button
without unplugging the power cord.
2
Turn on the TV/VCR
Press the POWER button to turn on the TV/VCR
3
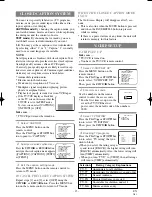
Select “ENGLISH” or “ESPAÑOL”
Select “ENGLISH” or
“ESPAÑOL”=Spanish using the
F.FWD/
B
or REW/
s
button. “[ ]”
indicate the selected language.
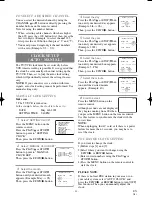
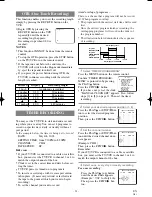
CHANNEL SET UP FOR THE
FIRST TIME
– SET UP –
B
LANGUAGE
[ENGLISH] ESPAÑOL
AUTO PRESET
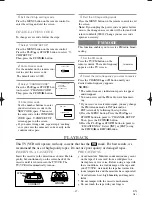
4
Begin auto preset
Press the PLAY/
K
or STOP/
L
but-
ton to point to “AUTO PRESET”.
Then press the F.FWD/
B
button.
The tuner scans and memorizes all
active channels in your area.
NOTES:
•
The TV/VCR distinguishes between standard TV
channels and cable channels.
•
If you want to play or record a video tape
BEFORE presetting the tuner, you must press the
MENU button on the remote control. To preset the
tuner again, see “CHANNEL SET UP AGAIN” on
page 12.
•
The TV/VCR may memorize TV channels as
CATV channels if reception conditions are poor. If
this happens, try the AUTO MEMO action again
when reception conditions are better.
5
After scanning
The tuner stops on the lowest memorized channel.
If you want to recall the selected channels, you can
select the desired channel directly with the remote
control number buttons or CHANNEL
K
or
L
button.
– SET UP –
LANGUAGE
[ENGLISH] ESPAÑOL
B
AUTO PRESET
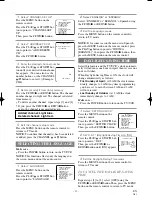
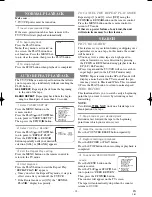
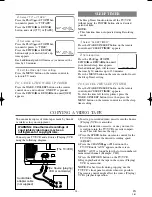
EXTERNAL INPUT MODE
When using an external input signal (another VCR or
video camera), connect the player’s audio/video out-
put cables to the AUDIO IN/ VIDEO IN jacks of
your TV/VCR. Then press the CHANNEL
K
or
L
button until “AUX” appears on the screen.
NOTE:
“AUX” is found below the
lowest memorized channel.
(Example: CH2)
TO RECORD A SCRAMBLED/UNSCRAMBLED
CHANNEL
1) Set the TV/VCR channel selector to the output
channel of the Cable Converter Box or Satellite
Box. (Example: CH3)
2) Select the channel to record from your Cable
Converter Box or Satellite Box.
AUX
T5408UJ.QX33 03.1.9 5:23 PM Page 10