

- 19 -
EN
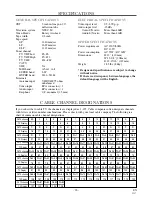
9J27
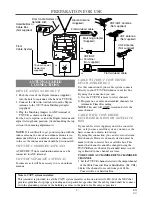
Make sure ...
•
TV/VCR power must be turned on.
•
Insert a cassette tape with its erase prevention tab in place. (If necessary, rewind or fast forward the tape to
the point at which you want to begin recording.)
NOTE:
This unit will ONLY record and view the same channel.
You can ONLY watch the same TV program that is
being recorded.
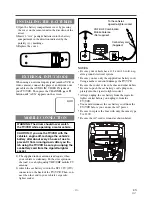
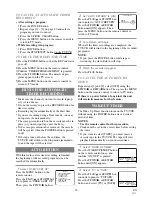
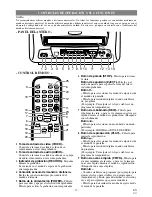
1
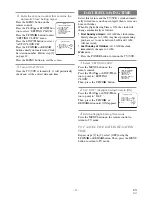
Select the channel to be recorded
Press the number buttons on the
remote control or the CHANNEL
K
or
L
button.
Remember: If the TV/VCR is con-
nected to a cable box or satellite
box, the TV/VCR must be on CH3
or CH4, then the channel to be recorded must be
selected on the cable box or satellite box.
2
Select the tape speed
Press the SPEED button to select
the desired tape speed (SP/ SLP).
3
Begin recording
Press the RECORD button.
4
Stop recording
Press the STOP button when recording is completed.
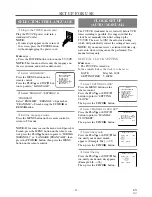
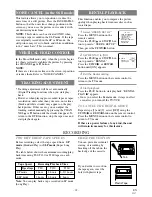
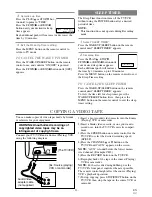
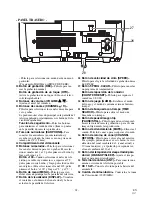
NORMAL RECORDING
Press the PAUSE/STILL button to
temporarily stop recording.
Press the PAUSE/STILL or
RECORD button to resume record-
ing.
NOTES:
•
After five minutes, the TV/VCR will automatically
switch to the Recording mode to prevent tape dam-
age.
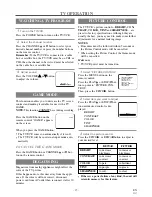
SKIPPING UNWANTED
SCENES DURING RECORDING
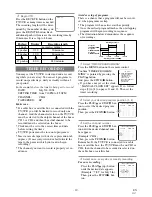
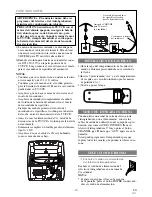
CH 10
SP
REC
SP
PAUSE
SP
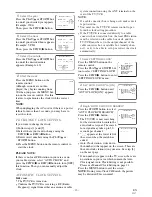
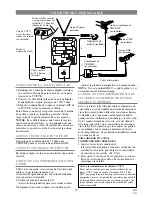
OTR (One Touch Recording)
This function enables you to set a recording length
simply by pressing the REC/OTR button on the
TV/VCR.
Make sure ...
•
TV/VCR power must be turned on.
•
Insert a cassette tape with its erase prevention tab
in place. (If necessary, rewind or fast forward the
tape to the point at which you want to begin
recording.)
NOTES:
•
This function CANNOT be done from the remote
control.
•
Recording starts immediately when the REC/OTR
button is pressed.
•
When the REC/OTR button is pressed 18 times, the
TV/VCR returns to the Normal Recording mode.
•
To stop the OTR operation, press the STOP button
on the TV/VCR or on the remote control.
•
To show the remaining time, press the DISPLAY
button on the remote control so that “OTR”
appears on the TV screen. (It will show up momen-
tarily then disappear.)
•
Recording stops when 0:00 is reached.
•
Please note that in the SLP mode maximum record-
ing time, assuming the tape is started at the begin-
ning, is 8 hours using T-160 (or 6 hours using T-120).
•
If the tape runs out before the end time, the
TV/VCR will switch to the Stop mode immediate-
ly, ejects the tape and turns itself off.
•
If you press the power button during OTR, the
TV/VCR continues recording until the selected
length is reached.
1
Select the channel to be recorded
Press the number buttons on the remote control or the
CHANNEL
K
or
L
button.
Remember:
If the TV/VCR is connected to a cable
box or satellite box, the TV/VCR must be on CH3 or
CH4, then the channel to be recorded is selected on
the cable box or satellite box.
2
Select the tape speed
Press the SPEED button to select the desired tape
speed (SP/ SLP).


