


MV-1930/1931-06-2021 . © Alle rettigheder forbeholdes Swim & Fun A/S
65
UK
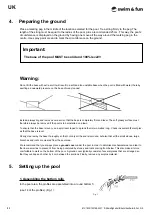
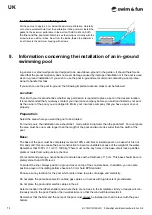
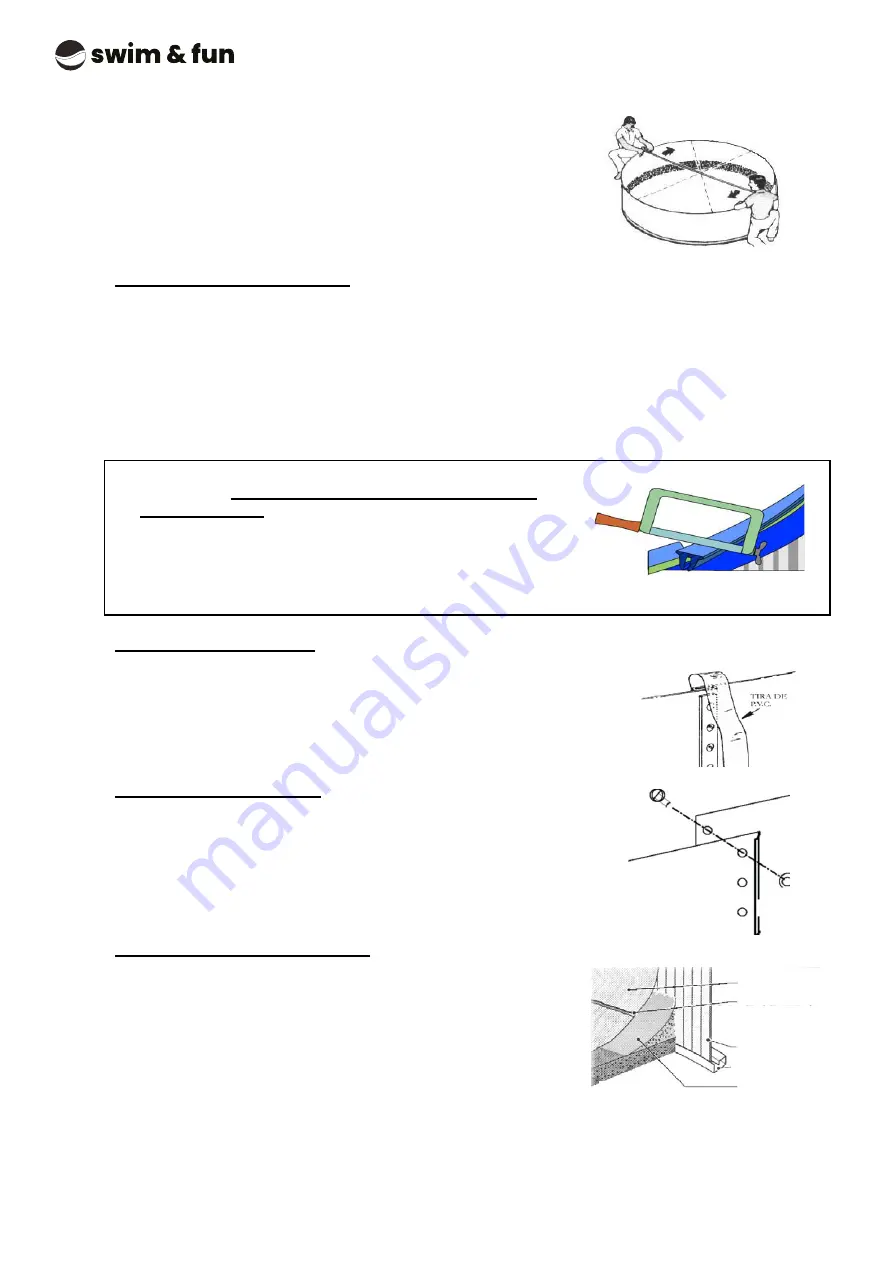
Check that the circle is round and correctly placed in rela-
tion to the marking peg used in the base.
It is very important to be certain that the pool liner will
subsequently be correctly positioned (Fig. 2).
Fig. 2
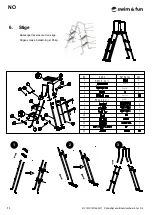
2. Assembling the pool wall
This requires a minimum of two adults, preferably more, as it can be quite ‘lively’ to work with the pool wall at
this point.
Therefore, you should never assemble it under windy conditions!
Place the pool wall vertically on a piece of cardboard in the centre of the bottom frame. The wall is rolled out
clockwise and then placed vertically into the bottom rail the entire way around. Remember to check that the
pool wall is not being installed upside-down – the perforated part of the wall must be facing upward (not illus-
trated). The perforations are only important if you later wish to upgrade the pool with a sand filter system and
a built-in skimmer on the pool wall.
NOTE
that the length of both the bottom and top rails
must be adjusted on site for the pool wall. You therefore
must saw off a piece of the bottom rail in order to be able
to assemble the pool wall. Exercise caution. Do not cut a
corresponding piece of the top rail until the pool is finally
assembled.
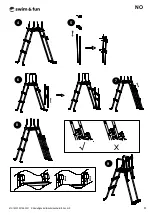
3. Closing the pool wall
You MUST use all supplied screws and bolts. There must be no unused
screw holes in the pool wall. Insert the screws from the inside and tighten
them with the washers and nuts on the outside. Place the plastic caps over
the nuts on the outer side of the pool wall.
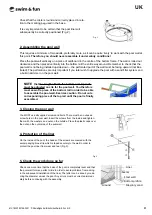
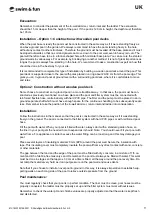
4. Protection of the liner
On the inside of the pool, the heads of the screws are covered with the
accompanying blue strip which is taped securely to the wall in order to
protect the pool liner from wear and tear (Fig. 3).
Fig. 3
5. Check the work done so far
Check one more time that the base of the pool is completely level and that
the pool wall forms a perfect circle in order to avoid problems from arising
in the subsequent installation of the liner. The latter can be done by meas-
uring the diameter across the pool. Any errors must be corrected immedi-
ately before continuing with the assembly.
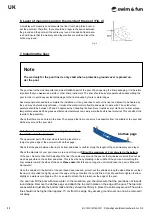
Seams
Steel wall
Bottom
profile
Masonry
sand
Ground
Liner
Содержание KRETA XL POOL 1930
Страница 8: ...8 MV 1930 1931 06 2021 Alle rettigheder forbeholdes Swim Fun A S DK 4 6 8 5 7 9...
Страница 23: ...MV 1930 1931 06 2021 Alle rettigheder forbeholdes Swim Fun A S 23 SE 4 6 8 5 7 9...
Страница 38: ...38 MV 1930 1931 06 2021 Alle rettigheder forbeholdes Swim Fun A S FI 4 6 8 5 7 9...
Страница 53: ...MV 1930 1931 06 2021 Alle rettigheder forbeholdes Swim Fun A S 53 NO 4 6 8 5 7 9...
Страница 68: ...68 MV 1930 1931 06 2021 Alle rettigheder forbeholdes Swim Fun A S UK 4 6 8 5 7 9...
Страница 83: ...MV 1930 1931 06 2021 Alle rettigheder forbeholdes Swim Fun A S 83 DE 4 6 8 5 7 9...
Страница 98: ...98 MV 1930 1931 06 2021 Alle rettigheder forbeholdes Swim Fun A S NL 4 6 8 5 7 9...
Страница 113: ...MV 1930 1931 06 2021 Alle rettigheder forbeholdes Swim Fun A S 113 PL 4 6 8 5 7 9...
Страница 122: ......
Страница 123: ......


