8
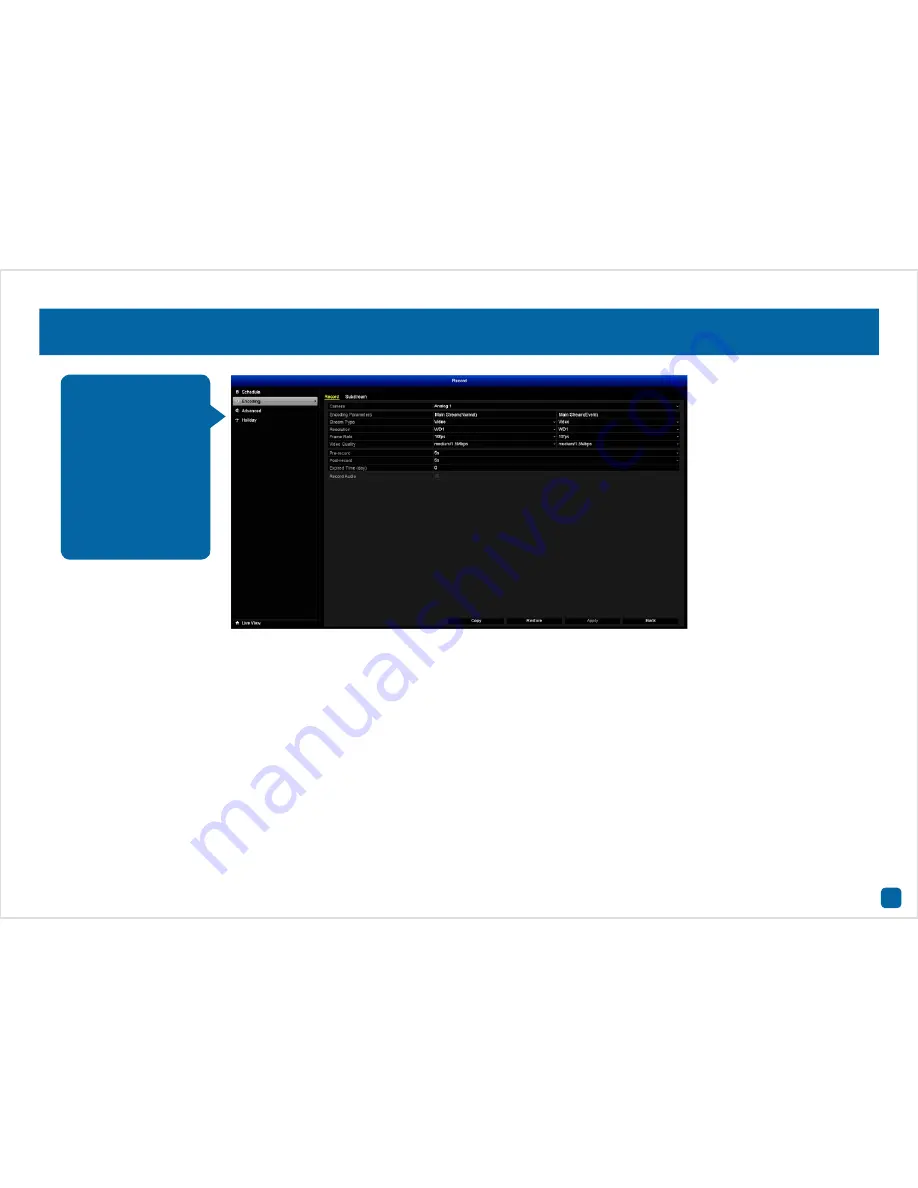
Record: Encoding - Record
Camera:
Select a camera that you would like to edit.
Resolution:
Displays the Main Stream resolution for both Continuous
and Event recording (we recommend to have the same settings for both).
Stream Type:
By default “Video” is selected. Select “Video & Audio” if
you have an audio source connected to the DVR’s audio input.
Frame Rate:
The frame rate is determined by the cameras included with
the DVR as well as the number of video inputs available. For 960H (960
x 576 PAL, 960 x 480 NTSC) cameras, 10fps is the maximum frame rate
available. Full Frame (25 or 30fps) is available on the lower resolution
(720 x 576 PAL, 720 x 480 NTSC).
Video Quality:
The amount of data the DVR will use to record video. Low-
ering the quality reduces the file size of each video saved.
Pre-record:
The Pre-record function reduces the chance of an Event not
being recorded. It is recommended to change this to 10 seconds (10s).
Post-record:
Same as above but the DVR will continue recording after
an Event has occurred. 30 seconds (30s) is the recommended length.
Expired Time (day):
Determines how long the video footage will remain
on the hard drive without it being overwritten.
Record Audio:
Click the checkbox to enable when selecting “Video &
Audio” for the Stream Type.
• Use the “Copy” function to apply all settings to the other cameras.
• Click the “Restore” button to revert back to default settings.
• Don’t forget to click “Apply” to save settings.
• Click the “Back” button to go back to the Menu.
The Encoding function
allows you to change
the resolution and bi-
trate for each camera
connected. By default
the recording resolu-
tion is automatically
selected to fit in with
the capabilities of the
provided cameras.


