18
Camera:
Select a camera that you would like to edit.
Enable Schedule:
This is enabled by default.
Edit:
Click this to edit. You can edit the Schedule for one or more days
and different starting and ending times. You also have the choice of se-
lecting from multiple Event types.
Normal:
The DVR will continuously record regardless of what is hap-
pening.
Motion:
The DVR will only record when it detects something moving in
front of one or more cameras.
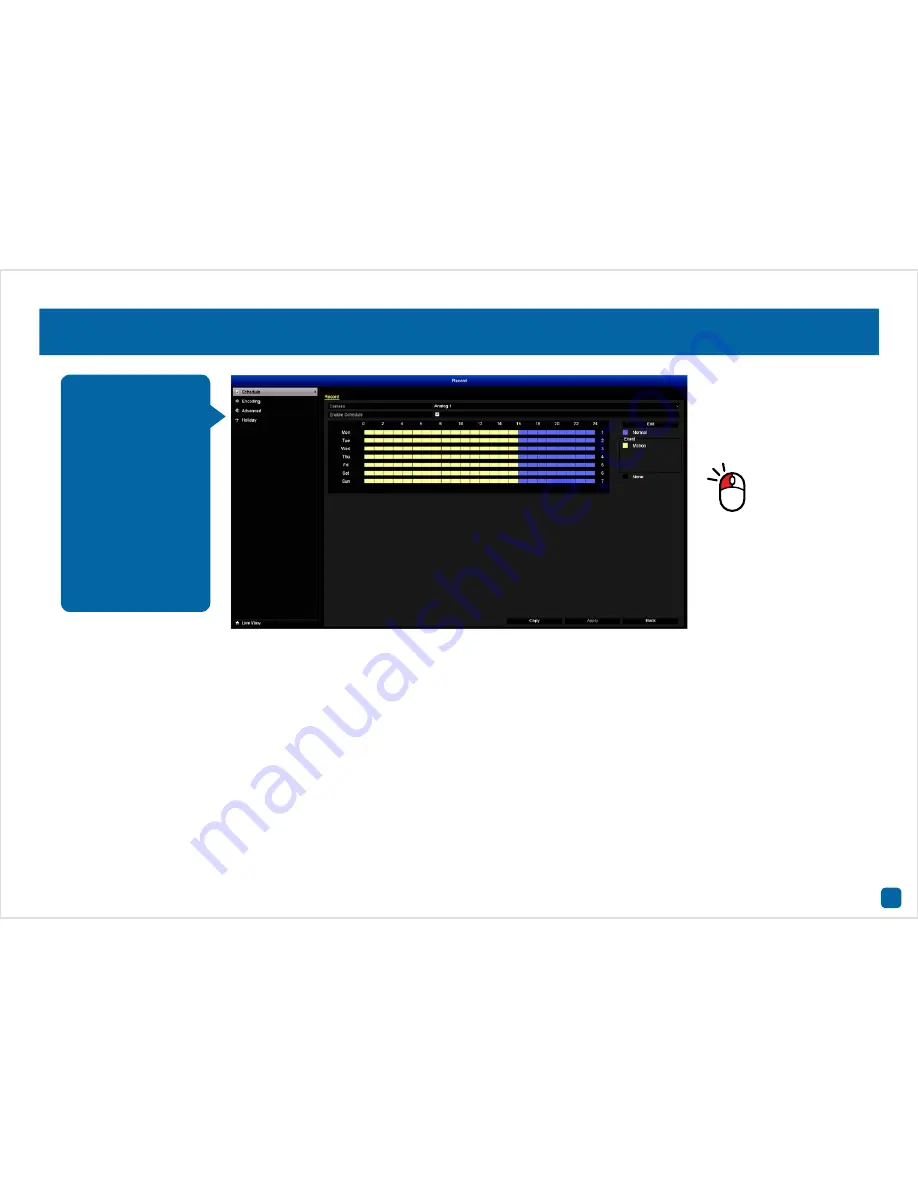
To edit, select the Event type then move the pen tool over the Schedule.
Click and hold the mouse then drag the pen tool over the time segments
that you want to change. You can also edit a single time segment.
In the above example, Motion has been enabled for 012:00 a.m. to 04:00
p.m. and Normal has been enabled for 04:00 p.m. to 12:00 a.m. Monday
to Sunday.
None:
As the name suggests, the DVR will not record anything.
• Use the “Copy” function to apply all settings to the other cameras.
• Don’t forget to click “Apply” to save settings.
• Click the “Back” button to go back to the Menu.
Record: Schedule
By default, a Motion
Detection recording
schedule has been
enabled for each con-
nected camera. You
can change the Sched-
ule according to what
fits in with your needs.
The Schedule is pre-
sented as a 24-hour 7
days a week grid and is
colour coded to repre-
sent the Event type.
Select an Event, click
and hold the mouse
then drag the pen tool
over the time segments
that you want to change.


