23
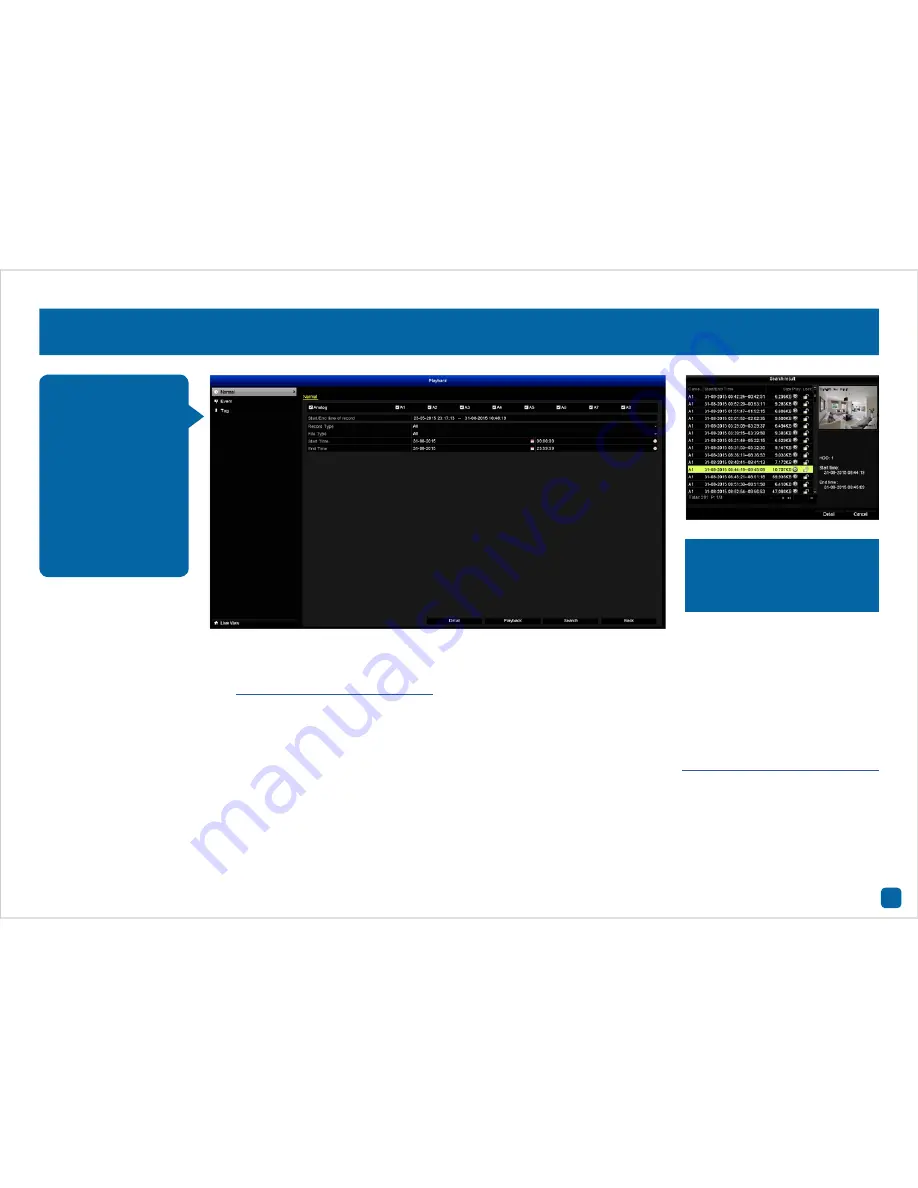
Analog:
Select from one or more camera(s) that you would like to display for
playback. Please note, the Smart Search function is only available when you
select a single camera for playback.
See page 27 for more information.
Start/End time of record:
This displays the start time and date and end time
and date from when the DVR was first configured to record video. This will
typically be the first time that you turned on the DVR and ran through the
Setup Wizard. If you have recently formatted the hard drive, the start time and
date will be displayed from that day.
Record Type:
Select the type of video you would like for playback. The options
are Normal, Motion, Manual and All.
File Type:
Select from Unlocked, Locked and All.
Start Time:
Set your start date and time.
End Time:
Set your end date and time.
Detail:
Click this to display a graphical representation of the type of video
recorded. Each record type is colour coded, for example Normal is blue and
Motion is yellow.
Playback:
Click this to play all videos that match your search criteria sequen-
tially. You can forward, rewind and pause playback as well as set mark in and
out points and to add one or more Tags.
See page 26 for more information.
Search:
Click this to display a list of video files that match your search
criteria (see above right). Select a file and click the Play button to play
the video. If you would like to keep the video so it isn’t deleted, click the
Lock button. Click again to unlock.
• Click the “Back” button to go back to the Menu.
Playback: Normal
Normal Playback gives
you the ability to play
video from one or more
camera(s) on a given
day. The blue segments
located on the timeline
(underneath the video)
indicate a Normal
recording and the red
segments indicate an
Event recording.
Camera 1
31-08-2015 Mon 08:44:19
Click “Search” to display video
files fitting your search criteria.
A thumbnail is visible displaying
the first frame of the file.


