37
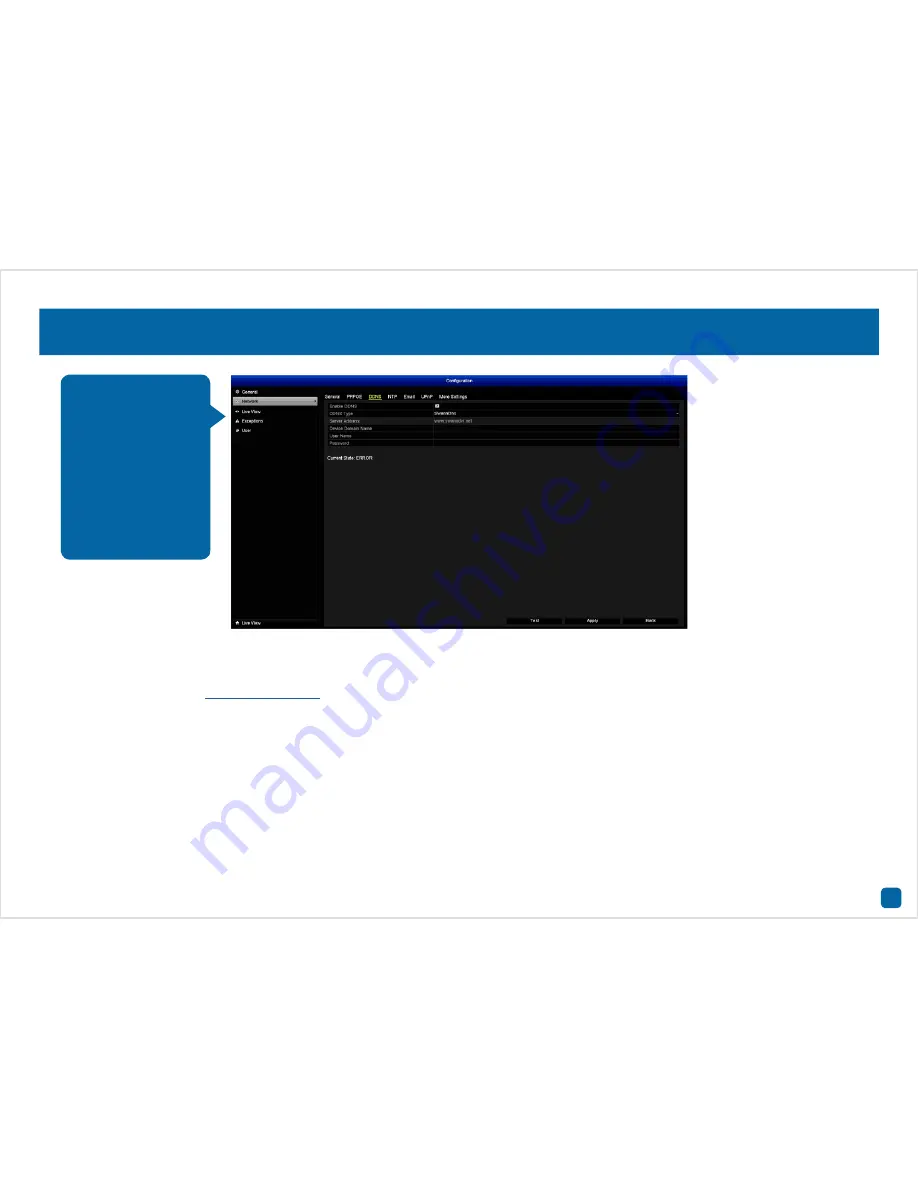
For now, ignore the “Current State:ERROR” message that appears. This
will change when the DVR has confirmed your account details.
To create an account, go to (
www.swanndvr.com
) and click the “Regis-
tration” button. Follow the prompts to create your account.
Enable DDNS (check box):
Click this to enable.
DDNS Type:
SwannDNS is automatically selected.
Device Domain Name:
Enter the domain name that is hosted on your
account. For example, username.swanndvr.net.
User Name:
Enter the username (host name) for your account.
Password:
Enter the password for your account.
Click the “Test” button to confirm your account details. After a short
moment you should see “Current State:OK”.
• Don’t forget to click “Apply” to save settings.
• Click the “Back” button to go back to the Menu.
Configuration: Network - DDNS
Prior to developing our
SwannLink P2P tech-
nology, our SwannDNS
service was used to
connect to your DVR
remotely. This service
is still active and we
recommend creating
an account as a means
of backup.


