SC825 Chassis Manual
6-6
6-7
Chapter 6: Rack Installation
screw the handles the
outer rails for secure
purpose if necessary
F.
ABLECOM
DATE:2008/08/14
REV:2
SCREW
SCREW
COMPLETE
1
2
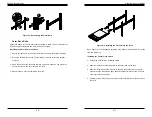
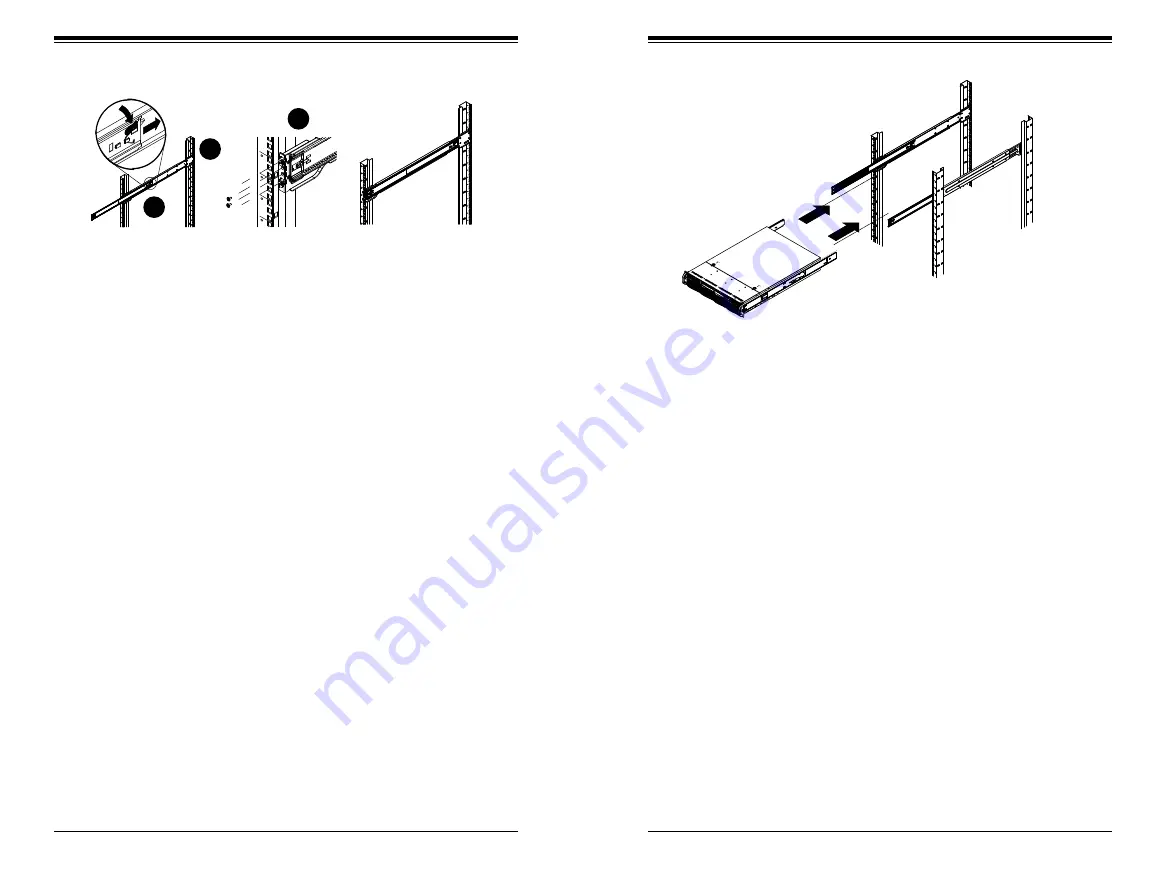
Figure 6-4. Installing the Chassis into the Rack
Installing the Chassis into a Rack
1. Extend the outer rails as illustrated above.
2. Align the inner rails of the chassis with the outer rails on the rack.
3. Slide the inner rails into the outer rails, keeping the pressure even on both
sides. When the chassis has been pushed completely into the rack, it should
click into the locked position.
4. Optional screws may be used to secure the to hold the front of the chassis to
the rack.
Outer Rack Rails
Outer rails attach to the rack and hold the chassis in place. The outer rails for the
SC825 chassis extend between 30 inches and 33 inches.
Installing the Outer Rails to the Rack
1. Secure the back end of the outer rail to the rack, using the screws provided.
2. Press the button where the two outer rails are joined to retract the smaller
outer rail.
3. Hang the hooks of the rails onto the rack holes and if desired, use screws to
secure the front of the outer rail onto the rack.
4. Repeat steps 1-3 for the remaining outer rail.
Figure 6-3. Assembling the Outer Rails
screw the handles the
outer rails for secure
purpose if necessary
F.
ABLECOM
DATE:2008/08/14
REV:2
SCREW
SCREW
COMPLETE
1
2
1
1
1
2
1
3
Note: figures are for illustrative purposes only. Always install servers into racks
from the bottom up.
Содержание SC825TQ-560LP
Страница 5: ...SC825 Chassis Manual viii Notes...
Страница 9: ...SC825 Chassis Manual 1 6 Notes...
Страница 20: ...2 20 SC825 Chassis Manual Notes...
Страница 37: ...SC825 Chassis Manual 5 22 Notes...
Страница 42: ...SC825 Chassis Manual 6 8 Notes...
Страница 46: ...SC825 Chassis Manual A 6 Notes...


