62
Chapter 3: Maintenance and Component Installation
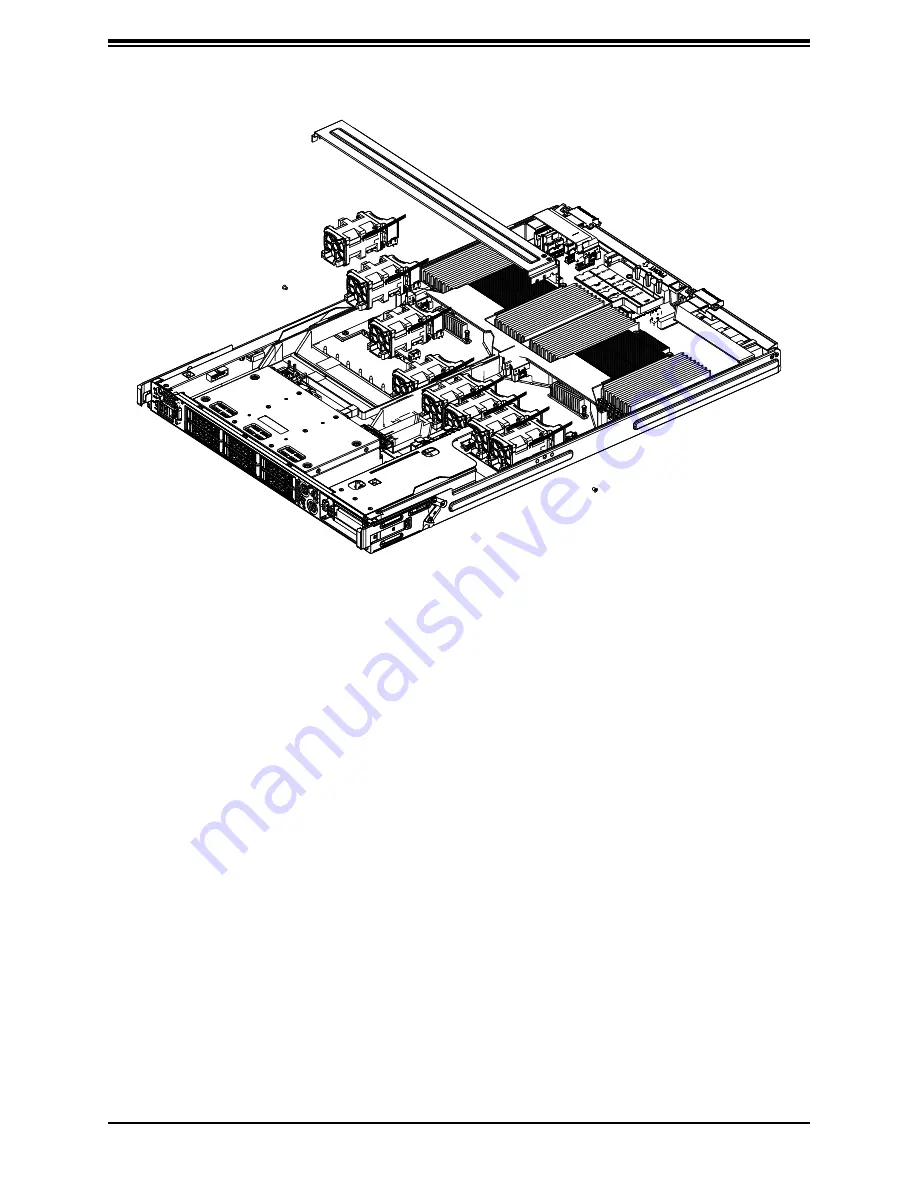
Changing a CPU Fan
1. Identify the failed fan.
2. Power down the system and remove the motherboard tray as described in Section 3.1
and 3.2.
3. Remove the two screws holding the crossbar to the CPU tray and remove the crossbar.
4. Remove the failed fan's wiring from the motherboard.
5. Remove the four pin securing the fan to the fan tray.
6. Lift the fan from the fan tray and out of the chassis.
7. Place a new fan in the open position in the fan tray. Make sure the arrow indicating the
air flow direction points in the same direction as the other fans.
8. Reconnect the fan's wiring.
9. Replace the motherboard tray into the chassis.
Figure 3-18. CPU Fan Replacement
Note:
Figure is for illustration purposes only. Some components shown might not match
those in your system.


