16
SuperServer 2028TP-VRL Series User's Manual
Step 2. Click the
Yes, Let’s Go!
button. Then if you agree, accept the EVO:RAIL End-User
License Agreement (EULA).
Step 3. If you click the
Customize
button you can configure hostnames, IP addresses, VLAN
IDs, and passwords. Most fields have default values to make initial configuration
quick and easy. The
Just Go
button configures EVO:RAIL according to the default
JSON configuration file and skips to
Step 11
. To upload your own JSON file, you
must click the
Customize
button first, then
Upload Configuration
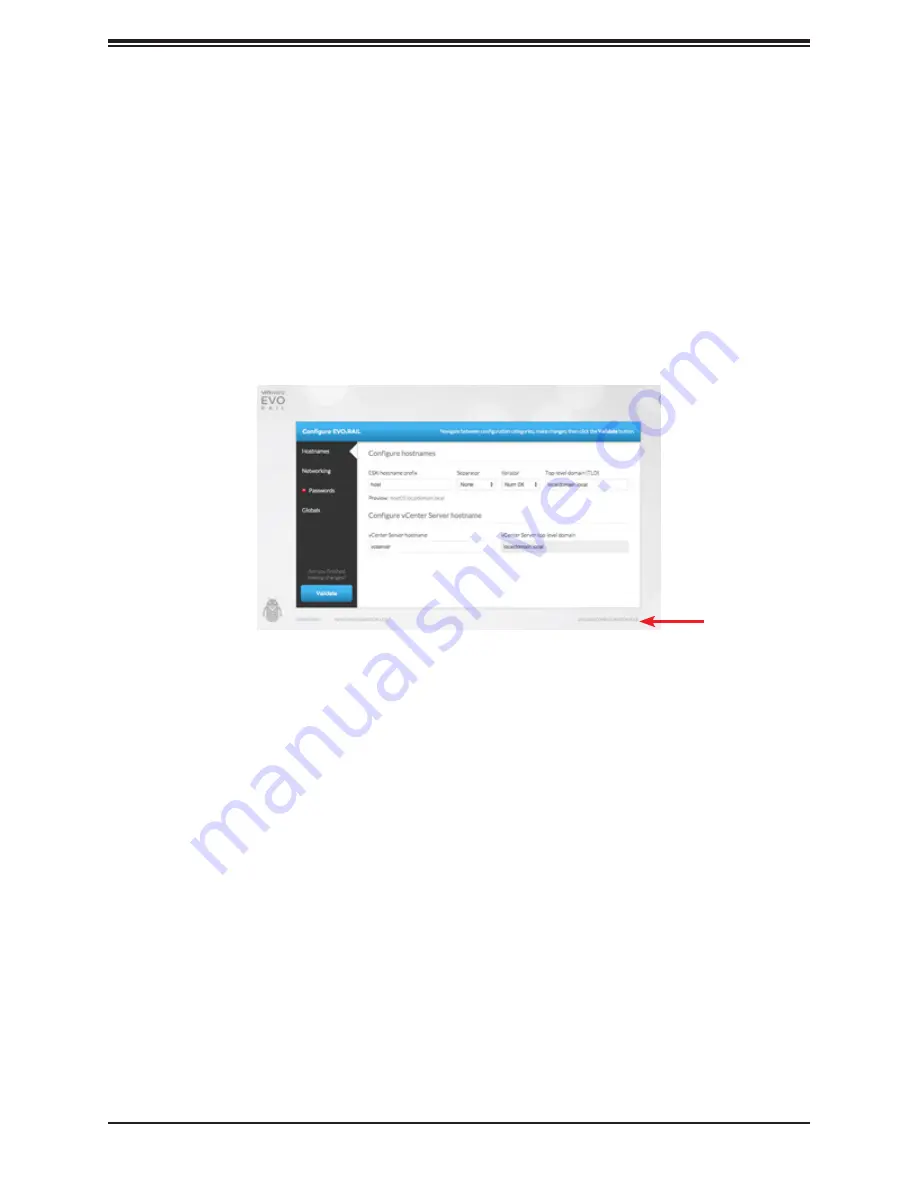
, shown by the red
arrow in Figure 2.
NOTE
: There is no “save” option in EVO:RAIL; all configuration changes are automatically
validated and saved when changing between fields or screens.
Figure 2. Configure hostnames
Step 4. To customize EVO:RAIL, first click
Hostnames
to define a naming scheme for your
ESXi hosts. The hostname consists of an ESXi hostname prefix, a Separator, an
Iterator, and a Top-level domain. The Preview field shows an example of the result
of the first ESXi host, as illustrated in the screenshot in Figure 2.
•
Enter the ESXi hostname prefix.
•
Select the Separator (“None” or a dash ”-“) and the Iterator (Alpha, Num X, or
Num 0X).
•
Enter the Top-level domain name.
•
Enter the vCenter Server hostname. The top-level domain is automatically applied
to the vCenter Server hostname.
Step 5. Click
Networking
to specify IP and/or VLAN details for each network type: ESXi
hosts, Virtual SAN, vSphere vMotion, vCenter Server, and VM Networks.
•
In
ESXi hosts
, enter the Starting and Ending address for IP pool, Netmask, and
Default gateway.
•
Click
vMotion
and enter the Starting and Ending address for IP pool, the vSphere
vMotion VLAN ID, and the Netmask.


