29
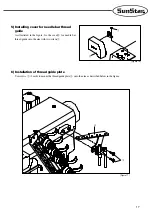
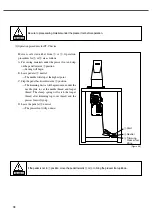
2) Adjustment of looper thread tension
The standard setting is to match the punched mark
②
on the
looper thread take-up lever guide support
①
with the thread
holes of the thread guides
③
,
④
.
To increase thread supply, loosen the thread guide fixing
screws
③
,
④
and advance the thread guide forward. To
reduce thread supply, move the thread guide backward.
※
When using the wool thread, move the looper thread
guides
③
,
④
forward as much as possible, and do not
insert thread into disc
⑤
.
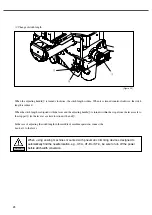
3) Adjustment of needle and spreader
⑴
Installation of spreader
When the spreader
①
moves to the left, the clearance between the left needle and the hook tip of the spreader (a) is
0.5mm ~ 0.8mm. (Figure 41)
When the spreader sits at the far left, the distance from the left needle center to the hook tip of the spreader (a) is 4.5mm ~
5.5mm.
The height between the stitch plate and the lower side of the spreader
①
is 8.5mm ~ 9.5mm. (Figure 42)
The spreader can be adjusted by untightening the spreader fixing screw
②
and the spreader handle fixing screw
③
.
(Figure 43)
[ Figure 41 ]
[ Figure 42 ]
[ Figure 43 ]
①
a
0.5~0.8mm
4.5~5.5mm
8.5~9.5mm
①
③
②
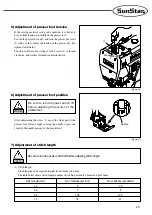
Be sure to turn the power switch off before adjusting tension.
Warning
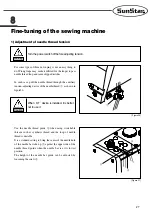
Turn the power switch off before adjustments
Warning
Please note that excessive supply of
looper thread may cause stitch skip.
Caution
[ Figure 40 ]
③
④
②
①
-
+
-
+
⑤


