34
②
Start/End B/T stitch number correction method
The method to correct B/T stitch numbers may differ according to the user. However it is basically done in the following order.
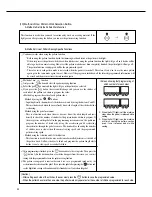
A. When the machine sews one less or one more stitch than the programmed number of stitches.
[Caution]
The stitch number correction value program range is between -6 stitches to 6 stitches. You cannot see the currently applied
correction value on the initial screen. If you want to see the currently applied correction value, press the
button and then
the
button and either check the programmed value of each side or check items 30(side A's
correction value), 31(side B's correction value), 32(side C's correction value) and 33(side D's correction value) from Group B of
the parameter.
If each side's corrected value has been corrected to the minimum or maximum value limit (between -6 stitches to 6 stitches)
and the sewing condition is still not correct, reduce the B/T sewing speed.
Generally, you can correct in the manner mentioned above when there is more than one stitch difference. And you can correct
when there is less than one stitch difference with the item mentioned in the next page.
ⓐ
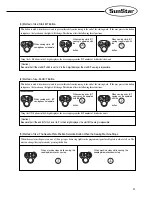
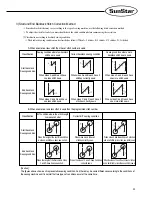
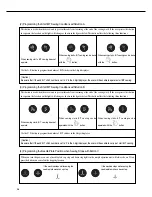
First, fully check the B/T sewing condition
: Commence sewing and check the current sewing condition. Refer to the figure above.
The example above is an explanation of when one B/T stitch number comes less than one
When there is more than one stitch is added or missing, you can correct the stitch number as explained above.
<Initial screen>
ⓑ
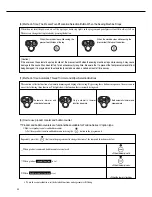
If you have checked the sewing condition, first correct the stitch number that differs by
one or more stitches to the programmed stitch number.
Correction method for stitch numbers with more than one stitch difference
Program range: -6 stitches ~ 6 stitches
Program unit: 1 stitch
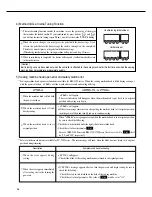
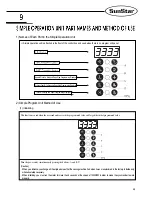
Method to apply correct stitch number (program using buttons A, B, C and D).
After programming, press the
and
buttons simultaneously.
Ex) When there is one less Start or End B/T stitch sewn.
Side A programmed value
3(programmed stitch number) + (3-actual stitch number sewn on side A)
Side B programmed value
3(programmed stitch number) + (3-actual stitch number sewn on side B)
Side C programmed value
3(programmed stitch number) + (3-actual stitch number sewn on side C)
Side D programmed value
3(programmed stitch number) + (3-actual stitch number sewn on side D)
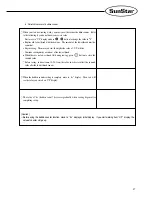
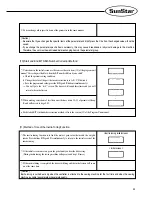
a In the initial screen use buttons
,
,
,
to change it from
“
3 3 3 3
”
to
“
4 4 4 4.
”
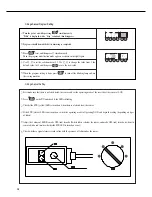
b After programming it to
“
4 4 4 4
”
press the
button. Then press the 1/2 stitch
button.
You will see the letters
“
bt-C
”
and the buzzer will ring three times and the screen will automatically
return to the initial screen.
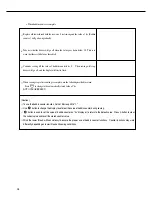
c The changed initial screen will continue to display the wanted B/T programmed value of
“
3 3 3 3.
”
d Recommence sewing and check the corrected stitch number
e If the corrected sewing condition continues to show more than one stitch difference, repeat steps
(a~d) and make corrections.
Содержание Fortuna series
Страница 3: ...USER S MANUAL ...
Страница 69: ...70 Category 3rd 2nd 1st Data Field Cmd Field Explanation ...
Страница 72: ...73 for tinsel trimming ...
Страница 75: ...76 ...
Страница 76: ...77 PARTS BOOK ...


