


10
Add a Scene
A TaHoma® system can support a maximum of 40 scenes with schedules.
Creating a scene will provide a specific setup for your products at your desired time of day.
For example, you may want to create a scene called “Wake Up”, which tells your Awning(s) and/or EasyShade(s) to
extend at 8:00 am to begin keeping the hot summer sun at bay.
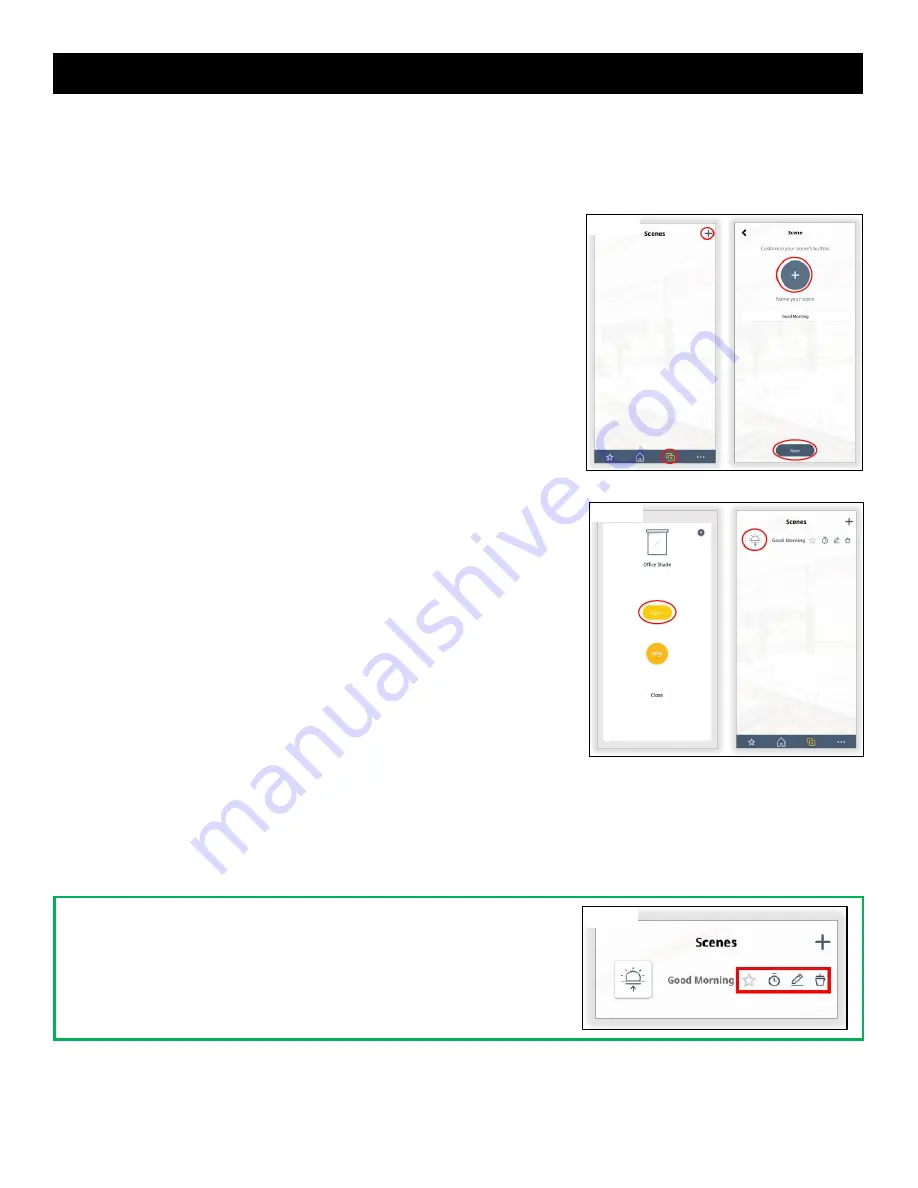
The Scene has been created.
To set the Scene as a favorite, select the "Star" icon.
To edit the Scene, select the "Pencil" icon.
To delete the Scene, select the "Trash" icon.
To create a schedule for this Scene, refer to the ADD A SCHEDULE TO A
SCENE section of this Guide.
40. Select the “Scene” icon from the bottom menu.
41. Select the “+” icon in the top right corner.
42. Select the large “+” icon, select an icon to represent the scene,
enter a name for the scene.
Example: Good Morning
43. Select “Next”.
44. Select the RTS product to be added to the scene
Example: Backyard Awning.
45. Select a command for the RTS product, select "X" in the top right
corner.
Example: Open
46. Select “Next”.
47. To test the scene, select the Icon to activate.
Figure 24
Figure 25
Figure 26


